
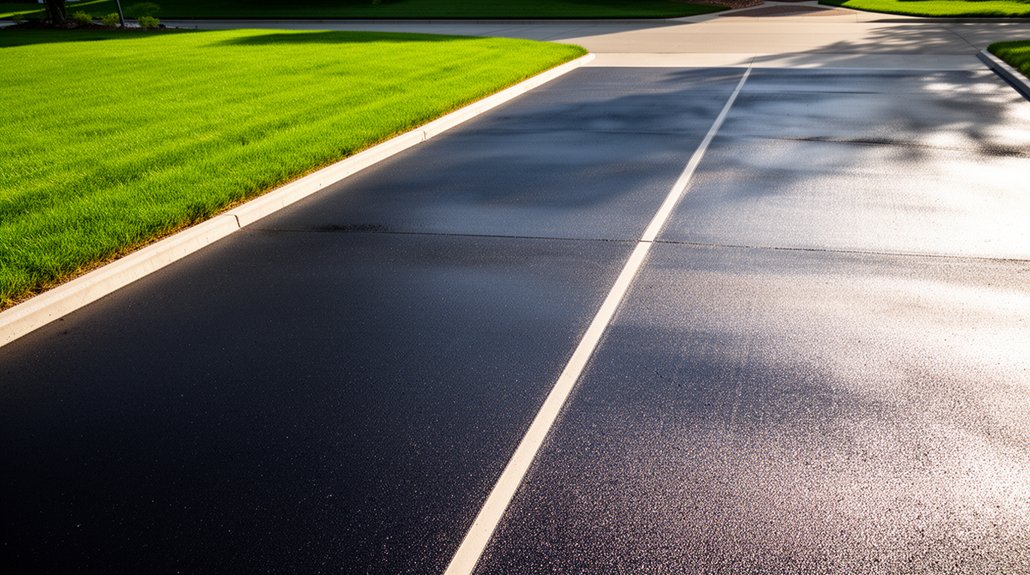
A well-kept driveway instantly boosts curb appeal and protects your investment. Start with daily, simple habits like sweeping, rinsing, and promptly cleaning spills to prevent stains. Inspect for cracks after storms and seal them quickly; clear debris from joints weekly to avoid moisture buildup. Use gentle cleaners, test products first, and work in small sections. When you seal, choose the right material and timing—avoid freezes and damp conditions. For more tips, you’ll uncover practical steps you can apply now.
Key Takeaways
- Regular cleaning and prompt stain treatment keep the driveway looking fresh and free of discoloration.
- Seal after thorough drying and crack repair to preserve color, texture, and longevity.
- Inspect for cracks and damage after storms, sealing minor issues promptly to prevent expansion.
- Use appropriate sealers for your material (concrete, asphalt, or pavers) to match breathability and flexibility.
- Align maintenance with seasonal timing (spring cleaning, summer checks, autumn debris removal, pre-winter coating).
Understand Why Driveway Appearance Boosts Curb Appeal

A well-maintained driveway instantly elevates your home’s curb appeal because it creates a strong first impression that lasts. You influence perception by choosing a clean, well-edged surface and uniform repairs that signal care. A polished approach to landscaping accents frames the entry, guiding the eye toward the driveway and enhancing overall balance. Subtle driveway lighting adds drama and safety, extending usability at dawn and dusk while highlighting texture and color. Consistency matters: use matching joints, sealants, and coatings to prevent discoloration and water intrusion. Proper drainage stops surface stress that accelerates wear. When you prioritize tidy boundaries and purposeful lighting, you create visual cohesion between the street and your residence. These details reinforce value, longevity, and a welcoming approach.
Quick Start: Easy Daily Habits to Prevent Cracks
To keep cracks at bay, start with daily cleaning to remove dirt and debris that can trap moisture and attract weeds. Quick, routine sweeping and a light rinse prevent buildup and make early crack signs easier to spot. Focus on early crack prevention by addressing small issues now with prompt sealing and consistent maintenance.
Daily Cleaning Habits
Regularly sweep and rinse the driveway to remove dust, leaves, and chemicals that can break down concrete over time. You’ll establish a simple daily routine that reduces buildup and preserves surface integrity. Focus on removing spills promptly; mild soaps and a soft brush prevent staining without harming the binder. Use a garden hose on a gentle spray to rinse debris and dilute acids from vehicle leaks. After cleaning, inspect for minor cracks or chips and address them before they widen. Keep seasonal decorations away from edges when not in use to prevent discoloration and moisture pockets. Plan landscaping integration to ensure runoff stays clear of joints. Maintain a predictable schedule, so you catch issues early, minimize maintenance, and keep a clean, uniform appearance.
Early Crack Prevention
Even small daily habits can keep cracks from forming. To prevent early damage, inspect your driveway for minor chips after storms and seal promptly using compatible crack filler. Clean any debris from joints weekly to prevent moisture buildup that can freeze and widen cracks. Use a light, steady watering technique when washing to avoid saturating the surface, and allow it to dry fully before applying any coating. Consider landscaping trends in edging and plant placement; roots can stress pavement, so keep vegetation kept back from the edge and routed away from seams. Enhance curb appeal with subtle driveway lighting that doesn’t overheat the surface, reducing heat expansion cycles. These precautions help sustain a smooth, durable expanse and align maintenance with long-term aesthetic goals.
How to Assess Your Driveway: Concrete, Asphalt, or Pavers
Concrete, asphalt, and pavers each wear differently, so start by noting surface texture, color fading, and any cracks to guide your assessment. For concrete, check for hairline cracks, spalling, and joint separation; for asphalt, look for rutting, oxidation, and base settling; for pavers, inspect loose or uneven joints and sinking tiles. Your next step is a material-specific evaluation to determine maintenance priorities and when to seal, repair, or replace.
Concrete Surface Types
Evaluating your driveway starts with identifying whether the surface is concrete, asphalt, or pavers, because each material has distinct signs of wear and maintenance needs. Concrete surfaces show joint lines, color fade, and surface scaling, while asphalt displays oxidation, soft spots, and edge crumbling. If you’re inspecting decorative borders, assess whether patterns are integral or applied, as that affects sealing choices. Concrete’s durability hinges on proper sealing and crack control, so note hairline cracks that expand after freeze cycles. For decorative borders, verify seamless transitions between sections to prevent water intrusion. Look for unevenness that signals subgrade settling or improper compaction, and record high-traffic wear near driveways entry and vehicle paths. Use these observations to inform maintenance steps without overhauling the entire surface, reserving resurfacing for significant, structural issues.
Material-Specific Assessments
Different driveway materials demand distinct checks. You’ll assess concrete, asphalt, and pavers by looking for surface irregularities, edge settlement, and drainage flow. For concrete, inspect cracking width, joint spalling, and discoloration, noting whether repairs mimic original texture. Asphalt deserves evaluation of rutting, oil stains, and bleedthrough, plus checking for cohesive binder failure. With pavers, test for loose units, sand joint stability, and grout gaps that invite weed intrusion. For all materials, observe slope quality, water shedding, and surface hardness using a simple fingernail test or a calibrated gauge. Incorporate garden lighting to reveal subtle cracks at night and guide timely remediation, while landscaping design considerations help you plan drainage and edging to prevent future damage. Document findings to guide maintenance priorities and cost estimates.
Cleaning Without Damage: Safe Tools and Techniques
To clean a driveway safely, choose tools and methods that remove grime without damaging the surface. You’ll start with gentle, non-alkaline cleaners and a soft-bristle broom or brush. Avoid wire brushes that scratch asphalt or concrete. Use a garden hose or low-pressure washer set on the lowest safe setting to rinse before and after scrubbing. Work in small sections to prevent drying and streaking, and test cleaner on a inconspicuous area first. Dry with a clean towel to prevent water pooling. When incorporating garden landscaping aesthetics, consider edging and surrounding plants to minimize runoff. If you’re adding curb appeal with driveway lighting, confirm electrical components stay dry and elevated. Don’t mix products; follow label directions and rinse thoroughly. Regular maintenance keeps it looking new.
Stain Removal: Tackle Oil, Tire Marks, and Rust
Oil, tire marks, and rust aren’t permanent stains on a driveway if you act fast and choose the right methods. First, blot fresh oil with absorbent material, then apply a degreaser or baking soda paste, scrub with a stiff brush, and rinse. For tire marks, use a strong cleaner or graffiti remover suitable for concrete; test a small area, scrub, and rinse thoroughly. Rust stains respond best to a rust remover or lemon juice and salt, left to dwell briefly before scrubbing and rinsing. Preemptive steps matter: keep drainage clean, seal porous surfaces, and schedule periodic cleaning to preserve garden aesthetics. As you improve curb appeal, consider subtle driveway lighting to reveal and deter new stains without harsh glare. Always follow product labels and safety guidelines.
Crack Repair: Simple Fixes You Can Do Today
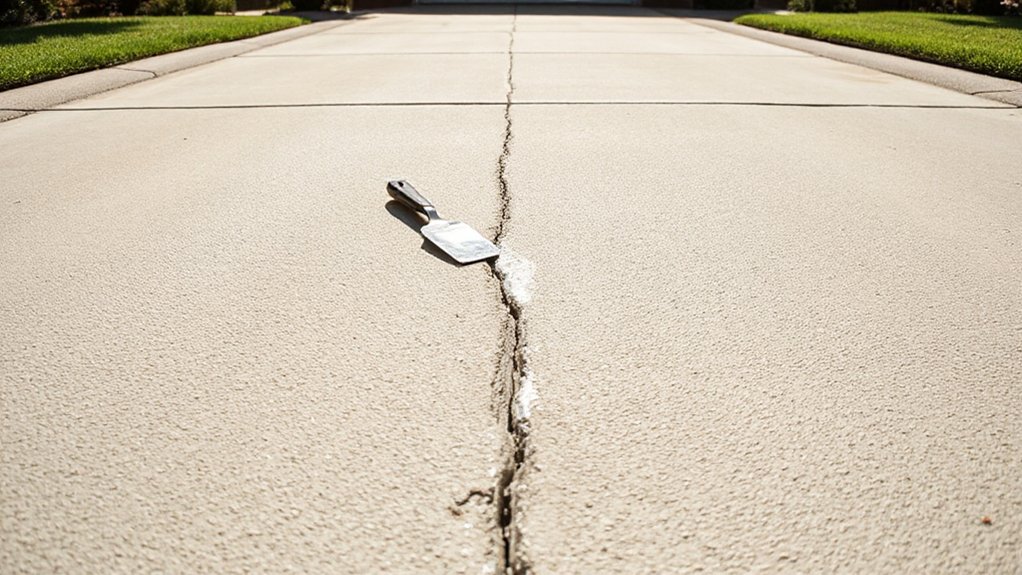
Cracks in a driveway aren’t just cosmetic—they can let water seep in and expand over time. You can address most cracks today with simple, proven steps. Begin by cleaning the area to remove loose debris, then widen narrow cracks with a chisel or putty knife to allow material to fill fully. Use a backer rod for deep gaps, then apply a high-strength asphalt or concrete crack filler, pressing firmly to guarantee adhesion. Smooth the surface with a trowel and remove excess material before it dries. For hairline cracks, a manufacturer-recommended caulk can suffice. Regularly inspect for new or widening breaks, repairing promptly. While you work, consider landscaping tips to divert runoff and choose lighting enhancements to highlight maintenance without creating glare.
When to Seal Your Driveway: Timing and Considerations
The ideal sealing window hinges on steady warmth and dry conditions, so you’ll want several consecutive days at or above 50–60°F with no rain in the forecast. Check for a clean, dry surface and prep by removing weeds, dirt, and loose material before you apply anything. Look for surface cues like exposed aggregate, hairline cracks, or a dull finish that signals you’re ready to seal and protect the pavement.
Ideal Sealing Window
When is the right time to seal your driveway? The ideal sealing window is when the surface is dry, temperatures are consistently between 50–85°F (10–29°C), and the forecast shows no rain for 24–48 hours. Choose a period after a light, recent cleaning and a thorough dry-down, but before heavy use. In spring and fall, plan around active landscaping and any irrigation schedules to avoid overspray.
Apply sealant in thin, even coats, following manufacturer directions for recoat times. Avoid sealing after a freeze-thaw event or during rapid temperature swings, as adhesion and curing suffer. If you’re coordinating driveway landscaping or installing landscape lighting, schedule sealing between projects to prevent foot traffic and equipment marks. Proper timing preserves finish, color, and longevity, keeping your driveway looking new.
Temperature and Prep
To seal effectively, you must match temperature and prep to the job ahead. You’ll plan around ambient temps that stay above 55°F for 24–48 hours and avoid forecasted rain for at least 24 hours after application. Check surface temperature with a gauge; if the asphalt reads under 50°F, delays are prudent. Clean thoroughly: remove debris, oil spots, and standing water, then let it dry completely. Repair cracks and joints so the sealant bonds evenly, especially around garden edging where moisture collects. Prime if your product requires it, and choose a compatible sealer for your driveway landscaping goals. Apply in thin, even coats, using steady, overlapping passes. Mask edges near garden edging to prevent overspray. Seal during calm conditions to prevent dust and wind interference.
Surface Condition Cues
Surface condition is your best early-warning system: assess moisture, texture, and damage to decide if sealant is appropriate now or if waiting is wiser. You should inspect after rain or thaw, noting any standing water that lingers and weaknesses in the surface. If moisture pockets persist, sealing is premature and could trap damage. Evaluate surface texture: a uniform, grip-friendly top layer supports adhesion, while rough, peeling, or delaminated areas indicate prep work is due first. Look for color fading as a cue that UV exposure has altered binder performance, potentially reducing sealant life. For best results, address cracks wider than a nickel and potholes before sealing; clean thoroughly, repair voids, and ensure a dry, dust-free surface. Timing depends on condition, not calendar.
Sealers by Material: Choosing the Right Product
Choosing the right sealer starts with understanding your material and climate. You’ll choose based on surface type, porosity, and expected wear, then match a product that supports long-term performance. For concrete, consider penetrating sealers that preserve breathability and resist oil stains, while film-forming options deliver a glossy finish and enhanced stain resistance. Paver and natural stone demand sealants with high UV resistance and flexible films to tolerate expansion and contraction. Asphalt needs breathable sealers to prevent surface hydrophobic buildup and cracking. Always verify sealant compatibility with your substrate and avoid incompatible additives. Consider maintenance intervals and reapplication ease to sustain color and texture. Sealant compatibility and material durability guide your decision, ensuring a durable, good-looking driveway that stands up to traffic and weather.
Year-Round Maintenance Schedule for Your Driveway

A year-round maintenance schedule keeps your driveway looking good and lasting longer by addressing what each season demands. Begin with spring inspections for cracks, reseal at the first warm day, and clean debris before growth starts. In summer, monitor surface temperatures, trim surrounding vegetation to minimize staining, and reseal if wear is evident. Autumn calls for leaf removal, edge clearing, and a pre-winter coating if weather allows. Winter requires minimal aggressive treatment; focus on removing ice safely and documenting damage for spring repairs. Schedule annual assessments to track wear, plan resurfacing timelines, and align with landscaping integration to maintain cohesive curb appeal. Consistently executing these steps protects Driveway aesthetics, reduces long-term costs, and supports durable, attractive entryways.
Preventive Drainage: Direct Water Away From Surfaces
To prevent damage and costly repairs, direct water away from driveway surfaces using proactive drainage design and maintenance. Start with grading that slopes away from the surface at a minimum 2 percent, ensuring runoff heads toward appropriate drainage points. Install functional swales or trench drains to capture sheet flow before it pools, and verify any existing culverts remain clear of debris. Use splash blocks or channel drains where runoffs meet sidewalks or foundations, and connect them to an approved drainage system. Integrate Landscaping design thoughtfully to reduce erosion and promote healthy turf around edges, not on the driveway itself. Implement exterior lighting, including driveway lighting, to illuminate slopes and detect pooling at night. Regularly inspect to catch sediment buildup or clogs early.
Affordable Upgrades to Refresh Curb Appeal
Simple upgrades can dramatically refresh curb appeal without breaking the budget. You can elevate your driveway’s look with practical, inexpensive tweaks that contrast and complement its surface. Start with garden lighting to create texture and safety at night; a few warm LEDs along the edges will highlight materials and deter trespassers. Add decorative edging to define borders, control grass growth, and create clean lines that pop from the street. Consider a restrained color palette for grasses and shrubs to maintain a cohesive, polished appearance. Refresh existing beds with mulch or pea gravel to reduce maintenance while increasing visual depth. Repaint or seal any faded concrete boundaries in a neutral hue to unify the scene. Finally, prune overgrowth to reveal the driveway’s true footprint.
DIY vs. Pro: When to Hire Help and What to Expect

Choosing between DIY and professional help hinges on realism about your capabilities, timeline, and the driveway project’s scope. You’ll weigh complexity, material type, and safety risks before deciding. For simple tasks—like resealing or cleaning—DIY can save money, provided you follow manufacturer instructions and wear proper protection. When issues go beyond routine maintenance, or you’re addressing structural concerns, hiring a pro preserves Driveway aesthetics and ensures even application, drainage, and code compliance. Expect a clear assessment: the pros will identify hidden cracks, base problems, or drainage faults you may overlook. Discuss material durability, anticipated lifespan, and warranty terms. Ask about preparation, traffic disruption, and post-service care. Acknowledge that professional work often yields smoother finishes, longer-lasting results, and peace of mind.
Frequently Asked Questions
How Long Does a Driveway Stain Typically Last Before Resealing?
A stain typically lasts 1–3 years before resealing, depending on traffic and climate. You should plan for stain removal and re-application, then adjust sealing frequency accordingly to maintain protection and appearance.
Can Tree Roots Damage Driveway and How to Prevent It?
Tree roots can damage your driveway; prevention matters. They thrive unseen, so install root barriers and proper grading, monitor cracks, and address them early. This minimizes driveway damage and keeps surfaces solid, preventing costly repairs later.
Are Cold-Weather Repairs Possible for Cracks and Potholes?
Yes, you can; cold-weather repairs are feasible with proper materials and timing. You’ll use snow removal practices to keep surfaces clear and apply crack fillers or pothole patches, plus ice prevention measures to protect the repair from freeze-thaw damage.
Is DIY Sealing as Effective as Professional Sealing?
DIY sealing isn’t as durable as professional sealing, you’ll notice quicker wear and reapplication needed; professional sealing delivers stronger, longer-lasting protection, so save time, money, and headaches by choosing pros when you want lasting results.
What Maintenance Proves Most Cost-Effective Long-Term?
Sealing annually proves most cost-effective long-term. You’ll maximize sealant longevity with proper prep, prompt repairs, and using a compatible product. Compare costs over years: initial outlay, diminishing maintenance, and fewer premature replacements; sealant longevity drives the cost comparison.
Conclusion
Maintain curb appeal by treating your driveway as a living part of the home. On one hand, quick daily habits and routine cleanups prevent tiny cracks from becoming costly repairs; on the other, planned maintenance and smart upgrades refresh looks without breaking the budget. You’ll balance function and aesthetics—durability against stains, drainage against pooling, DIY fixes against pro insights. Stay proactive, stay consistent, and your driveway will look new longer—even as seasons change and ages wear.
About the Author


