
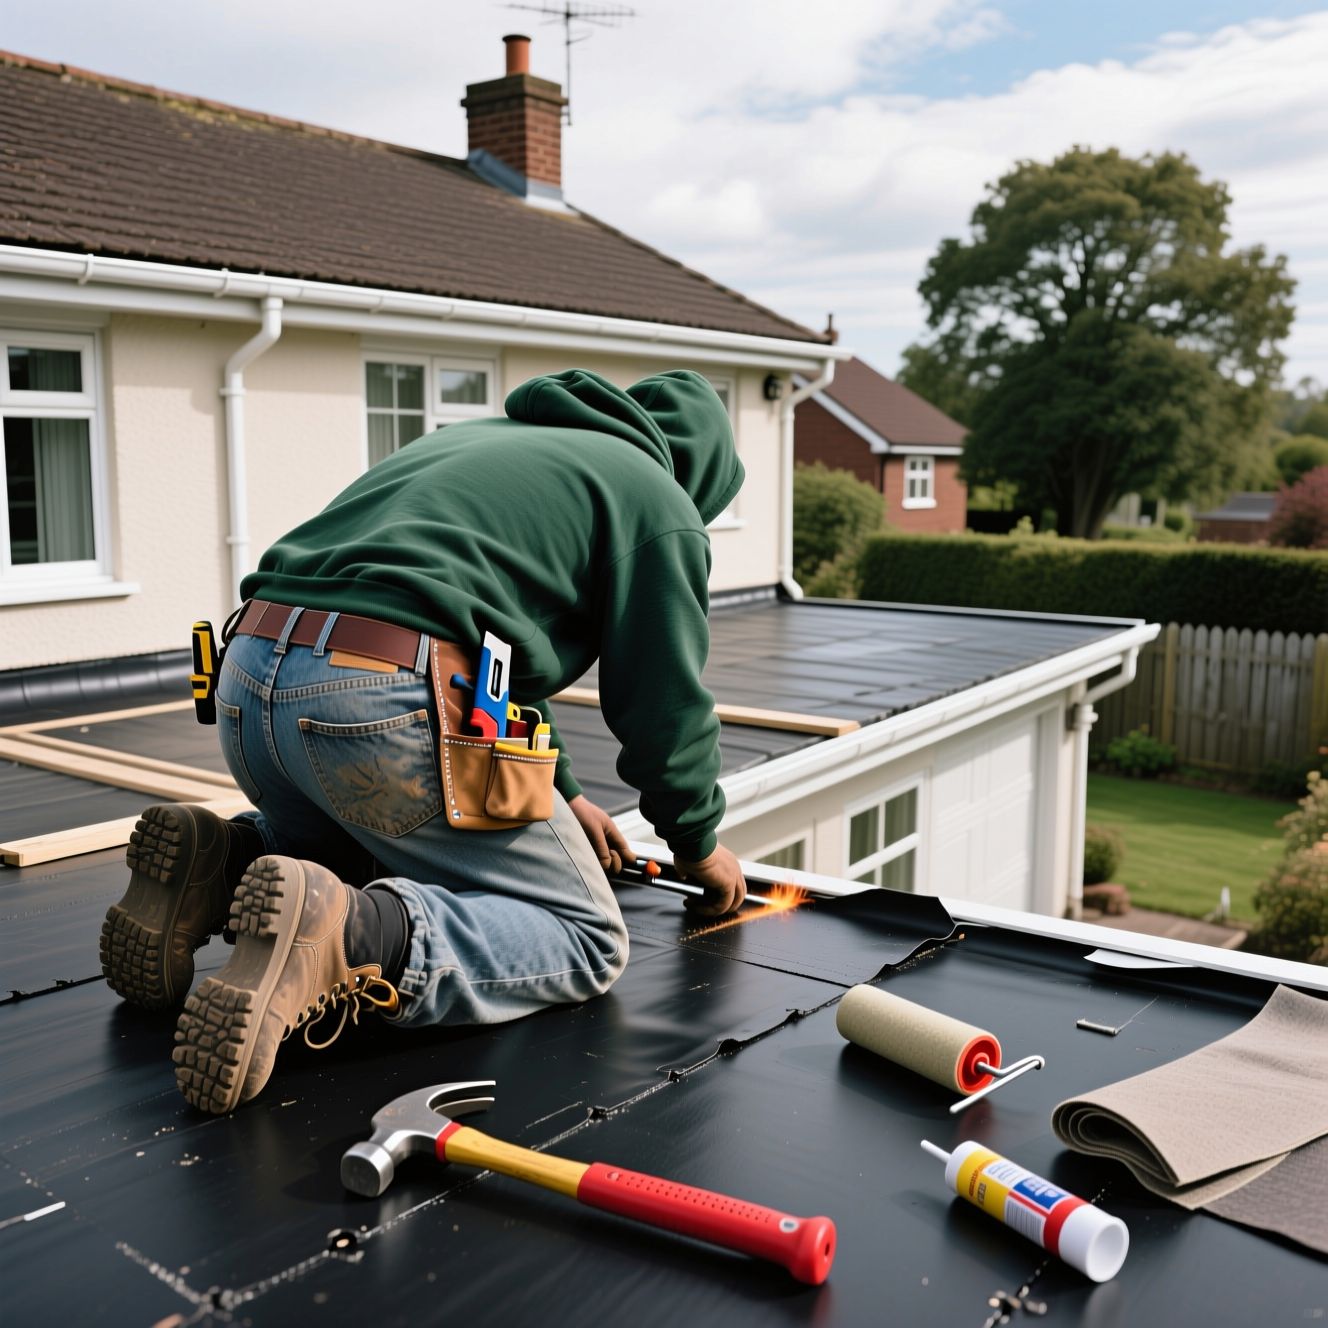
Step-by-Step Guide to Flat Roof Repair
Flat roof repairs fall into two distinct categories, and the first decision any homeowner or property manager needs to make is which category their situation falls into. The first is minor maintenance repair: a localised defect in the membrane that can be patched, a failing sealant joint that needs renewal, a drain that needs clearing, a small area of lifted flashing. These are jobs that a competent, hands-on homeowner can carry out, or that a roofing contractor can complete in a few hours.
The second is structural or widespread repair: failed membrane across a large area, saturated insulation, deteriorated deck, or a series of defects indicating that the roofing system has reached end of life. These require professional assessment, significant intervention, and in many cases partial or full membrane replacement.
This guide focuses primarily on the first category — the minor maintenance repairs that can extend the life of a flat roof and prevent small problems from becoming large ones — while being honest about the situations where professional intervention is the correct approach rather than a DIY patch.
Safety first: Any work on a flat roof involves working at height. The roof surface must be able to bear your weight safely — if there is any doubt about the structural condition of the deck, do not walk on it. Appropriate footwear (soft-soled shoes that grip without damaging the membrane), a safety harness for roofs with unguarded edges, and a properly placed ladder are the minimum safety requirements. Do not work on a wet, icy, or visually slippery roof surface.
Before You Start: Diagnosis
The most important step in any flat roof repair is identifying the actual source of the problem — which is frequently not where the interior water damage suggests. Water enters the roof system at a failure point and travels before manifesting as visible interior damage. The stain on the ceiling tells you there is a problem; it does not reliably tell you where the problem is.
Carry out the exterior inspection before any repair work begins.
Step 1: Inspect the full roof surface. Starting at the highest point and working toward the drain or outlet, systematically examine the full membrane surface. You are looking for:
- Blisters in the membrane surface (bubbles of varying size indicating delamination or trapped moisture beneath the membrane)
- Cracks, splits, or tears in the membrane — these may be hairline or more obvious
- Open or lifted seams between membrane sheets
- Areas where the membrane has pulled away from upstands, walls, or penetrations
- Ponding water — areas where the membrane surface is visibly lower than surrounding areas, indicating drainage problems
Step 2: Check all flashings and upstands. The junction between the membrane and any vertical surface — the house wall, parapet walls, roof lanterns, soil pipes, vents — is the most common failure point. Check that:
- The membrane upstand is present and intact around the full perimeter and at every penetration
- Flashings are not lifted, cracked, or pulling away from the wall
- The sealant at the top edge of flashings is continuous and not cracked or open
- Cover flashings are lapping correctly over the membrane upstand below
Step 3: Inspect drains and outlets. A blocked or partially blocked drain creates ponding that accelerates membrane failure. Clear any visible debris from the drain grating. If you can access the drain below the grating, check for debris accumulation in the drain body itself.
Step 4: Cross-reference with interior damage. Now that you have identified all exterior defects, consider which of these is most likely responsible for the interior water staining. In most cases, the problem is the most obvious exterior defect closest to the area of interior damage — though remember that water can travel significant distances before appearing internally.
Tools and Materials You Will Need
For minor flat roof repairs, the tools and materials required depend on the membrane type — EPDM, modified bitumen (torch-on/felt), GRP, or TPO. Ensure you identify your membrane type before purchasing materials, as repair products are specific to the membrane.
General tools (all repair types):
- Stiff brush for cleaning the repair area
- Wire brush or coarse sandpaper for removing loose or degraded material
- Clean dry cloths or paper towels
- Bucket for debris
- Knife or scissors for cutting membrane patches
- Roller or brush for adhesive application
- Contact cleaner or isopropyl alcohol (IPA) for cleaning the repair surface
For EPDM repairs:
- EPDM primer (clean the surface and improve adhesion)
- EPDM patch material (same membrane as the existing roof)
- EPDM bonding adhesive or self-adhesive EPDM patch tape
- Seam tape or seam rollers for pressure application
For modified bitumen/torch-on/felt repairs:
- Matching mineral surface cap sheet for surface repairs
- Low-temperature torch and gas for torch-applied patches (if competent with torch work — otherwise use cold-applied repair products)
- Cold-applied bitumen repair mastic or bitumen-aluminium repair tape as an alternative to torch application
- Lap seal (sealant for seam edges)
For GRP repairs:
- GRP laminating resin and hardener
- Fibreglass matting (chopped strand mat)
- GRP topcoat/gelcoat in matching colour
- Acetone for surface cleaning
- Mixing equipment and throwaway brushes
Universal repair products:
- High-quality UV-stable flexible sealant (for flashing joints, upstand edges, and penetration details) — should be specified as suitable for the specific membrane type
- Roofing patch tape for temporary repairs while awaiting professional assessment
Repairing a Blister
Blisters in a flat roof membrane are areas where the membrane has delaminated from the substrate below, typically due to moisture trapped beneath the membrane or thermal movement. A blister that is stable — not growing, not wet when pressed — may be left if it is not in a water flow path. A blister that is growing, that contains moisture, or that is at a location where water could pool in the depression requires repair.
Step 1: Allow the area to dry completely. Never repair a blister while the area is wet or damp. Allow at least 24–48 hours of dry warm weather before attempting the repair.
Step 2: Cut and open the blister (for bitumen membranes). Using a sharp knife, make a cross-cut across the blister from edge to edge. Fold back the four triangular sections of membrane to expose the substrate below.
Step 3: Allow the interior to dry. If moisture is present in the interior of the blister or on the substrate, allow the opened area to dry thoroughly before proceeding — this may take several dry days.
Step 4: Re-adhere the flaps. Apply appropriate adhesive (cold bitumen adhesive for bitumen membranes; EPDM bonding adhesive for rubber membranes) to both the underside of the membrane flaps and the substrate. Allow to become tacky (follow manufacturer instructions for the specific adhesive — typically 5–15 minutes) then press the flaps firmly back down.
Step 5: Seal the repair. Cut a patch of matching membrane material approximately 100mm larger in all directions than the blister opening. Apply adhesive to both the patch underside and the roof surface, allow to tack, and press the patch firmly over the repair, working from the centre outward to exclude air. Roll the patch firmly with a seam roller.
Step 6: Seal the patch edges. Apply lap seal (a bitumen-based sealant for bitumen membranes, or EPDM lap seal for rubber systems) around the full perimeter of the patch to prevent water entry beneath the patch edge.
Repairing a Split or Crack
Splits and cracks in the membrane surface allow water direct access to the layers below. They require immediate attention — a split that appears hairline under dry conditions may open significantly as the membrane moves in cold weather.
Step 1: Clean the repair area. Brush or wipe away all dirt, debris, moss, or loose membrane material from a zone at least 150mm around the split. For bitumen membranes, use a wire brush to remove any surface granules from the area to be patched. For EPDM, wipe down with IPA to remove any surface contamination.
Step 2: Prime the repair area (EPDM only). Apply EPDM primer to the clean surface and allow to dry fully as per manufacturer instructions (typically 10–30 minutes). Priming is essential for good adhesion of the repair patch.
Step 3: Apply repair tape as a first layer (for EPDM). Self-adhesive EPDM seam tape, pressed firmly over the split and extending at least 75mm on either side, provides the primary repair. Ensure the tape is free of wrinkles and that the edges are pressed firmly.
Step 4: Cut and apply a full patch. Over the tape (or directly for bitumen membranes), apply a patch of matching membrane material of at least 300mm in all directions, or sufficient to extend 150mm beyond the full extent of the damage. Apply appropriate adhesive, allow to tack, and press the patch firmly from the centre outward.
Step 5: Seal the perimeter. Apply lap seal around the full patch perimeter. On bitumen membranes, the patch edges may additionally be sealed with a brush-applied bitumen liquid sealant for redundancy.
Repairing a Failing Flashing or Upstand Seal
Flashing and upstand failure — where the membrane or metal flashing at the junction between the roof and a vertical surface is lifting, cracking, or separating — is the most common cause of flat roof leaks. It is also frequently the most accessible repair.
Step 1: Assess whether the flashing is metal or membrane. Metal flashings (typically lead on older roofs) require a different approach from membrane flashings (where the waterproofing membrane continues up the vertical face as an upstand).
For membrane upstand failure:
Step 2: Clean the area. Remove all dirt, debris, and any degraded sealant from the junction between the upstand and the wall.
Step 3: Re-adhere any lifting membrane. If the membrane upstand has partially lifted from the wall, apply appropriate adhesive behind the lifted section and press firmly back into place.
Step 4: Renew the sealant joint at the membrane top edge. The top edge of the membrane upstand must be sealed against the wall surface with a flexible, UV-stable sealant specified for the membrane type. Remove all old sealant completely, clean the surfaces, apply a bead of new sealant, and tool to form a continuous seal. This sealant must be renewed every 10–15 years as part of routine maintenance even if it appears intact — aged sealant may be holding together visually while no longer providing a watertight seal.
Step 5: Apply a cover flashing where available. Where a metal cover flashing is present above the membrane upstand, check that it is properly lapped and that its pointed edge (the edge embedded in the wall chase or sealed with mortar) is secure. Re-point or re-seal any open joints.
For lead flashing failure:
Step 6: Dress loose lead back into position. If the lead flashing has lifted but is not cracked or perforated, use a lead dresser (a flat wooden tool, not a metal implement that would damage the lead) to press the lead firmly back against the wall and the roof surface.
Step 7: Seal cracks and splits in lead. Small cracks in lead flashings can be sealed with lead repair tape or with lead-compatible roofing sealant as a temporary measure. Significantly cracked or perforated lead flashings require replacement by a competent lead worker.
Clearing and Repairing Drainage
Blocked or inadequate drainage is a maintenance issue, not a membrane failure, but it causes membrane failure over time if not addressed.
Step 1: Remove debris from the drain grating. Clear all leaves, moss, grit, and debris from around and on the drain cover.
Step 2: Remove the grating and clear the drain body. Most flat roof drains have a removable grating. Lift it, clear any debris accumulated in the drain body below, and flush with clean water to confirm the drain is flowing freely.
Step 3: Check that the membrane is correctly dressed into the drain outlet. The membrane should lap into and around the drain outlet, creating a watertight connection between the membrane field and the drain collar. If the membrane is pulling away from the drain, this is a repair requiring professional attention to the drain detail.
Step 4: Install a debris guard if not already present. A perforated dome or debris guard fitted over the drain outlet reduces the frequency of blockage and is a worthwhile maintenance addition to any flat roof drain.
When to Call a Professional
The repairs described above are appropriate for homeowners who are comfortable with basic DIY, who can safely access their flat roof, and whose flat roof has localised, clearly defined defects. The following situations require professional assessment and professional remediation:
Widespread membrane degradation. If the membrane is showing multiple defects, significant surface cracking across a large area, or loss of elasticity that causes cracking when flexed, the system is approaching end of life. Patching a membrane that is degrading across the full area is not a long-term solution — it delays and does not resolve the underlying condition.
Saturated or deteriorated insulation. If you probe the roof surface and find areas of softness or sponginess that suggest the insulation or deck below the membrane is wet, professional assessment with moisture survey equipment is required before any repair. Patching a membrane over saturated insulation without addressing the insulation condition will not resolve the problem.
Deck deterioration. Areas where the structural deck below the membrane is soft, crumbling, or deflecting underfoot require structural assessment before any roofing work proceeds. Walking on a deteriorated deck is dangerous.
Any repair involving torch application near the house structure. If you are not trained in torch-applied membrane work, do not attempt it near the junction with the house. The fire risk from torch application adjacent to fascias, rafters, and wall plates is real and has caused house fires.
Flat roofs under warranty. Any DIY repair on a flat roof that is within its installation or manufacturer warranty should be discussed with the warranty provider before work is carried out. DIY repair can void a warranty if it is done without the warranty provider’s agreement or using non-approved materials.
Temporary Emergency Repairs
If a flat roof is actively leaking during or immediately after a rain event, and waiting for professional attendance would allow significant interior damage to accumulate, a temporary emergency repair is justified while proper repair is arranged.
Roofing repair tape — a self-adhesive, reinforced tape specifically designed for temporary roof repair — can be applied over splits, tears, and open seams to provide short-term waterproofing. It will not provide the long-term adhesion of a proper repair patch but can stop active water ingress for days or weeks while a contractor is engaged.
Apply repair tape only to a surface that is as dry as possible — even a brief period of dry weather improves adhesion. Press the tape firmly from the centre outward, eliminating bubbles and ensuring the edges are firmly adhered. Apply sealant to the tape edges.
Arrange professional assessment and permanent repair without delay. Temporary repairs are exactly that — they defer the problem but do not resolve it.
Annual Maintenance to Prevent Repairs
The most effective flat roof repair strategy is the one that prevents most repairs from being necessary. An annual maintenance routine — ideally in early spring and again in late autumn — that takes 30–60 minutes can identify and address minor issues before they become leaks.
The annual routine: clear all debris from the roof surface; clear all drain gratings and flush drains; inspect the full membrane surface for blisters, cracks, and lifted areas; inspect all flashings, upstands, and penetration seals; check the condition of all sealant joints; document the inspection with photographs. Any defect identified should be repaired promptly rather than deferred to a later inspection.
A flat roof that is actively maintained will reliably outlast one that is ignored between leak events. The time investment is modest; the cost saving over the life of the roof is significant.
About the Author


