

To reform a former shopfront into a livable, daylight-filled home, start by confirming structural feasibility and securing the right permits early. Preserve meaningful historic elements where feasible, using reversible upgrades and compatible materials. Design a light-filled, flow-oriented layout with clear sightlines from entry to key zones, and optimize vertical space with mezzanines or slim circulation. Plan soundproofing and privacy for streetfront living, and integrate efficient systems and daylight strategies. If you want a deeper roadmap, you’ll find more practical steps ahead.
Key Takeaways
- Assess structural viability and code compatibility to convert storefront shell into a livable space, prioritizing safe load paths and permitted uses.
- Preserve historic character (glazing, transoms, moldings) with reversible updates and period-accurate palettes to maintain authenticity.
- Plan a light-filled layout with aligned openings, clear sightlines, and energy-efficient glazing and shading for comfort.
- Develop a phased renovation plan aligning permits, approvals, and contractor schedules to minimize delays and cost overruns.
- Integrate vertical stacking, street-facing features, and discreet service upgrades to maximize space while maintaining architectural honesty.
Define Your Goals for a Shopfront-to-Home Renovation
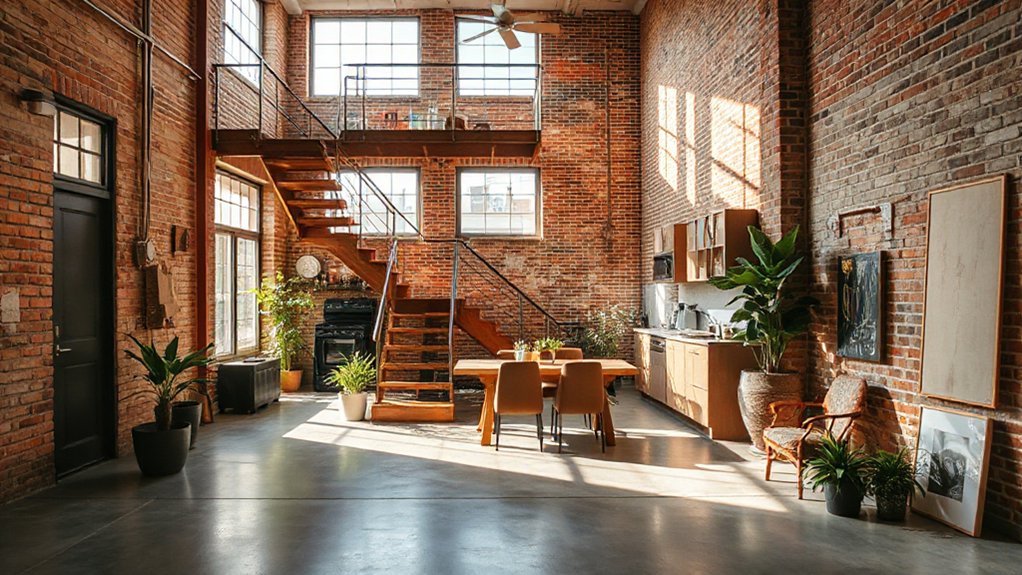
Defining your goals sets the foundation for a successful shopfront-to-home renovation. You’ll clarify how the former storefront will function, define space priorities, and set measurable outcomes for your project timeline and budget. Start by articulating your primary use case: a liveable residence, a mixed-use dwelling, or a home with commercial potential. This focus drives layout decisions, materials, and systems, ensuring you don’t chase unnecessary features. Align goals with Retail transformation expectations, so adaptability and market relevance stay central. Consider commercial viability alongside living comfort; assess zoning, access, parking, and utility upgrades to support future resale value. Document constraints, risks, and acceptance criteria, then translate them into a phased plan with milestones. Regularly verify progress against goals to preserve clarity and control.
Assess Structural Reality and Feasibility
Evaluating the structural reality and feasibility is a practical, data-driven step: you must verify that the shell can safely accommodate a residence and meet code requirements. Start with a focused assessment of spatial allowance, load paths, and live loads to determine if existing framing can support adaptive use. Identify potential weak points, such as era-specific connections or compromised supports, and plan targeted structural reinforcement where needed. Prioritize material compatibility to guarantee fasteners, anchors, and members perform under new loads without corrosion or differential movement. Document existing conditions with diagrams and measurements, then compare them to applicable building codes and standards for residential occupancy. A clear feasibility outcome guides budget, timelines, and design decisions, preventing late-stage redesigns and safety risks.
Learn Permits and Neighborhood Rules Up Front
Now that you’ve assessed structural feasibility, you must confirm the permit landscape and neighborhood rules before any work begins. You’ll map zoning classifications, required approvals, and sequencing for a former shopfront renovation. Identify whether a change of use, building permits, or site plan reviews apply, and flag any plan-review delays. Contact local planning and building departments early to obtain checklists, fees, and turnaround times, and document all conversations. Review neighborhood covenants, design guidelines, and signage restrictions that affect exterior alterations and storefront visibility. Align your project timeline with permitted work windows, inspection milestones, and variance options, if needed. Consider how retail branding and signage design requirements integrate with compliance to avoid redesigns or permit holds. This proactive approach minimizes regulatory risk and accelerates constructive work.
Preserve Character Without Sacrificing Comfort
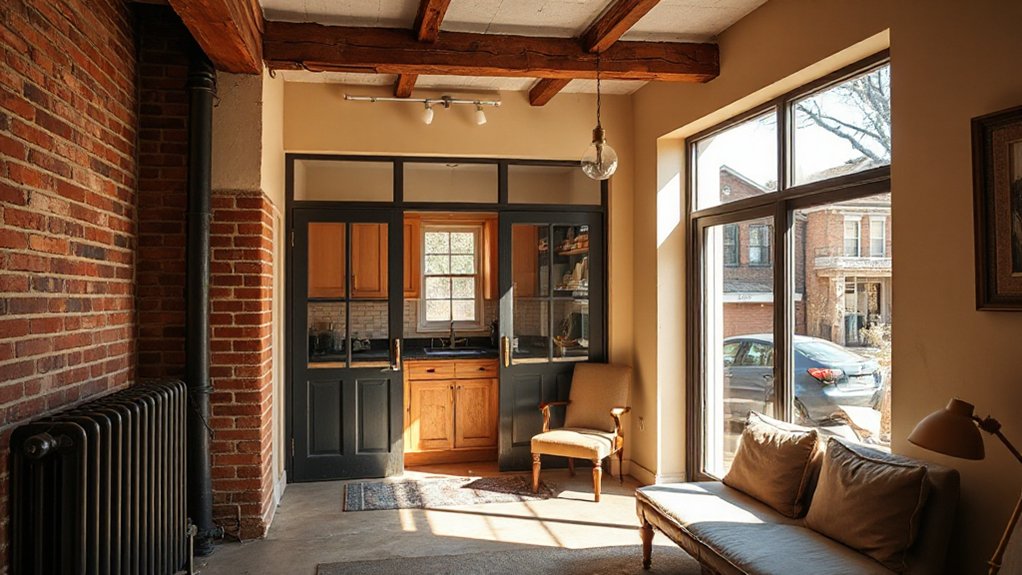
You can retain historic details while upgrading ergonomics by prioritizing durable finishes and measured modern interventions. Balance character with comfort through careful layout, light, and acoustics that respect original features rather than conceal them. This approach preserves the shopfront’s identity while delivering everyday usability.
Retain Historic Details
Retain historic details by prioritizing authentic features that define the storefront’s character while updating systems for modern comfort. You’ll balance integrity with practicality, focusing on essential cues from urban architecture and thoughtful facade restoration to guide upgrades. Preserve original glazing, transoms, and moldings where feasible, and document any changes for future reference. Maintain rhythm and proportion of openings to retain curb appeal while improving insulation and climate control. Refinish surfaces with period-appropriate palettes, and label mechanicals to minimize intrusion. Reconfigure interiors only when necessary to support daily living, keeping original storefront lines intact. Guarantee codes are met without erasing nuance, using compatible materials and reversible interventions. Your approach preserves memory while delivering dependable, contemporary comfort.
Balance Comfort and Character
Balancing comfort and character means upgrading systems and finishes without erasing the storefront’s essence. You’ll selectively modernize HVAC, insulation, and lighting to meet living standards while preserving line, materials, and sightlines that convey history. Prioritize performance upgrades that respect scale and proportions, avoiding over-tiled walls or chunky panels that read as retrofit. Use authentic materials—wood, brick, metal—that echo the original craft, and treat them with reversible finishes so future tenants can revert if desired. Integrate furniture and storage that complement the space’s rhythm without cluttering historic axes. Consider Artistic expression through curated heritage accents, not heavy-handed replicas, and maintain Cultural preservation by documenting treatments and sourcing periods-appropriate hardware. Balance becomes deliberate restraint, yielding comfort without compromising the storefront’s identity.
Plan a Light-Filled, Flow-Ready Layout

To optimize light and movement, map a layout that guides natural light through key zones and preserves clear sightlines. Focus on spatial rhythm—varying ceiling heights, alignments, and circulation paths to create a seamless flow from public to private spaces. Use a flow-ready plan that prioritizes accessibility and flexible use, aligning furniture and fixtures with the Light-Through Layout and Flow principles.
Light-Through Layout Flow
A well-lit, flow-ready layout starts with daylight as a design constraint, not an afterthought. You’ll align openings and interior partitions to maximize natural light penetration, reducing reliance on artificial lighting and creating a sense of depth. Plan zones that evolve with occupancy, guaranteeing clear sightlines from entrance to rear for a breathable, usable flow. Incorporate glazing strategies, thermal breaks, and shading to maintain comfort year-round, while preserving noise limits from the street. You’ll incorporate urban landscaping edges and pedestrian routes to anchor the space in its context, supporting community engagement without compromising daylight. Prioritize adaptable furniture, low-profile services, and accessible routes to sustain a flexible, daylight-dominant environment.
- Align openings and zones for maximum daylight
- Use glazing, shading, and thermal breaks effectively
- Integrate urban landscaping and pedestrian edges
- Guarantee adaptable, accessible, flow-ready layouts
Spatial Rhythm Planning
Spatial rhythm planning unifies daylight access with user movement to create a coherent, legible flow. You map circulation nodes to daylight clusters, aligning core tasks with windowed zones to maximize ambient lighting without glare. Prioritize a continuous sightline sequence from entry to primary uses, then layer secondary routes for service actions and escape paths. Employ a consistent cadence of openings, partitions, and material changes to reinforce wayfinding at a glance. Use a restrained color palette to preserve perceptual clarity and enhance daylight contrast; avoid high-contrast progressions that disrupt movement. Place storage and utility zones along secondary corridors to minimize interruption of the main path. Validate with daylight simulations and adjust furniture scales to sustain open, flow-ready spaces.
Design Flexible Rooms for Daily Living
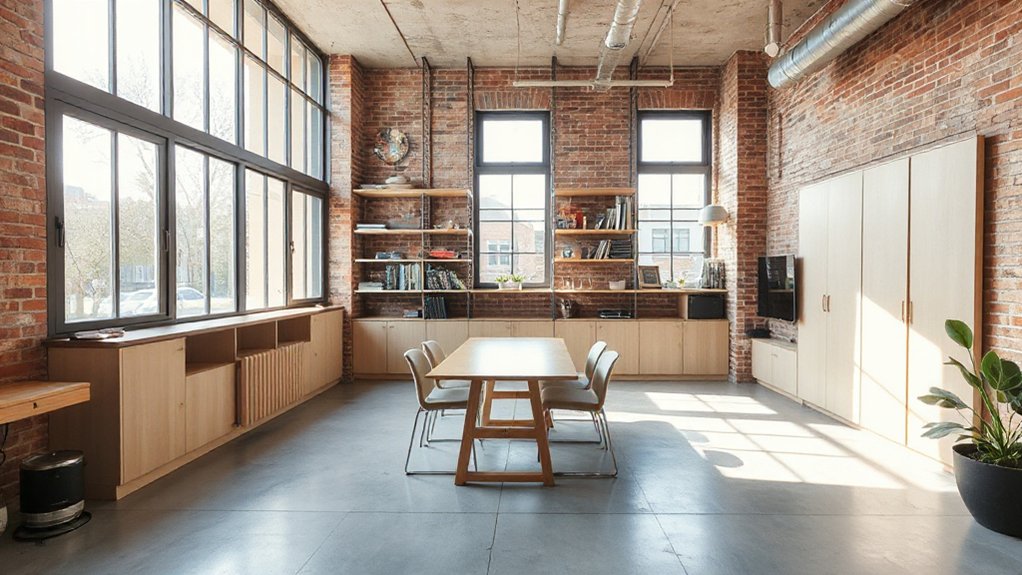
When you design flexible rooms for daily living, you create spaces that adapt to changing needs without major renovations. You implement movable partitions, multipurpose furniture, and zoned lighting to preserve flow while enabling quick reconfiguration. Structural clarity matters: design reveal lines, track systems, and discreet hardware to reduce downtime during transformations. Accent elements like Artistic murals and Vintage signage can guide mood shifts without overpowering function. Plan for acoustics and thermal comfort in each zone, ensuring privacy when needed. Integrate storage that doubles as partitions to minimize clutter and maximize usable area. Finally, document flexible routines for occupants to reuse spaces efficiently.
- Movable partitions and multiuse furniture
- Zoned lighting and acoustics per area
- Concealed storage that doubles as dividers
- Signage-driven wayfinding and mood cues
Plan Efficient Systems and Sustainable Upgrades
To start, map out how you’ll plan efficient systems and sustainable upgrades across HVAC, electrical, water, and insulation to minimize redundancy and maximize performance. Prioritize smart controls, modular components, and materials with low embodied energy to streamline maintenance and future reconfiguration. Align these tactics with resource management goals to reduce long-term costs and environmental impact.
Plan Efficient Systems
You should start by mapping a compact, integrated systems plan that aligns energy, water, waste, and HVAC needs with the redesign.
You then design with efficiency in mind, selecting low-load equipment, smart controls, and modular plumbing. Prioritize solar-ready electrical, heat-recovery ventilation, and insulated envelopes to minimize ongoing usage. Coordinate rainwater capture for toilets and irrigation, and isolate waste streams for composting where feasible. Create a single, coherent control platform to monitor consumption and respond to occupancy patterns. Plan for flexible space conditioning and adaptable plumbing routes to support future changes. Include outdoor zones, such as garden landscaping and outdoor seating, that double as passive thermal buffers. Guarantee documentation, testing, and commissioning are part of the handoff for reliable performance.
Sustainable Upgrade Tactics
Sustainable Upgrade Tactics build on the integrated systems plan by tightening efficiency through targeted upgrades and smart optimization. You systematize performance by auditing envelope losses, equipment loads, and thermal bridges, then prioritize modular improvements with measurable payback. Optimize lighting, HVAC zoning, and control strategies to reduce peak demand without compromising comfort. Choose renewable materials where practical, tracking embodied energy and durability to minimize maintenance intervals. Integrate on-site generation options, such as compact photovoltaics, with storage and smart inverters to balance load fluctuations. Embrace urban greenery as a passive climate modifier—green roofs, living walls, and planter buffers reduce heat gain and improve air quality. Guarantee materials meet low-emission standards, and document lifecycle data to support future renovations. This disciplined approach yields durable, low-energy performance gains.
Efficient Resource Management
Efficient Resource Management focuses on planning systems and upgrades that minimize waste and maximize performance. You optimize energy use, water runoffs, and material flows, aligning buildouts with long-term maintenance in mind. You’ll select eco friendly materials that deliver durability with low embodied energy, and you’ll design modular systems for rapid repairs and upgrades. Prioritize on-site energy generation and efficient HVAC strategies to reduce operating costs. Use space efficiently to support urban gardening initiatives and microclimate control. Document performance metrics to guide future improvements and ongoing optimization.
- Eco friendly materials
- Water reuse and drainage optimization
- Modular electrical and mechanical systems
- Urban gardening integration and vertical farming opportunities
Smart Budget Priorities: High-Impact Upgrades
Smart budgeting must prioritize high-impact upgrades that deliver tangible returns in comfort, energy, and resale value. You’ll focus on strategies that reduce operating costs while expanding usable space and appeal. Start with envelope and climate systems: improve insulation, glazing, and efficient heat, then appraise lighting and controls that cut energy use without sacrificing daylight. Target renovations that enable flexible layouts, enabling Retail transformation and Commercial versatility without heavy rewiring. Prioritize durable finishes, moisture management, and smart thermostats for measurable payback. Plan in phases to align with cash flow, avoiding overcapitalization. Choose scalable systems: heat pumps, efficient boilers, or radiant panels, paired with mechanical ventilation where needed. Document performance targets, monitor savings, and ensure code compliance. This approach yields lasting comfort, lowered bills, and stronger resale appeal.
DIY-Friendly Changes That Respect the Fabric
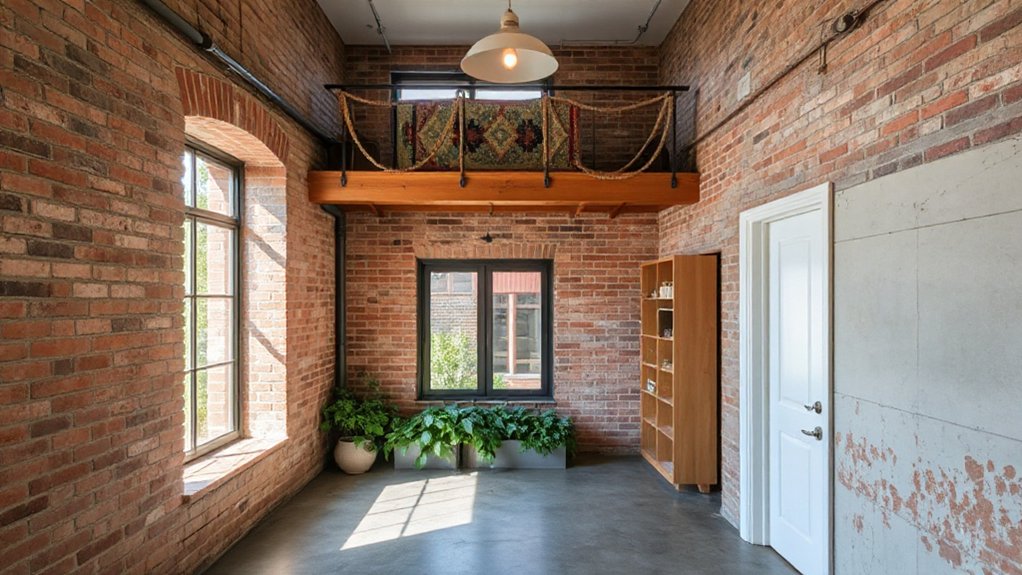
Start by preserving exterior texture to maintain the building’s historic silhouette while you plan interior changes. Use gentle internal reconfigurations that don’t disrupt load paths or character, prioritizing clean lines and reversible moves. Reuse historic elements where possible, integrating them with contemporary finishes to honor the fabric without compromising safety or future adaptability.
Preserve Exterior Texture
Preserve exterior texture by prioritizing the existing materials and patterns that define the building’s character. You’ll guide the facade restoration with precise material retention, avoiding unnecessary cover-ups that mute the street presence. Maintain original assemblies where feasible, documenting joinery, brickwork, and cornice lines before any intervention. Preserve texture through thoughtful repointing, compatible mortars, and controlled cleaning that respects patina.
- Retain window reveals, lintels, and molding details to preserve texture cues
- Prefer traditional mortars and lime-based composites for any repointing
- Use low-abrasion cleaners to reveal preserved brick and stone without damage
- Restore or replicate decorative façades in place, not in replacement
This approach keeps exterior texture intact, ensuring a faithful Facade restoration while future-proofing durability and curb appeal. Exterior texture remains legible and authentic.
Gentle Internal Reconfigurations
Gentle internal reconfigurations respect the existing fabric by focusing on non‑invasive, DIY‑friendly changes. You approach space planning with precision, prioritizing reversible moves and minimal disruption to structural elements. Map utilities and observe fire-safety requirements before touching walls or ceilings. Use lightweight partitions, sliding screens, and modular furniture to redefine zones without compromising alcoves or display bays. Preserve original glass, moldings, and datum lines; document any alterations for future renovation. When selecting finishes, choose low-odor paints and durable materials that align with the shopfront’s character. Integrate lighting that highlights architectural features while enhancing energy efficiency. Consider artistic expression and cultural significance in focal moments, like standalone art plinths or performance nooks, ensuring adaptability for evolving needs. Maintain clear budgets, timeframes, and inspection checkpoints throughout the process.
Reuse Historic Elements
When reusing historic elements, prioritize components with documented provenance and structural compatibility, then adapt them with minimal intervention. You’ll maintain authenticity while ensuring safety, performance, and long-term durability through careful assessment, repair, and integration. Focus on meaningful assets first—cornice lines, timber joists, storefront glazing, or masonry bays—retaining patina and original joinery where feasible. Use reversible fixes and compatible materials to avoid compromising historic preservation outcomes. Document choices and maintain a clear provenance trail for future adaptive reuse. Plan discreet upgrades to services, preserving finish and texture. Engage professionals for load paths and moisture management to sustain the fabric. Your approach emphasizes restraint, respect for the building’s history, and the potential for continued public-facing identity.
- Provenance-centered retention of features
- Reversible interventions and compatible materials
- Load-path and moisture-conscious upgrades
- Clear documentation of decisions and changes
When to Hire Pros and What to Expect
Deciding whether to hire pros depends on scope, budget, and timeline; if structural changes, electrical systems, or plumbing are involved, bringing in licensed specialists is essential to guarantee code compliance and safety. You’ll typically engage a general contractor to coordinate trades, plus a licensed electrician, plumber, and possibly a structural engineer for load-bearing questions. From the outset, obtain written estimates, milestones, and permit timelines, then compare documentation for insurance, warranties, and liens protections. Historical significance and neighborhood regulations influence scope, inspection points, and approvals, so factor those into your contract and schedule. Expect site visits, documentation requests, and a pre-construction meeting to align on design intent and safety practices. Clear communication and a documented change-order process prevent drift and cost overruns.
Use Vertical Space and Street-Facing Features
Vertical space and street-facing features aren’t afterthoughts; they define livable footprint and curb appeal.
You optimize vertical space through stacked storage, mezzanines, and slim circulation routes that preserve usable floor area. Consider mechanicals and lighting integrated into the structure to minimize intrusions, supporting Vertical integration while preserving ceiling height.
Your street façade becomes a functional interface: secure entry, durable cladding, and visible windows that read as openings rather than advertisements. Use fenestration to control light, privacy, and cross-ventilation without compromising security or energy performance.
- Stackable storage solutions and mezzanine levels for added square footage
- Discreet mechanicals integrated into the spine of the building
- Well-placed windows that balance daylight with privacy
- Durable, low-maintenance façade materials tied to energy goals
Focus on efficiency, safety, and architectural honesty.
Keep Entryway Cues and Frontage Cohesive
Keep entryway cues and frontage cohesive by aligning access, security, and aesthetic language with the rest of the storefront-to-residence transformation. You guarantee that entryway design signals the same level of permeability and boundary intention as the exterior, reducing jolts between street presence and home entry. Calibrate door hardware, lighting, and material progression to reinforce a unified narrative from sidewalk to threshold. Maintain consistent signage language, color cadence, and material texture between interior corridors and storefront façade elements. Plan frontage landscaping to frame the entry while preserving sightlines and defensible space, so greenery supports, not competes with, architectural cues. Document zoning-compliant setbacks and accessibility requirements early, and test flow with people of varying heights and luggage. Consistency here minimizes misinterpretation and strengthens curb appeal.
Tiny Storefront Storage Tricks That Work
Tiny storefront storage can feel like a puzzle, but smart, space-efficient choices open usable area without sacrificing storefront integrity. You’ll optimize verticals, embed hidden compartments, and preserve display lines to keep the storefront legible and functional. Focus on modular components that adapt to varying needs, not bulky fixtures.
- Integrate wall-mounted cabinets with slim profiles near the signage to keep traffic flow clear
- Use shallow, pull-out bins behind the window display to store props and seasonal items
- Install pegboard or slatwall panels for flexible tool and accessory storage
- Choose multi-purpose furniture that doubles as display staging and concealment
This approach preserves Storefront signage clarity and maintains a clean Window display while maximizing storage efficiency.
Soundproofing and Privacy in a Streetfront Home
Soundproofing and privacy in a streetfront home require precise planning that respects the storefront’s visual lines while shielding living spaces from street noise and passersby. You implement robust assemblies at the facade, ceiling, and floor interfaces, focusing on continuous barriers and minimized flanking paths. Use decoupled framing, acoustic-rated drywall, and mass-loaded vinyl to elevate isolation without bulk. Seal all gaps with gasketed joints and perimeter seals; doors should be solid core with tight thresholds and automatic astragals. For privacy, select opaque glazing or tuned window films and redirect sightlines with internal screens that don’t compromise daylight. Employ soundproofing techniques that also reduce transmission through service penetrations. Privacy solutions include controlled entry points and strategic room placement to maintain interior confidentiality and curb external intrusion.
Lighting Schemes for Narrow, Open-Feeling Spaces
When designing lighting for narrow, open-feeling spaces, prioritize layered illumination that amplifies perceived width without clutter. You’ll balance ambient, task, and accent layers to create depth, avoiding harsh single-source glare. Use wall-wash or track lighting to sculpt vertical planes, and choose fixtures with wide beam spreads to preserve sightlines. Integrate natural daylight where possible, pairing it with controlled artificial light to maintain consistent lighting ambiance throughout the day. Dimmer controls and color temperature tuning help adapt space for activities and mood. Choose slim profiles and recessed options to minimize visual bulk. Prioritize energy efficiency, maintain glare-free zones, and coordinate with finishes for seamless integration.
- Layered ambient, task, and accent lighting
- Wide-beam fixtures preserving sightlines
- Daylight integration with dimmable control
- Slim, recessed, low-profile fittings
Personalize With History-Driven Decor
Personalize the space with history-driven decor by selective storytelling through artifacts, finishes, and furniture that reference the building’s past. You leverage historic cues to establish atmosphere without clutter, selecting pieces that reflect era, locality, and craft. Prioritize readability and cohesion: pair reused materials with contemporary silhouettes to avoid nostalgia becoming a crutch. Focus on disciplined color palettes that echo original storefront glazing, brick, or timber, then introduce accents that read as intentional cultural symbolism. Use artifacts sparingly, documenting provenance to support authenticity and valuation. For artistic expression, curate pieces that reveal personal meaning while respecting heritage context. Integrate finishes that patina with light, avoiding over-polish. Document the narrative in subtle placements—labels or shelving—that invite curiosity, yet maintain clean sightlines for daily living.
Renovation Timeline: Step-by-Step Checklist
Starting with a clear plan is essential: map every phase from securing approvals to final detailing, then sequence tasks in a logical, calendar-driven timeline.
- Establish milestones for approvals, permits, and inspections, then align procurement windows with contractor availability.
- Prioritize historical preservation considerations early, documenting constraints and integrating them into the design brief, including interior lighting concepts.
- Stage rough-in, framing, and services in synchronized blocks, coordinating trades to prevent rework.
- Implement final detailing, finishes, and snag lists, validating compliance and quality before handover.
This structured approach minimizes delays and guarantees accurate budgeting, efficient sequencing, and predictable handover. You’ll maintain architectural integrity while achieving modern comfort, with clear checkpoints and risk mitigation for historical preservation and lighting integration.
Frequently Asked Questions
How Long Does a Storefront-To-Home Conversion Typically Take?
A storefront-to-home conversion typically takes several months, often 4–9, depending on permits and scope. You’ll face Historic preservation considerations and Structural reinforcement needs, which influence sequencing and duration, plus potential design approvals and utility upgrades for compliance.
What Costs Surprise Homeowners Most in Conversions?
You’ll be startled by hidden costs: design aesthetics overruns, planning permissions surprises, structural tweaks, and insulation upgrades. You’ll budget for permits, surveys, and contingency, ensuring your storefront conversion stays on track and compliant with rigorous design standards.
Can I Live in the Space During Renovations?
Yes, you can live in the space during renovations, but plan carefully. Prioritize safe living arrangements, temporary utilities, and risk management. Focus on renovation planning, timelines, and contingencies to minimize disruption and guarantee compliance and safety.
What Insulation Upgrades Are Most Effective in Narrow Storefronts?
Prioritize external wall insulation and airtight membranes for energy efficiency in narrow storefronts. Use high R-value insulation materials like polyiso boards and mineral wool, plus continuous air barriers, radiant barriers, and thoughtful window detailing to minimize thermal bridging.
How Do I Preserve Historical Storefront Charm Legally?
You’ll preserve historical storefront charm by meeting legal requirements and embracing historical preservation guidelines, then document your changes meticulously; coincidences aside, your careful compliance safeguards heritage while you modernize, balancing authenticity with practical, code-compliant upgrades.
Conclusion
If you crave a dramatic, street-to-home transformation, question the conventional shopfront myth: that retail shells can’t truly be homey. The truth is that with precise structure checks, thoughtful light planning, and purposeful zoning, a storefront can become a luminous, private dwelling without losing its edge. You’ll reveal smart, long-lasting systems, preserve character, and craft a flow that feels expansive in a narrow footprint. The theory holds: constraints sharpen design; your reform can outperform expectations.
About the Author



