
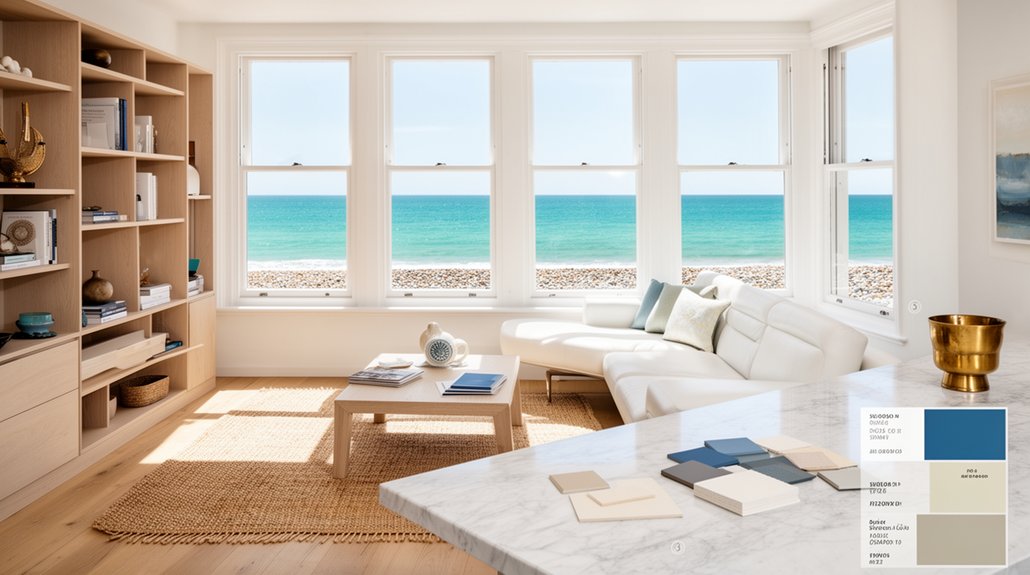
In Brighton, start with a clear layout scan: map flow, light paths, and sea views, then design open living zones, practical kitchens, and private retreats to feel spacious. Improve natural light with sheer coatings, mirrors, and layered lighting, while prioritizing durability against salty air with rain-ready finishes and slip-resistant surfaces. Use modular storage, coastal palettes, and weatherproof materials. Plan a phased renovation with budget buffers and a smart tech core for climate, security, and convenience—you’ll gain confidence as details unfold.
Key Takeaways
- Start with assessment: sketch layout, map connections, and identify bottlenecks to optimize flow toward sea views.
- Maximize natural light: analyze daylight paths, reduce obstructions, use mirrors and layered, adjustable lighting.
- Choose durable coastal finishes: UV/salt-resistant paints, salt-tested coatings, slip-resistant surfaces, and corrosion-proof fixtures.
- Plan smart storage and coastal palette: vertical storage, multi-functional furniture, pale neutrals with muted blues/greens, durable materials.
- Manage renovation, budget, and maintenance: phased timeline, capex/opex tracking, smart tech integration, and ongoing upkeep routines.
How to Assess a Brighton Coastal Apartment Layout
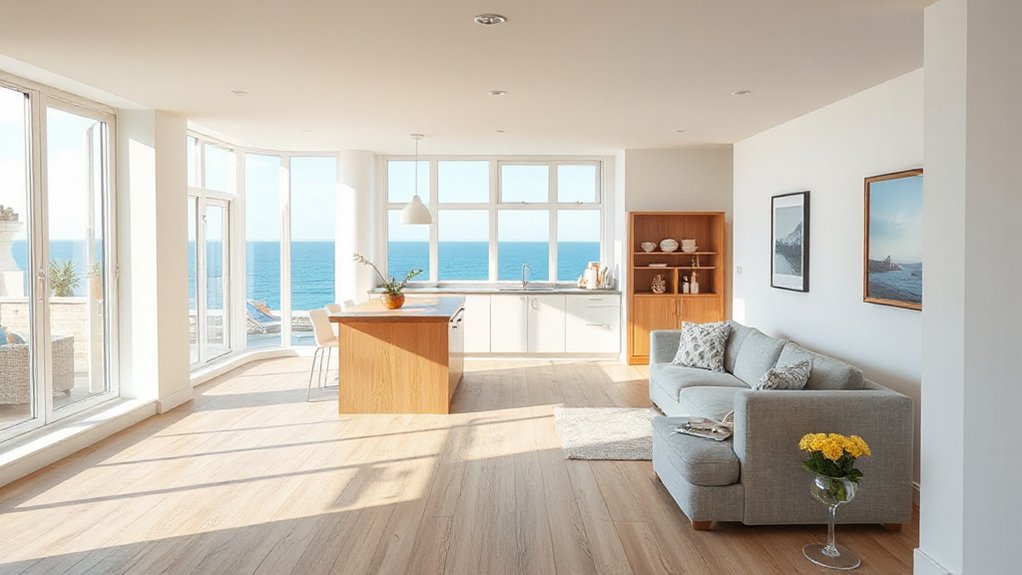
When evaluating a Brighton coastal apartment’s layout, start by sketching a quick floor plan to capture flow, natural light, and access to outdoor spaces. You’ll map how each room connects, where doors align, and how hallways guide movement toward balconies or sea-facing windows. In Seaside architecture terms, assess how materials, textures, and tones echo the shoreline without overpowering space. Prioritize coastal design principles: a clear, open living zone, a functional kitchen, and private retreats that won’t feel cramped when the tide pushes midday sun inside. Note circulation bottlenecks, sightlines to the sea, and any awkward nooks. If a layout supports flexible furniture and preserves cross-ventilation, you’ve identified a strong base for upgrades that balance practicality with coastal elegance.
How to Maximize Natural Light in a Sea‑Side Home
Maximizing natural light in a sea-side home starts with recognizing how your current layout funnels daylight from windows and doors. You’ll map primary light paths, then reduce obstructions like bulky furniture and heavy drapes that trap glow in corners. Choose reflective, light-colored surfaces for walls and ceilings to bounce brightness without glare. Install sheer window treatments and consider pane-splitting to amplify radiance from multiple directions. Employ strategically placed mirrors to extend daylight into dim zones and guide morning sun toward living spaces. Integrate Seaside flora-inspired textures and Coastal art to enhance perceived brightness and mood, not just decoration. Finally, trim outdoor shade in key windows or use adjustable louvers, ensuring indoors stay bright without overheating during peak sun.
Durable, Rain‑Ready Finishes for Brighton’s Climate
Durable, rain-ready finishes for Brighton’s climate demand coatings and textures that stand up to salt, mist, and frequent showers without sacrificing style. You’ll choose weatherproof finishes that blend coastal resilience with refined aesthetics, so surfaces endure without looking worn. Prioritize materials that resist corrosion, mildew, and fading, while maintaining tactile appeal and easy maintenance.
- Exterior paints with UV and salt resistance for walls and railings
- Salt‑spray–tested coatings on doors, shutters, and metalwork
- Sealed timber and composite decks with moisture barriers
- Ceramic or porcelain tiles in wet zones, paired with slip‑resistant textures
These options reinforce durability, preserve color, and keep interiors pleasant, wave after wave. Coastal resilience plus weatherproof finishes give you lasting appeal and practical protection.
Smart Storage Solutions for a Compact Space
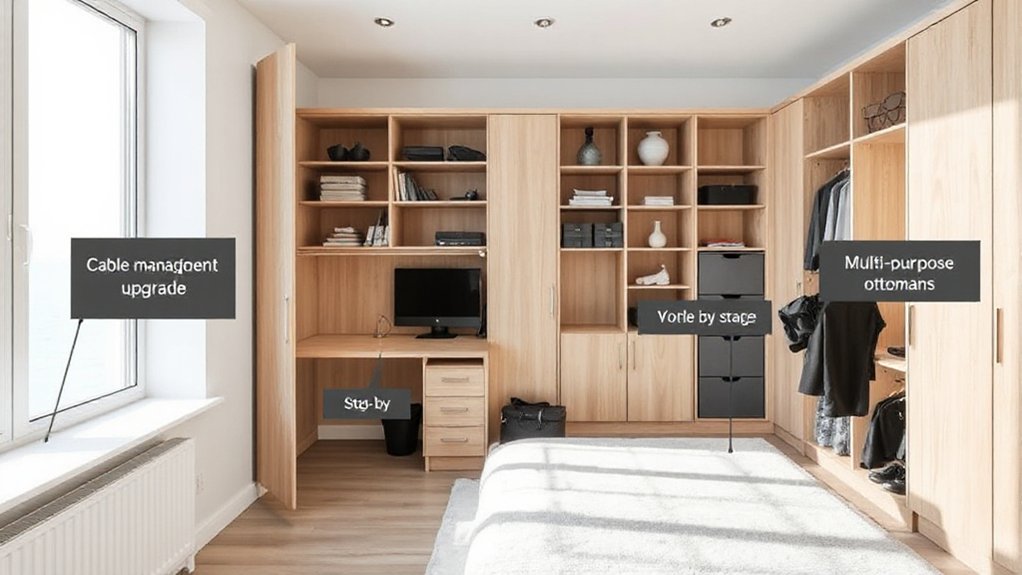
Smart storage in a compact Brighton home starts with clever verticals, so you reclaim floor space without sacrificing style. Use multi-functional furniture to hide everyday clutter and add surfaces that stay tidy and usable. Implement hidden organizational systems to keep essentials accessible, yet out of sight, for a cleaner, coast-ready look.
Clever Vertical Storage
Clever vertical storage turns every square foot into usable space, especially in a compact Brighton apartment. You’ll reclaim cluttered corners with deliberate placement, keeping rooms breathable and cohesive. Use vertical shelving to draw the eye upward, creating order without bulk. Wall mounted storage keeps surfaces clear, letting light and texture do the talking.
- Install tall, sturdy vertical shelving for books, decor, and essentials.
- Mount wall storage above desks and counters to free tabletop space.
- Opt for slim rails and hooks to organize bags, cords, and accessories.
- Choose modular units that adapt as needs evolve.
This approach is practical, stylish, and precise, maximizing utility without sacrificing aesthetics. Your space feels larger, calmer, and more usable, with clean lines and intentional rhythm guiding every choice.
Multi-Functional Furniture
Next, you’ll see how multi-functional furniture turns every inch into usable space without clutter. In a compact Brighton flat, choose pieces that serve dual roles without sacrificing style. A convertible bed tucked under a guest sofa or wall paneling keeps you sleeping well while freeing daytime rooms for living or work. Look for clean lines, muted tones, and sturdy mechanisms that feel premium rather than gimmicky. Fold away desks maximize your work surface without dominating the room, and hidden drawers keep essentials within reach but out of sight. Opt modular options you can reconfigure as needs shift—guest room, home office, or social nook. Prioritize quality hardware, easy access, and a cohesive silhouette to maintain an airy, coastal aesthetic.
Hidden Organizational Systems
Hidden organizational systems transform every square inch into usable storage without visual clutter. You’ll leverage compact, purpose-built solutions that blend with Brighton’s aesthetic, keeping lines clean and rooms serene. Think modular shelving, under‑bed drawers, and wall‑mounted units that don’t overwhelm, yet maximize every surface. Use hidden compartments to stash essentials out of sight, and apply organizational hacks like label‑free baskets for quick access. Focus on symmetry and material continuity to preserve a calm seaside vibe while boosting capacity.
- Slide‑out pantry drawers behind cabinetry
- Hidden compartments in coffee tables and ottomans
- Wall rails with retractable hooks and bins
- Staircase storage with shallow, pull‑out organizers
Coastal Color Palettes and Materials That Feel Right
Coastal color palettes should feel natural and light, so start with a base of pale neutrals—soft whites, warm beiges, and blown-by-the-sea grays—that brighten spaces without shouting. You’ll layer in Seaside hues as accents: muted sage, dusty blues, and pale greens that echo sky and shore without overwhelming. Use contrast sparingly, letting texture carry depth. Materials should be durable and tactile: wide-plank woods, matte ceramic tiles, and natural fabrics in low-sheen finishes. Choose fabrics and wall finishes that resist sun fade while preserving warmth. Weather resistant textiles for cushions and throws keep your scheme sharp longer. Balance glossy surf accents with matte surroundings to avoid reflectivity, ensuring cohesion from room to room while maintaining a calm, coastal mood.
A Flexible, Sea Breeze–Friendly Furniture Plan
A flexible, sea-breeze–friendly furniture plan starts with modular, lightweight pieces that move as readily as the wind. You’ll reclaim space without sacrificing style, keeping Seaside serenity and Coastal comfort at the core of every decision.
- Choose modular sofas and chairs that reconfigure for conversations or open-floor layouts.
- Opt for low-profile, breathable fabrics and compact coffee tables that don’t crowd sightlines.
- Use nests and stackables for seasonal shifts, storage, and quick room reassignments.
- Include multiuse surfaces—ottomans with storage or foldable desks—to maximize function without clutter.
Lighting Strategies for Day and Night in a Small Flat

In a small Brighton flat, you’ll shape lighting with ambient layers that softly define space from dawn to dusk. Start with steady ambient light, add gentle task options for evening routines, and tailor brightness to mood and function. We’ll explore how these layers—plus practical nighttime cues—support both day-to-day living and a coastal atmosphere.
Ambient Lighting Layers
Ambient lighting layers create depth and mood without cluttering a small Brighton apartment. You’ll sculpt ambiance by combining constant ambient glow, task accents, and feature highlights, all while keeping sightlines open. When you plan, think in layers, not piles, and let the space breathe with purpose.
- Use a dimmable ceiling wash as the baseline to establish ambient layers and mood illumination without overpowering the room.
- Add wall sconces or under-shelf LEDs to carve architectural depth and softly guide daytime-to-evening shifts.
- Introduce warm-to-neutral task lamps for reading or cooking zones, preserving efficiency without harsh glare.
- Highlight a focal feature (art, nook, or window) with a targeted accent light to finish the mood illumination.
Nighttime Task Lighting
Nighttime task lighting in a small Brighton flat should be practical, focused, and flexible. You’ll prioritize interfaces that let you adjust direction, intensity, and color temperature without clutter. Choose slim, ballastless fixtures near work zones—kitchen counters, desks, and reading nooks—to cut glare while preserving sightlines. Use layered options: adjustable wall sconces, under-cabinet LEDs, and a dimmable floor lamp. Favor warm to neutral tones that support Lighting aesthetics and reduce eye strain after hours. Install motion or touch controls for quick access while staying energy‑savvy. Keep cords tucked or wireless where possible to maintain a calm, uncluttered surface. For nighttime ambiance, blend task lights with subtle uplights to add depth without overpowering the space. Prioritize consistency, so your glow feels deliberate, not incidental.
Kitchen and Bath Upgrades That Stand Up to Salty Air

You don’t want salt air to undermine your kitchen and bath investments, so pick materials and finishes that resist corrosion and wear. In this coastal context, choose durable metals, porcelain, and solid surfaces with low porosity, plus protected hardware that can shrug off mist. Favor Seaside architecture‑inspired lines and finishes that look timeless while performing under coastal conditions, and weave in coastal landscaping cues where possible to extend the vibe indoors.
- Use stainless steel or enamel-coated fixtures that resist tarnish and patina.
- Opt quartz or solid-surface countertops with sealed seams and abrasion resistance.
- Select water‑resistant cabinetry with moisture‑proof finishes and UV stability.
- Choose slip‑resistant, ceramic‑tile floors and corrosion‑proof fittings.
These choices create a pragmatic, aesthetic upgrade rooted in durability and serenity.
Quick Wins: Smart Tech and Maintenance Routines
Smart tech and smart routines deliver immediate wins in a coastal Brighton apartment. You’ll start with a compact smart home hub that controls lighting, climate, and window shades, reducing energy use without clutter. Pair devices to streamline daily rituals: set morning wake routines, auto-dimming lamps at sunset, and a single tap to switch modes for a storm. Routine maintenance becomes a habit, not a chore—dust filters monthly, check seals around doors, and schedule battery swaps in sensors. Choose weatherproofed gear rated for high humidity, and place outlets away from splash zones. Prioritize thoughtful aesthetics: matte finishes, hidden cables, and cohesive color tempos that mirror the sea. With clear labels and simple automations, you gain reliability, comfort, and a calmer, more efficient home environment.
Budgeting Your Upgrade: Costs, ROI, and Realistic Timelines
Budgeting your upgrade starts with a clear, realistic plan: cost ranges, expected ROI, and a practical timeline for each phase. You’ll anchor decisions in solid budget planning, balancing upfront spend with long‑term value. Track items by priority, not impulse, and quantify risk margins to avoid surprises.
1) Define capex vs. opex: what you pay once versus ongoing maintenance.
2) Map ROI analysis to tangible gains: energy savings, resale uplift, and rental appeal.
3) Set phase timelines with buffers for coastal delays and permits.
4) Establish review points to adjust scope, budget, and expectations.
This approach keeps you precise, informed, and shielded from scope creep, ensuring your Brighton upgrade remains both stylish and financially sound.
Step‑by‑Step Renovation Plan: Prep, Execute, and Reveal

You’ll start with Prep, outlining your priorities, measurements, and a realistic timeline that anchors the whole project. Then you’ll move to Execute with tight coordination, clear milestones, and checks that keep workmanship aligned with your coastal aesthetic. Finally, you’ll reveal with a concise walkthrough that celebrates progress and sets the stage for the finishing touches.
Prep To Plan
Before you pick up a hammer, lock in clear goals, constraints, and a realistic timeline. Prep to Plan means you map the project with purpose, not guesswork—defining scope, budget bands, and a contingency cushion. You’ll align design intent with practical constraints, ensuring decisions enhance Beachside ambiance and Coastal decor without overreaching. Build a phased outline that guides procurement, permits, and scheduling, then validate it against daily life realities in Brighton.
1) Clarify objectives, priorities, and non-negotiables.
2) Tag a practical budget, with line items and buffers.
3) Create a milestone calendar, linking tasks to delivery dates.
4) Establish decision gates to keep the plan lean and aesthetic.
This approach keeps you purposeful, efficient, and visually coherent for the coastal setting.
Execute And Reveal
With your plan in hand, you start the actual renovation—grounded, organized, and purposeful. You translate prep into decisive action, sequencing tasks so trades align and timelines don’t drift. First, execute and reveal the core priorities: replace worn finishes, seal against damp, and optimize natural light. You monitor materials on site, avoiding delays by maintaining strict ledgers and clear sign-offs. Communicate changes calmly, documenting why and how decisions shift. You stay mindful of coastal conditions—salt, humidity, breeze—choosing durable, low-maintenance selections that age gracefully. As work progresses, you assess progress against milestones, adjusting allocations without sacrificing quality. Finally, reveal the transformation with intentional staging, balancing texture, color, and light to evoke calm and sophistication—coastal renovation achieved through disciplined execution.
Frequently Asked Questions
How Long Does a Coastal Apartment Renovation Typically Take in Brighton?
Typically, a coastal apartment renovation in Brighton takes 6–12 weeks, depending on scope. You’ll manage marine debris cleanup and salt corrosion mitigation, prioritizing weather windows, permits, and careful material selection to preserve aesthetics and durability.
What Permits Are Needed for Seaside Renovations in Brighton?
You need planning and building permits from Brighton & Hove City Council, plus potentially listed building or conservation-area consents; check marine conservation and seaside landscaping implications early, and coordinate with planners to avoid delays and align with local aesthetics.
Can I Upgrade Without Major Structural Changes in a Listed Building?
Yes, you can upgrade without major structural changes in a listed building, but you must respect historical preservation guidelines and plan minimal interventions. Prioritize aesthetic improvements and structural reinforcement where needed, while preserving character and avoiding irreversible alterations.
Which Insurance Covers Coastal Renovation Risks in Brighton?
You should seek specialist marine renovation insurance, preferably a policy that covers coastal risks. It’s essential for insurance claims when weather, tides, or moisture affect your project, ensuring adequate renovation coverage throughout the Brighton upgrade.
What Are Common Hidden Costs in Coastal Upgrades?
Cutting corners will cost you later; hidden costs include marine erosion considerations and salt corrosion of fixtures. You’ll budget for permits, facade repairs, drainage upgrades, and contingency. Plan with caution, and don’t shrug off maintenance or warranties.
Conclusion
You’ve mapped the coastline of your space, weathered with salt and sunlight, and now it’s time to anchor your vision. Treat every square meter like a tide pool—gleaming, patient, alive with possibility. With durable finishes, clever storage, and light that travels, your Brighton condo becomes a harbor of calm and character. Stay disciplined, adapt as waves change, and let the plan reveal the room you’ve earned: resilient, refined, unmistakably you. Your upgrade completes, and the horizon stays bright.
About the Author



