
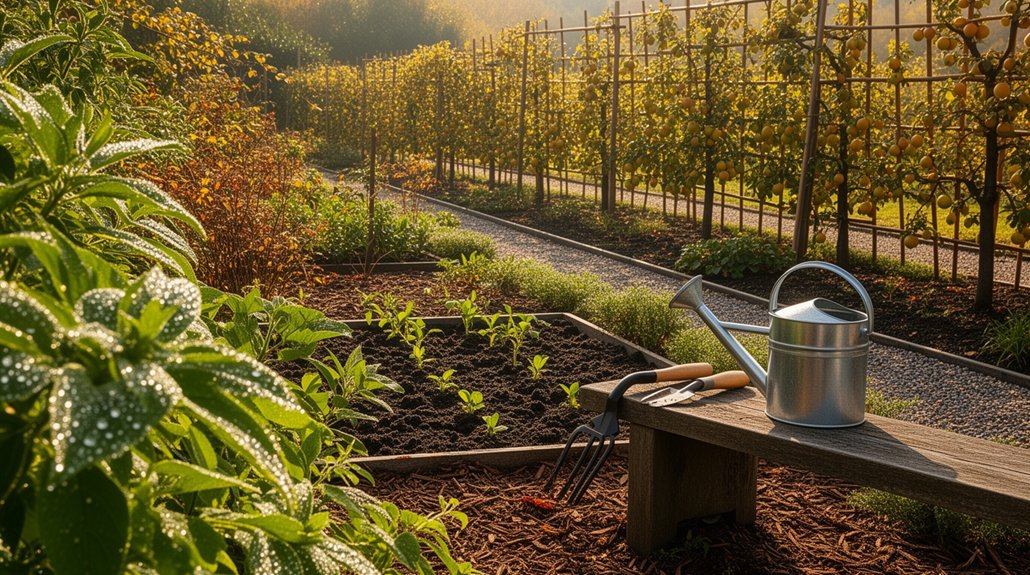
Season-long garden care starts with healthy soil and smart mulch. Test and amend your soil, improve drainage, and incorporate compost to feed microbes. Use 2–3 inches of mulch, renew every 1–2 years, and select materials that fit your bed conditions. Plan planting by frost dates, rotate crops, prune wisely, and remove diseased tissue. Water deeply with drip irrigation, scout weekly for pests, and protect beds in winter with mulch and frost covers. Want more actionable steps ahead?
Key Takeaways
- Plan seasonal planting and pruning around frost dates, with varieties suited to your climate and rotation to prevent pests.
- Maintain soil health year-round by testing pH, amending nutrients, and adding compost or organic matter before planting.
- Use mulch to regulate soil moisture, prevent weeds, and protect roots; renew 1–2 years as needed.
- Implement targeted watering (drip irrigation) and regular soil moisture checks to prevent over- or under-watering.
- Scout weekly for pests and diseases, rotate crops, and use resistant varieties to reduce outbreaks across seasons.
A Practical Year-Round Garden Maintenance Plan

A practical year-round garden maintenance plan starts with a clear calendar of monthly tasks so you can anticipate needs rather than react to problems. You’ll map seasonal windows for irrigation checks, soil tests, and mulching, then align tasks with growth cycles. Prioritize Garden art placements and durable structures as part of landscape rhythm, ensuring they tolerate weather shifts and do not obstruct maintenance access. Implement pest control strategies proactively: scout weekly, time interventions to pest life cycles, and choose targeted, low-toxicity options when possible. Establish simple SOPs for pruning, fertilization, and debris removal to minimize disease vectors. Maintain records of performance, weather anomalies, and pest pressures to refine the plan. Review quarterly, adjust calendars, and communicate responsibilities to contractors or household members for consistent execution.
Spring Cleanup: Declutter, Prune, and Reset Soil Health
Spring cleanup starts with clearing yard debris to prevent overwinter pests, then pruning for shape and airflow to encourage healthy growth. You’ll prune strategic growth, removing weak or crossing branches and cutting back to outward-facing buds for better light penetration. Finally, you reset soil health by testing, amending as needed, and incorporating organic matter to improve texture and microbial activity.
Declutter Yard Debris
From the moment the snow recedes, start by removing fallen leaves, twigs, and plant debris to prevent overwintering pests and diseases from taking hold. You’ll inspect beds, pathways, and under shrubs, collecting material into compostable piles or designated waste bins. Separate clean debris from diseased matter; bag or dispose diseased material to prevent contamination. Rake and declutter around perennials to reveal crown health and improve air circulation, reducing fungal pressure. For pruning residue, compost only verified clean material; otherwise, discard. Maintain a tidy mulch ring around plants to suppress weeds and conserve moisture. Monitor for garden pests and wildlife habitat indicators, adjusting debris management to avoid attracting nuisance animals. Practice consistent debris removal after storms to sustain soil structure and early-season vigor.
Prune Strategic Growth
As growth resumes, focus on pruning to shape structure, encourage air circulation, and set up soil health for the season. You’ll remove dead or crossing branches to maintain trunk taper and reduce disease reservoirs, then thin interior wood to improve light penetration and ventilation. Prioritize season-appropriate cuts: sharpened loppers, clean shears, and collar-seal when needed. Make gradual reductions rather than wholesale removal to avoid stressing plants and triggering unwanted growth. Keep cuts just above outward-facing buds to direct new growth away from the canopy interior. Monitor for signs of stress or improper water balance post-pruning, and adjust maintenance accordingly. Be mindful of Garden pests and Wildlife control implications when pruning near nesting sites or sheltered detritus, reassessing nearby habitats after pruning windows.
Reset Soil Health
Resetting soil health starts with a clear, practical plan: remove debris that harbors disease, test and amend as needed, and reintroduce life into the topsoil. You assess structure, texture, and drainage to prevent compaction and erosion. Conduct a soil test, interpret pH and nutrient levels, and apply targeted amendments: lime or sulfur to correct pH imbalance, organic matter to improve cation exchange capacity, and precise compost rates to rebuild microbial activity. Implement a gentle topdress and incorporate mulch to conserve moisture and suppress weeds. Reintroduce cover crops or shallow-rooting natives to stabilize soil and reduce erosion during spring rains. Monitor for signs of compaction, nutrient deficiency, or drainage issues, and adjust amendments accordingly to maintain a balanced, resilient soil ecosystem.
Soil Preparation for Spring and Early Summer Garden Beds
When preparing spring and early-summer garden beds, start with a thorough soil assessment to determine texture, structure, and nutrient status, then correct imbalances before planting. You’ll sample soil at multiple depths, record CEC, and evaluate organic matter. Identify compaction zones and loosen them with light tillage or cultivation to restore porosity, ensuring drainage remains even. Test pH, aiming for site-appropriate ranges by crop; perform pH balancing with lime or elemental sulfur as indicated, avoiding overcorrection. Apply precise fertilizer according to a soil-plant test, prioritizing uniform distribution and incorporation to subsoil levels for consistent availability. Manage soil erosion risk by establishing stable surface cover and minimizing disturbance during wet periods. Monitor microbial activity after amendments, and re-test mid-season to guide ongoing adjustments.
Mulch Management in Spring: Depth, Materials, and Renewal Timing
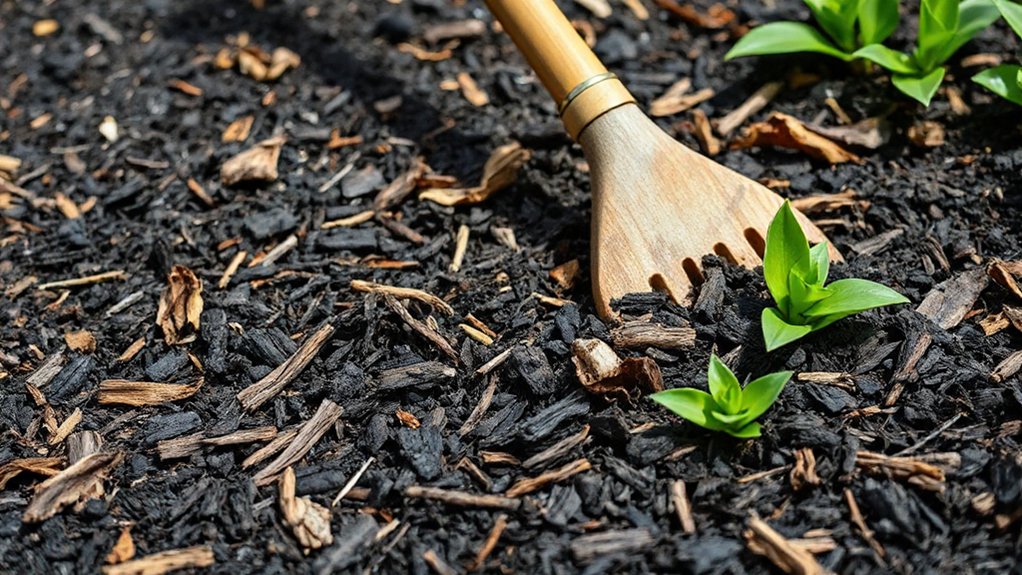
Set your spring mulch depth to about 2-3 inches to suppress weeds while preserving soil-atmosphere exchange; verify that mulch is kept a few inches away from trunk bases to prevent rot. Choose material varieties based on weed suppression, moisture retention, and nutrient needs—coarse compost, shredded hardwood, and pine needle blends each offer distinct advantages and application considerations. Plan renewal timing around post-wet seasons or early signs of decomposition, aiming for reapplication every 1-2 years or as needed to maintain coverage and performance.
Mulch Depth Guidelines
Mulch depth should be adjusted to balance weed suppression, moisture retention, and root growth, with spring as the ideal window for evaluation and renewal. Maintain a 2-3 inch layer for most beds, adding fine mulch on top if compaction occurs, and avoid piling against stems or trunks. In shrub borders, target 2 inches; for delicate perennials, 1.5 inches minimizes crown rot risk. Never exceed 4 inches, as deeper layers impede oxygen diffusion and foster pest harborage. Reassess after seasonal shifts and rainfall patterns; rework lightly to prevent crusting and improve infiltration. Use uniform coverage, ensuring edge-to-edge continuity. Consider Garden art placements as visual cues for even distribution, and align mulch depth with Pest control goals to deter hopping insects and fungal growth. Next-season renewal should reflect changed plant density and weed pressure.
Material Varieties Criteria
Choosing the right mulch material in spring hinges on balancing weed suppression, moisture retention, and root health, so start by matching material properties to bed conditions and irrigation routines. Material varieties matter because each option delivers distinct performance: cedar and cypress resist decay and pests but vary in cost; shredded hardwoods decompose quickly and enrich soil; pine fines promote acidity suitable for blueberries; rubber and landscape fabrics offer long-term weed control but may impede soil biology. Assess texture, color, and particle size to sustain uniform coverage without matting. Garden aesthetics guide the visual impact alongside function, ensuring you select colors and forms that complement beds and structures. Consider sourcing renewals in alignment with seasonal cycles to maintain consistency, depth, and mulch integrity. Plan for replacement timing and recycling options as crops progress.
Renewal Timing Tips
Spring renewal is time-critical: refresh mulch before soil warms and weeds surge, planning replacement intervals that align with crop cycles and irrigation schedules. You’ll schedule refreshes before ground temperatures rise, preventing germination hotspots and nutrient leaching. Use a 2-3 inch layer for most beds; avoid piling against stems to prevent rot. Choose materials with consistent particle size for even soil insulation, and stagger renewals to maintain continuous coverage. Monitor decomposition rate; decaying mulch reduces aeration and can harbor garden pests if moisture accumulates. Coordinate composting techniques with renewals to recycle organic matter on-site, reducing inputs and improving soil structure. Inspect for pests after mulch application, and address signs of infestation promptly. Document renewal dates, material sources, and nutrient goals for dependable long-term soil health.
Planting Timing and Seasonal Variety Choices
In planting timing, knowing your climate zone and frost dates lets you synchronize seed sowing with ideal soil warmth and moisture, reducing leggy growth and transplant shock. You’ll plan by days to maturity and regional frost-free windows, aligning sowing dates with peak germination conditions. Consider seasonal variety choices that perform in your zone, selecting cultivars with compatible photoperiods, heat tolerance, and disease resistance. For spring, prioritize fast-mycling crops and succession plantings; in summer, emphasize heat-tolerant varieties and fade-resistant foliage. Use precise sowing depths and seed spacing to optimize emergence. When selecting varieties, weigh flavor, storage potential, and harvest timing to fit your culinary calendar. Remember plant spacing and seed selection together; crowded stands trigger stress, uneven yields, and labor-intensive thinning.
Watering Setup for Spring Growth and Root Establishment
Efficient watering setup starts with a focused plan for spring growth and root establishment: establish a consistent moisture baseline, tailor irrigation to soil type, and monitor root-zone conditions to prevent stress and encourage deep rooting. You’ll implement a timed, soil-morne assessment to avoid surface crusting and standing water. For sandy textures, apply slower, deeper irrigation; for clay, shorter cycles with higher frequency but better infiltration. Use mulch to minimize evaporation and regulate soil temperature. Prioritize drip irrigation or soaker hoses to target root zones and reduce foliage wetness, which can invite disease. Integrate a Rain garden to capture overflow and improve infiltration during peak cycles. Enhance soil biology with compost tea application when microbes are active, aligning with irrigation to maximize nutrient uptake and resilience. Regular checks guarantee sustained moisture without overwatering.
Pest Prevention Basics to Start the Season Right
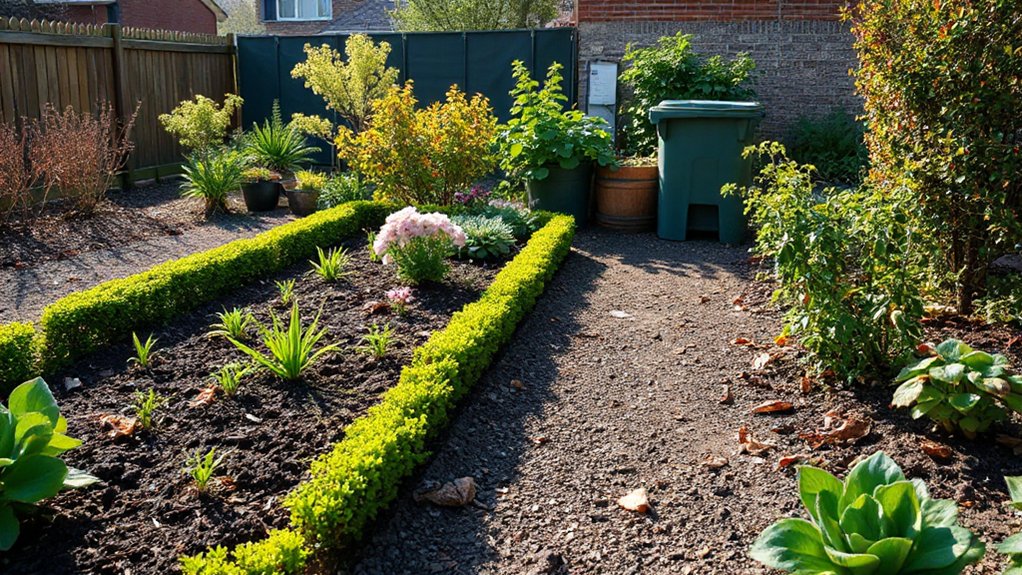
Start the season right by establishing early monitoring techniques to catch problems before they spread. Implement barrier methods (mesh covers, row covers) and habitat adjustments that deter pests while supporting beneficials. Track pest activity and adjust strategies promptly, focusing on quick, practical actions that protect plant health without disrupting growth.
Early Monitoring Techniques
Early monitoring sets the baseline for pest prevention, so start before the season truly shifts. You’ll establish a diagnostic routine that emphasizes early monitoring and pest detection, reducing later intervention needs. Begin with a weekly scouting schedule, focusing on hotspots: young flush growth, undersides of leaves, and soil-surface interfaces. Use a handheld magnifier to inspect for eggs, larvae, and fine-scale feeding damage, logging observations in a field notebook or app. Track environmental cues—soil moisture, canopy density, and temperature fluctuations—that influence pest emergence. Implement threshold-based actions: confirm identification, assess population trends, and apply noninvasive controls when feasible. Prioritize early alerts over delayed reactions, because timely recognition minimizes crop stress and protects beneficial insect activity. Maintain consistency, and integrate findings with broader monitoring cycles for sustainable pest management.
Barrier and Habitat Management
Barrier and habitat management sets the foundation for pest prevention by shaping the outdoor and cropping environment to deter colonization and movement. You establish clear physical boundaries, optimize drainage, and select resilient plantings to reduce attractants. Create defined pest corridors that redirect wildlife to non-crop areas, minimizing contact with crops. Install physical barriers—properly sized exclusion screens, row covers, and skirting around beds—to limit access without hindering pollinators. Maintain dry, weed-free margins and reduce pest habitats by removing standing water, dead debris, and dense understory near yields. Adjust crop sequence to disrupt pest lifecycles, and use trap crops strategically to lure pests away. Monitor routinely, document incursions, and refine barriers accordingly. This approach integrates Wildlife corridors considerations with pest habitats, enhancing early-season resilience.
Summer Irrigation and Soil Moisture Strategies

To prevent stress during hot months, focus on steady, deep watering rather than frequent shallow bursts. You’ll water early morning to reduce evaporation, targeting root zones with drip lines or soaker hoses. Apply 1 to 1.5 inches per week, adjusting for rainfall and crop demand, and avoid overwatering that fosters root hypoxia. Monitor soil moisture with a probe: aim for a 4–6 inch nematode-free moisture profile in beds and a drier mulch layer in paths. Mulching conserves soil moisture, suppresses weeds, and moderates soil temperature. Schedule irrigation by plant category: drought-tolerant natives receive less frequent cycles, vegetables more regularly. Consider rainwater collection and backflow prevention. Balance irrigation with urban wildlife pressures and garden art placements to minimize soil compaction and maximize uptake.
Pruning and Training for Healthy Summer Growth
Pruning and training now keeps summer growth vigorous and productive by directing light, airflow, and energy to the most promising shoots. You’ll remove weak, crossing, or diseased stems at the node, using clean, sharp shears to minimize tissue damage. Pinching soft growth encourages branching and denser canopies, while strategic thinning improves light penetration and air circulation through the plant’s interior. Train vines and scrambling ornamentals along supports, applying ties loosely to avoid girdling. For herbaceous perennials, deadhead spent blooms to redirect resources toward new growth. Apply lawn aeration practices separately to surrounding turf to prevent root competition. When shaping evergreen ornamentals, maintain natural form and avoid excessive shearing that can reduce resilience. Incorporate garden ornamentation thoughtfully, ensuring supports and structures complement growth without impeding future pruning.
Autumn Cleanup: Leaf Management, Composting, and Soil Feed
As autumn arrives, you’ll start with leaf cleanup basics, efficiently raking and shredding to speed decomposition and reduce matting. You’ll then balance composting practices with proper green waste management, turning and aerating piles to maximize microbial activity and nutrient release. Finally, you’ll assess soil health, using leaf litter and compost inputs to feed the soil and improve structure for next season.
Leaf Cleanup Basics
Autumn leaf cleanup starts with a plan: assess how much litter falls, then pick the right tools and timing to minimize effort and maximize soil benefits. You’ll prioritize efficient collection routes, use a mower with a mulch plug, and employ a tarpaulin for containment. Begin with targeted raking zones to reduce unnecessary disturbance and protect perennial beds. Use turn-and-tile techniques to break heavy accumulations into manageable debris. When handling leaves, apply appropriate safety gloves and filtration if using machinery. For disposal, choose debris disposal options that fit your site: composting on-site or municipal programs. Maintain consistent moisture in leaf piles to promote decomposition, monitoring heat and aeration. If you plan to recycle nutrients, integrate leaf residues into soil amendments via Leaf composting rather than indiscriminate removal.
Composting and Soil Health
After leaf cleanup, you can turn autumn debris into a soil asset by prioritizing composting and soil health. You’ll optimize inputs by layering browns and greens, maintaining a carbon-to-nitrogen balance, and oxygenating with regular turning. Use a compost bin to control moisture and containment, ensuring the pile reaches thermophilic temperatures for pathogen reduction. Chop leaves fine to accelerate decomposition and mix with kitchen scraps in modest amounts to avoid odor or pests. Monitor moisture; it should feel like a wrung sponge. Soil testing guides nutrient management, informing amendments such as calcium, phosphorus, or potassium based on results. Apply finished compost sparingly, as a soil conditioner, root-zone builder, and microbial activator. Regularly assess structure, drainage, and microbial activity to sustain long-term soil robustness.
Soil Health Boosts for Fall: Amendments That Pay Off Next Year
Fall is the time to reinforce soil structure and microbial life so next year’s crops get a strong start; that means choosing amendments that improve texture, nutrient availability, and water retention without causing salt buildup. You should prioritize soil amendments that boost organic matter, like well-composted materials, versus simple bulk fillers. Incorporate a balanced carbon-to-nitrogen ratio to sustain microbial activity through winter, then maximize slow-release nutrients for spring uptake. Use Fall composting to feed the soil profile while avoiding excessive fresh organic matter that delays soil drying. Apply lime or sulfur only after a soil test indicates pH adjustments are necessary. Space applications to avoid compaction, water deeply after incorporation, and monitor salinity to preserve root respiration and microbial resilience.
Perennial and Shrub Care to Weather Seasonal Transitions
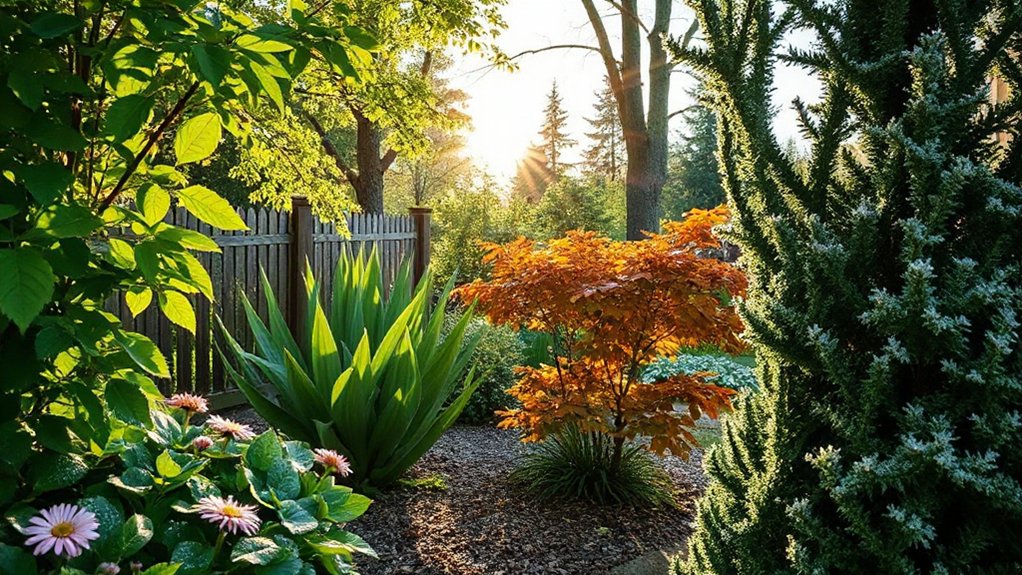
Perennial and shrub care should adapt to shifting conditions by prioritizing root health, seasonal pruning, and targeted protection. You’ll assess crown health first, ensuring adequate drainage and avoiding waterlogged soils during wet swings, then reinforce root systems with light, balanced irrigation. Perform pruning to shape and remove damaged tissue just after flowering or during late winter dormancy, keeping cuts clean to prevent disease entry. Strengthen structural integrity by removing competing shoots and mulching lightly to conserve moisture without suffocation. For plant propagation, selective layering or hardwood cuttings are effective when seasonally appropriate, expanding resilient fronts for next year. Throughout progressions, maintain pest monitoring—spot treat early, monitor for aphids, scale, or fungal outbreaks, and adjust cultural practices to counter threats without harming beneficials.
Mulch Management in Autumn: Protect, Insulate, Replenish
Autumn mulch management protects root systems, insulates soil, and replenishes supplies before winter, so you should tailor depth and material to your beds. You select organic mulch for moisture retention, or inorganic for weed suppression, applying 2–4 inches, water after edging to minimize crusting. In perennial borders, renew shredded bark or pine needles, avoiding mound at crowns; around vegetables, use composted material to boost nutrients while preventing soil compaction. Maintain a clean mulch ring, removing debris that harbors diseases and pests. Regularly monitor moisture; adjust coverage after heavy rains to prevent stem rot. Consider garden pests and wildlife habitats when routing mulch lanes, keeping gaps near plant bases to deter rodents while preserving beneficial soil organisms. Schedule mid- to late-autumn applications for ideal soil warmth retention.
Winter Protection: Frost Protection, Windbreaks, and Planning
As you wrap up autumn practices, shift focus to safeguarding plants from freezing temps and winter winds by implementing targeted frost protection, strategic windbreaks, and a forward-looking plan for the cold season. You’ll assess exposure, select protections by species, and schedule monitoring to minimize damage and labor peaks.
- Apply frost protection with row covers or plant blankets to extend 2–4 hardiness zones on vulnerable specimens
- Install windbreaks using evergreen hedges or lattice screens to reduce desiccating gusts
- Group plants to create microclimates and conserve heat
- Mulch deeper in vulnerable beds to insulate roots and maintain soil temp
- Develop a seasonal maintenance calendar detailing timing, materials, and inspections for sustained protection
Frost protection and windbreaks require deliberate planning, consistent checks, and precise execution.
Tools and Routines for Year-Round Maintenance
A solid year-round maintenance routine rests on reliable tools, smart scheduling, and consistent check-ins that align with seasonal needs. You’ll select high-quality hand tools, a sharp pruner, a robust kneeling pad, and a durable water bottle to sustain focus during tasks. Maintain a tool journal to log usage, replacements, and sharpening dates, and calibrate your calendar for seasonal chores like soil testing, compost turning, and mulch refreshes. Use precise timing for irrigation, pruning, and pest monitoring, documenting thresholds to minimize unnecessary interventions. When planning inputs, favor Organic fertilizers and soil amendments that support soil biology, applying them in accordance with crop cycles. Track Garden pests early, employing targeted, non-chemical controls first to preserve beneficials and reduce chemical load. Schedule quarterly reviews to refine routines and adapt to evolving conditions.
Quick Climate Checklists for Your Region
Seasonal readiness starts with a quick climate check for your region, so you can tailor irrigation, frost protection, and timing of chores to real conditions. You’ll verify local averages, hardiness boundaries, and last frost dates, then adjust schedules accordingly. Use reliable sources to distinguish climate zones and microclimates, avoiding assumptions shaped by gardening myths. Implement evidence-based practices for soil moisture, wind exposure, and heat stress, and align plantings with measured trends rather than guesses.
- Confirm climate zones and microclimates before any major planting
- Record last frost dates and expected temperature extremes
- Assess soil moisture and drainage after rainfall
- Schedule irrigation to match evapotranspiration rates
- Note regional pest and disease pressures, updating plans as needed
Common Seasonal Mistakes to Avoid
Even with solid plans, gardeners routinely slip up by overwatering in cool, cloudy periods or neglecting to adjust irrigation after a rainfall event. Timely irrigation requires soil moisture checks—probe or feel methods reveal root-zone saturation before you water again, preventing root rot and nutrient leaching. Don’t ignore drainage; compacted beds or perched water invite plant diseases. Monitor soil temperature, especially for cool-season crops, and avoid fertilizing late in the season when growth slows. Implement sanitation: remove fallen leaves and diseased tissue to reduce garden pests and pathogen reservoirs. Rotate crops to break pest cycles and diversify planting to weaken uniform disease pressure. Use resistant cultivars when available, and scout weekly for early signs of trouble—address promptly to protect vigor and yield.
Frequently Asked Questions
How Do I Start a Year-Round Garden Maintenance Routine?
Start a year-round routine by pairing companion planting with proactive pest control: plan diverse beds, schedule weekly checks, prune and mulching monthly, rotate crops, monitor soil health, install trap crops, and document results to refine strategies seasonally.
What’s the Best Soil Test Frequency by Season?
A seasonal soil test cadence works best: test before each planting window, then after peak growth. For example, a small orchard sample reveals soil amendment needs; conduct pH testing annually, and adjust accordingly to optimize nutrient availability.
Which Mulch Types Suit My Climate and Beds?
You should choose mulch types—shredded hardwood for drainage, straw for moisture retention, or composted leaf mold for nutrients—based on climate and beds; combine with composting methods and integrated pest control to optimize soil health and suppress pests.
When to Plant Fall Crops for Winter Harvest?
You should plant fall crops 4–6 weeks before the first frost, ensuring soil temperatures stay above 40°F; practice companion planting and crop rotation to maximize resilience, reduce pests, and extend harvest into winter.
How Can I Prevent Overwatering in Heat Waves?
You can prevent overwatering in heat waves by following a strict watering schedule and planting drought resistant plants; did you know 60% of garden overwatering occurs during peak heat? Adjust your schedule, monitor soil moisture, and mulch deeply.
Conclusion
Master your garden with routine precision and ruthless consistency. Treat every season as a tiny prophecy: neglect one week, and a cascading chorus of failures follows. Stay pruning, soil-testing, and mulching on a strict schedule, because healthy soil is your silent powerhouse. You’ll save money, time, and headaches when you anticipate pests, frost, and drought rather than react to them. Your year-round plan isn’t bored maintenance—it’s your garden’s superpower, turning chaos into predictable green abundance.
About the Author


