If you’re aiming to power up a weekend project, start with a core hub that fits your ecosystem and budget, then add quick-win lighting, a simple thermostat setup, and robust Wi‑Fi security. Mount and test devices in stages, label outlets, and map cables for a clean, stable install. Use routines for mornings, evenings, and energy saves, plus motion-triggered lighting in busy areas. By weekend’s end you’ll have a reliable, scalable smart home—and you’ll be primed for more upgrades ahead.
Key Takeaways
- Swap to energy-efficient smart plugs and bulbs to enable quick scenes like “Evening Lights” or “Coffee Maker” without major rewiring.
- Install a simple thermostat and sensor set for easy, scalable climate automation with remote control.
- Mount hubs and label outlets to ensure stability, scheduling routines for wake/leave/return with guided step-by-step tests.
- Set up central lighting in high-traffic areas with motion sensors and room-based scene labeling for easy edits.
- Improve security with door sensors and video doorbells, while isolating IoT devices on separate networks for weekend-friendly deployment.
What You Can Realistically Install This Weekend

If you’re streamlined and practical, you can tackle several smart-home upgrades this weekend without overhauling your setup. Start with quick wins: replace outdated devices with energy efficient appliances that preserve space and reduce bills. Look for models you can install in existing outlets or mounts, minimizing wiring changes. Choose a smart plug kit to control lamps and electronics, then pair a simple thermostat or sensor set to automate comfort without complexity. Keep aesthetics in mind; select devices with clean lines and finishes that blend with your rooms, ensuring aesthetic design matters as much as function. Prioritize compatibility and app reliability, documenting steps for future tweaks. Schedule a cautious, staged rollout to verify stability before expanding, avoiding multi-point installs that complicate troubleshooting.
Choose a Core Hub to Tie Your Smart Home
Choosing a core hub is the linchpin of a reliable smart home, so start by clarifying your must-have devices, budgets, and ecosystem commitments. You’ll want a hub that supports your primary protocols, scales with future gear, and stays responsive as you add routines. Compare reliability, local control options, and how well it handles automation logic without cloud dependency. Prioritize energy efficiency in both hardware and software; look for low-power sleep modes and efficient scene processing. Guarantee the hub offers strong security features, routine transparency, and straightforward integration with voice assistants you already use. Map out device compatibility, update cadence, and support for routines across rooms. A well-chosen hub minimizes latency, reduces maintenance, and streamlines Smart home design across your weekend projects.
Quick-Start Smart Lighting for Weekends
To get weekends lit without hassle, set up a quick-start smart lighting plan that prioritizes practical, low-effort automation. Begin with a single, central hub and a small cluster of smart bulbs in high-traffic rooms. Choose bulbs that support automatic schedules and scene presets. Create a simple wake, leave, and return routine so lights greet you on arrival and switch off when you leave. Use motion sensors for hallway lighting to avoid hunting for switches in the dark. Favor predictable color temperatures and limit color customization to a few preferred scenes for weekends. Label rooms clearly to simplify edits later. Regularly review automations after changing clocks or hosting guests. This approach delivers reliable, energy-conscious Smart lighting results with minimal maintenance.
Smart Thermostats for Easy Temperature Control

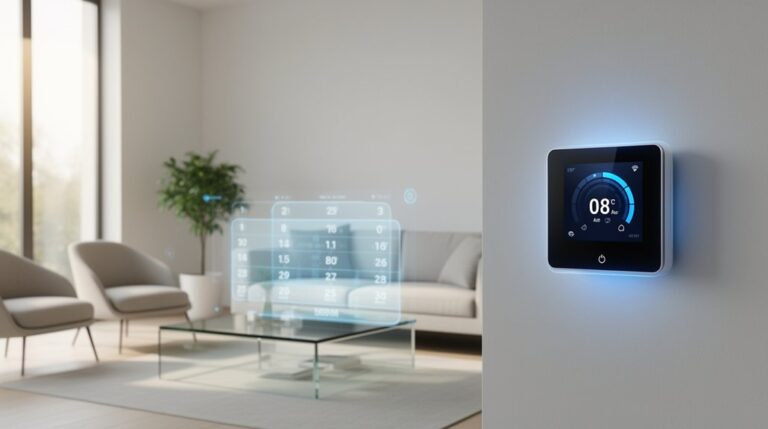
Smart thermostats simplify temperature control by replacing manual adjustments with proactive, data-driven comfort. You’ll set schedules, adjust remotely, and let sensors learn your patterns for consistent climate without micromanagement. In practice, installation is straightforward: mount the unit, connect to your Wi‑Fi, and load the app. Expect clear energy savings as the thermostat reduces HVAC runtime during empty periods and adjusts for occupancy. Look for features like outside temperature integration, adaptive routines, and geofencing to optimize efficiency. User comfort stays high because readings reflect real-time room conditions, not averages. Check compatibility with your system (forced air, heat pumps, or radiant) and choose models with simple UI, voice control, and robust app support. With minimal setup, you gain precise control and measurable comfort improvements.
Secure Wi‑Fi for Weekend-Ready Smart Home
A strong home network is your first line of defense, so you’ll want reliable coverage and minimal dead zones as you set up weekend-ready routines. Secure device access means all smart hubs and cameras use unique passwords and updated firmware, plus separate guest access for visitors. Quick setup tips keep you moving fast: label networks, enable WPA3, and test from a weekend-friendly device to verify smooth, secure connections.
Strong Home Network
A strong home network starts with a secure, reliable Wi‑Fi backbone that keeps weekend routines smooth and devices responsive. You’ll design a network that prioritizes stable coverage, minimal interference, and fast performance, so lights, cameras, and speakers behave predictably. Plan a centralized mesh or high‑quality router placement to reduce dead zones. Balance throughput with security, enabling guest networks and strong passwords while preserving user privacy concerns. Smart home aesthetics stay clean when you segment devices and keep clutter out of the main network. Focus on firmware updates, device compatibility, and simple management so weekend upgrades don’t create new headaches.
- Optimize placement and channel selection for consistent coverage
- Use a guest network and regular firmware updates
- Document device types to protect privacy and simplify maintenance
Secure Device Access
Ever wonder how weekend-ready smart homes stay accessible yet protected across every device? You’ll lock down Secure Device Access by tightening Wi‑Fi boundaries and simplifying privilege levels. Use a strong, unique password for your router, and enable guest networks to isolate IoT gear from your main devices. Implement device encryption where available, ensuring data stays unintelligible even if a device is compromised. Regularly review connected devices, removing old or unused items, and enable MFA on your account portals whenever possible. Keep firmware updated and automate backups of essential configurations. Document access roles for family members to prevent unnecessary permissions. Use a reputable password management tool to store credentials securely, and rotate keys after major network changes for ongoing protection.
Quick Setup Tips
Getting your Wi‑Fi setup right is the quickest way to keep a weekend-ready smart home both accessible and secure. You’ll want a strong network backbone, separate guest and device networks, and regular firmware updates. Prioritize edge coverage over sheer speed to avoid dead zones that frustrate automations. Use a modern router with WPA3, and enable automatic security patches. Position hubs away from thick walls and heat sources, yet near central rooms for balanced signal. Consolidate IoT on a single VLAN to simplify monitoring, then enable device-level encryption where possible. Finally, log useful energy data to guide smarter routines and energy efficiency tips while preserving Smart home aesthetics.
- Separate networks for guests and IoT devices
- Enable automatic updates and security patches
- Centralize placement for even coverage and minimal interference
Voice Assistants That Learn Your Routine
Voice assistants that learn your routine adapt by observing how you interact with the home and then anticipate your needs. You’ll notice subtle improvements in daily tasks as the system maps patterns—from morning lights to thermostat tweaks—without constant prompts. This voice learning moves beyond simple commands, refining responses based on timing, location, and preferred phrasing. When a routine shifts, the assistant updates its model, preserving privacy by limiting data retention and offering clear controls. Expect smoother wakeups, faster scene activation, and more accurate reminders as routine adaptation quiets repetitive setup. To maximize benefit, provide consistent feedback and label routines clearly. In return, you gain a responsive hub that respects your cadence, reduces interruptions, and enhances comfort with measured, purposeful automation.
DIY Smart Plugs and Scene Automation
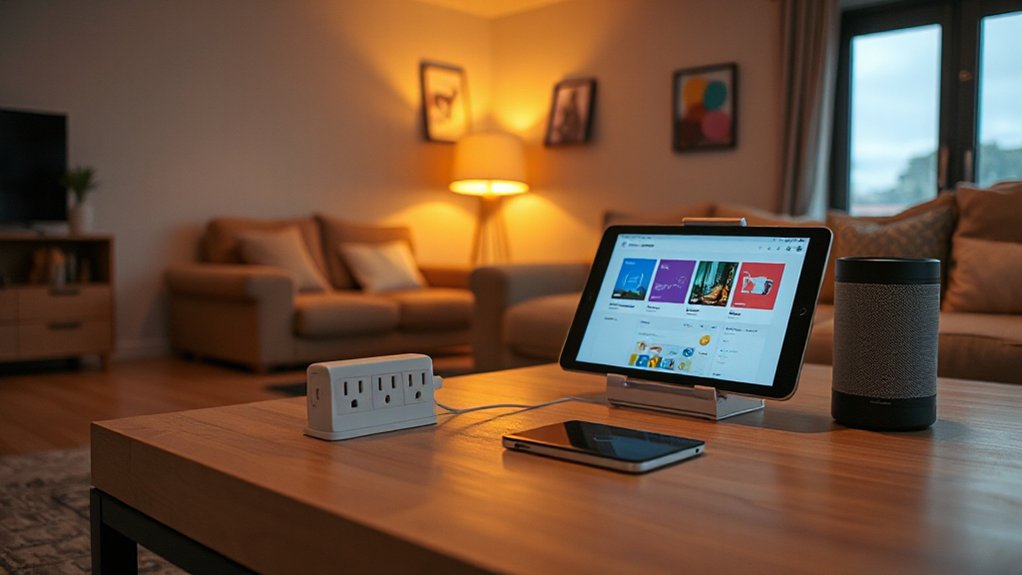
Smart plugs let you power devices on demand and monitor usage without hardwiring outlets. Start by choosing plugs with your hub compatibility, then map simple scenes like “Evening Lights” or “Coffee Maker” to trigger automatically or via a quick tap. We’ll cover reliable setup steps and practical scene automations that keep your routines smooth and energy use predictable.
Setting Up Smart Plugs
Setting up smart plugs is straightforward and worth doing now if you want immediate control over devices without rewiring. You’ll choose plugs based on energy efficiency, reliability, and device compatibility with your hub or assistant. Start by verifying wattage ratings and enclosure fit, then test a low-drain device first to confirm stability and scheduling. Use schedules to reduce standby power and simplify routines. Keep firmware up to date and label each outlet for quick recognition during setup.
- Verify device compatibility with your ecosystem before purchasing
- Label outlets and name scenes to simplify automation
- Schedule power cycles to maximize energy efficiency and prolong device life
Creating Scene Automations
Creating scene automations with DIY smart plugs starts by mapping your daily routines to concrete actions, then wiring each plug to execute those actions reliably. You’ll group devices by function—morning wake, leaving, and returning—and assign a single trigger, such as a voice command or button press, to run multiple plugs in unison. Prioritize lighting design by pairing dimmable lamps with scenes that adjust color, brightness, and temperature to suit the time of day. Use schedules for predictable routines and automations for responsive ones, like turning on entry lights when motion is detected. Validate energy efficiency by testing current draw, avoiding overloading outlets, and selecting plugs with built‑in energy monitoring. Document your scenes, test edge cases, and adjust thresholds to maintain consistency and comfort.
Simple Security Upgrades You Can Install This Weekend
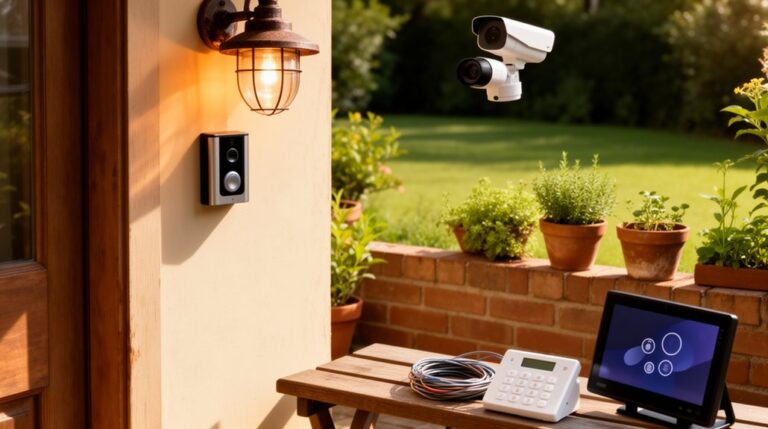
Ever wondered how you can boost home security this weekend without breaking the bank? You can tackle simple upgrades with a pragmatic, DIY mindset that yields real results. Prioritize smart security basics, like upgrading door sensors, adding a keypad lock, and placing a video doorbell for visible deterrence. These DIY installation steps fit a weekend window, require minimal tools, and integrate with common hubs. Test each device’s connectivity, set up alerts, and customize routines so you’re notified about any activity. Keep a log of changes and keep firmware current to maintain reliability. With careful planning, you’ll gain peace of mind and a stronger first line of defense without professional fees. Small, deliberate upgrades compound into meaningful security gains.
- Prioritize door sensors, keypad lock, and video doorbell
- Verify connectivity, alerts, and routines
- Document changes and update firmware regularly
Power and Cable Management for a Clean Setup
Start with Cable Management Basics to map where each cord travels from device to outlet, so you know what you’re organizing before you start. Place Power Strip Placement thoughtfully, grouping high-use devices near outlets and using surge protection to simplify future rearrangements. Keep the setup clean by labeling cables and routing them along furniture edges or fixed channels for a tidy, accessible system.
Cable Management Basics
Cable management isn’t just about looks—it’s about safety and reliability. You’ll keep equipment ventilated, prevent tripping, and reduce accidental unplugging. Start with a simple plan: group cords by function, label, and route toward outlets. Use cable concealment where possible to maintain a tidy appearance and minimize interference with wireless bandwidth. Secure runs with clips or cable ties, but avoid pinching cables. Choose under-desk channels or wall intrusions for a clean, accessible setup. Plan for future devices by leaving slack for movement and expansion. Maintain airflow around power bricks and hubs to prevent heat buildup.
- Label and group cords by function for quick troubleshooting
- Use concealment to reduce visual clutter and protect cables
- Keep power and data lines separate to avoid interference
Power Strip Placement
Where should you place a power strip to maximize safety and accessibility without compromising the room’s neatness? Position it within easy reach near high-use devices, but off the floor to reduce kick hazards. Favor outlet accessibility on the same wall or adjacent surface to minimize extension and clutter. Mount strips under desks or behind furniture using adhesive mounts or a small bracket, keeping cords tucked away and protected from foot traffic. Use a strip with surge protection and a built-in circuit breaker, and avoid daisy-chaining power strips. Route cables along baseboards or behind leggy furniture, securing them with clips. Label each outlet for quick identification and replace aging cords promptly to maintain power strip safety and organized, tidy room aesthetics.
Compatibility Checklist to Avoid Pitfalls
To guarantee your smart home upgrades go smoothly, start with a compatibility checklist that covers devices, ecosystems, and standards. You’ll assess whether each gadget supports your hub, wireless bands, and future updates, then verify power needs and repeaters so you don’t hit dead spots. Prioritize compatibility over novelty to reduce pitfalls, and consider device durability and aesthetic integration from day one. Confirm your chosen ecosystem offers mutual control and local access for reliability.
- Verify supported protocols and firmware update cadence
- Check physical fit, power requirements, and mounting options
- Match design cues so devices blend with your space without compromising durability
A careful review saves time, money, and frustration, keeping your weekend upgrade focused and polished.
Quick Testing Plan to Confirm Everything Works
Before you start wiring everything up, run a concise, step-by-step test plan to confirm each component functions as intended. Start by powering devices individually, then verify network reachability and app control responses. Confirm firmware versions match recommended baselines and note any discrepancies. Test scenes or automations with a simple trigger, such as a scheduled time or motion event, and observe expected actions. Check two-way communication where applicable, ensuring status updates reflect in the hub or app promptly. Document results: pass, fail, or uncertain, with brief notes for each item. If a failure appears, consult testing protocols to pinpoint causes, then re-test after adjustments. For lingering issues, log troubleshooting tips and re-run critical checks to guarantee end-to-end reliability.
Frequently Asked Questions
How Long Does a Weekend Smart Home Project Typically Take?
Typically, a weekend project takes 1–2 days, depending on your setup. You’ll install basic home automation devices and a security system, test connections, and finalize routines, ensuring everything runs smoothly and safely with clear, documented steps.
What’s the Best Budget-Friendly Upgrade for Beginners?
You’ll get the best budget-friendly upgrade by starting with a smart plug or bulb, boosting energy efficiency and enabling quick automations. Notably, 24% of households save energy monthly, while security enhancements add real peace of mind and control.
Can I Mix Brands Across Hubs and Devices?
Yes, you can mix brands, but expect limited Brand compatibility and potential device interoperability gaps; verify hub compatibility first, check supported protocols, and test setups carefully to guarantee reliable automation across ecosystems.
Do I Need Professional Installation for Any Upgrade?
You don’t typically need professional installation for upgrades, but check warranty considerations and DIY troubleshooting guidelines first; if issues arise, you may need expert help to avoid voiding coverage or misconfiguring integrations.
How Often Should I Perform System Backups or Saves?
Back up daily or at least weekly, so your data stays protected. You should set a consistent backup frequency, and test restores monthly, ensuring data security remains tight and reliable under any hiccup or hardware hiccup.
Conclusion
Ready to wrap up your weekend upgrade? You’ve chosen a core hub, added quick-start lighting, and swapped in a thermostat you can actually control. You’ve secured your Wi‑Fi and tidied cables, then pinned simple security tweaks. You tested each piece and fixed what didn’t sing. Will this setup stay reliable as your smart home grows, with room to expand? It should, so keep a quick-check routine and enjoy a cleaner, calmer space that just works.
About the Author