Smart security on a budget means you get practical coverage without overreaching. Focus on reliable cameras with 1080p+, night vision, weather resistance, and expandable, standards-based hardware. Use local storage or NAS to cut cloud costs, and keep footage organized with clear retention policies. For doors and entry points, add a smart doorbell with alerts and two-factor access. Prioritize network security, segregated VLANs, and strong passwords. If you keep going, you’ll uncover more cost-saving setup tips and checks.
Key Takeaways
- Prioritize expandable, standards-based cameras with 1080p+ vision, night vision, weather resistance, and reliable firmware support to balance cost and coverage.
- Use local storage with affordable cloud tiers, plus automated retention and clear labeling for quick retrieval and offline redundancy.
- Segment networks by VLANs, enable strong authentication, and periodically audit permissions to protect privacy and security.
- Map entry points and high-traffic zones to guide placement, using wired PoE where possible with battery backups for critical areas.
- Plan for maintenance, firmware updates, and future expansion to avoid gaps and ensure ongoing reliability on a budget.
What a Budget Security System Can Protect (and What It Won’t)
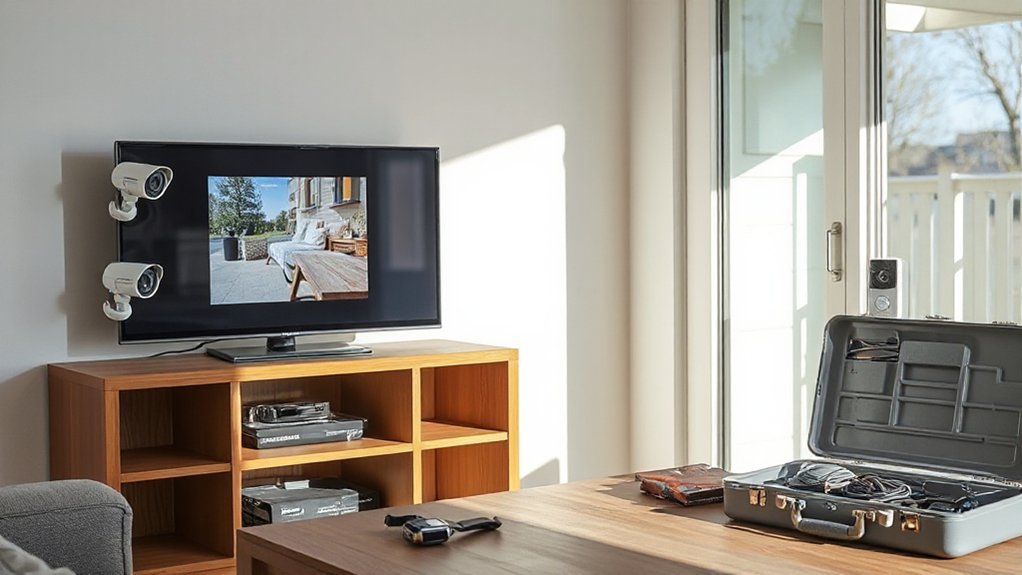
A budget security system can shield your home from common, opportunistic threats, but it won’t fix every vulnerability or stop a determined intruder. You’ll gain deterrence from visible cameras, motion alerts, and door/window sensors, plus remote monitoring options. It won’t substitute for strong physical defenses, like solid doors, reinforced frames, or layered entry controls. Expect occasional false alarms and limited advanced analytics compared with premium setups. To choose wisely, compare price and features across systems, prioritizing reliable connectivity and easy firmware updates. Consider brand reputation, customer support responsiveness, and documented reliability, not just upfront cost. Remember that ongoing costs—monitoring plans, cloud storage, and battery replacements—shape total value. A practical selection balances protection, budget, and future-proofing, avoiding overreach while covering core entry points.
How to Pick a Budget Camera System That Works
When you choose a budget camera system, start with Budget-Friendly Camera Picks that meet your space and needs. Then pair those choices with Practical Storage Solutions to guarantee clips stay accessible without breaking the bank. Finally, use Easy Setup Tips to get reliable coverage quickly and with minimal hassle.
Budget-Friendly Camera Picks
Choosing the right budget camera system is less about cost and more about value: you want reliable coverage, easy setup, and solid performance without breaking the bank.
- Video analytics that suits your needs without lag or false alarms
- Facial recognition accuracy balanced with privacy and local processing
- Robust app experience for quick setup and instant alerts
- Expandable, standards-based hardware for future upgrades
Aim for cameras with solid night vision, weather resistance, and clear 1080p or better footage. Prioritize systems that offer local storage or configurable cloud options, so you’re not locked in. Check firmware update cadence and support responsiveness, since fixes matter more over time. Compare warranty terms and cross-check with third-party reviews. A budget-friendly choice should feel dependable now and scalable later, not cheap and disposable.
Practical Storage Solutions
Storage is where a budget system either proves its worth or collapses under pressure, so pick options that give you reliable, affordable access to footage without locking you in. You want practical storage that scales with your needs, not a monthly drain. Prioritize local backups with inexpensive drives or a compact NAS to cut cloud dependence while keeping footage searchable. Organize by date, camera, and event type to reduce clutter and speed retrieval. Implement automated retention policies to delete stale clips, preserving space for new incidents. Cloud-enabled systems should offer affordable tiers, with offline redundancy as a safety net. Clutter organization and space optimization go hand in hand: label folders clearly, use uniform naming, and standardize export formats. Kept simple, your archive stays accessible and affordable.
Easy Setup Tips
To set up a budget camera system that actually works, start with clear criteria for what you need and what you’ll tolerate. You’ll maximize reliability by matching features to real risks, not packaging. Avoid Installation myths by prioritizing compatibility, ease of setup, and proven performance. Focus on cameras with steady firmware, local storage options, and straightforward app access.
1) Define coverage goals: doorways, entry points, and blind spots.
2) Verify power and connectivity: wired where possible, battery backups for critical zones.
3) Check analytics and alerting: intruder detection, motion zones, and push notifications.
4) Plan maintenance: updates, warranty, and remote troubleshooting access.
Beware Security myths and gadget hype; practical testing beats promises.
Smart Doorbells on a Budget: Features You Should Expect
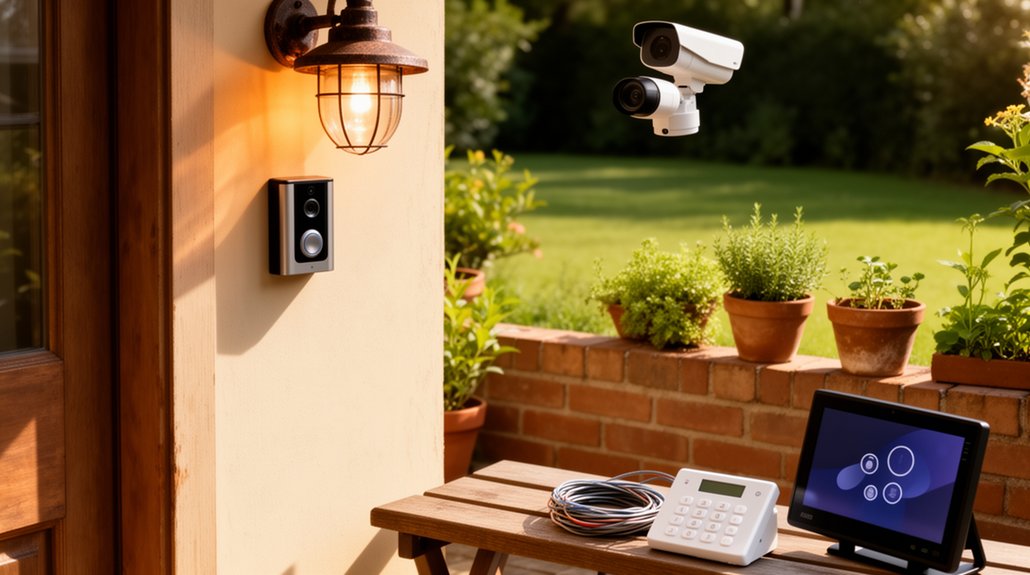
Smart doorbells on a budget deliver essential security without breaking the bank. You should expect reliable alerts, motion zones, and two‑way talk for quick responses. Look for solid video resolution (1080p is common) and decent night vision, plus a wide field of view to cover entry points. Power options matter: choose battery, wired, or a hybrid that fits your home’s wiring and your budget planning. Cloud storage can vary in cost, so compare plans and local storage if available. Privacy controls, firmware updates, and support for standard smart home platforms add long‑term value. Don’t overbuy features you’ll never use; prioritize core protections, ease of installation, and compatibility with existing devices. Smart home essentials align with practical Budget planning and steady, actionable security.
DIY Alarm Systems That Are Easy to Install
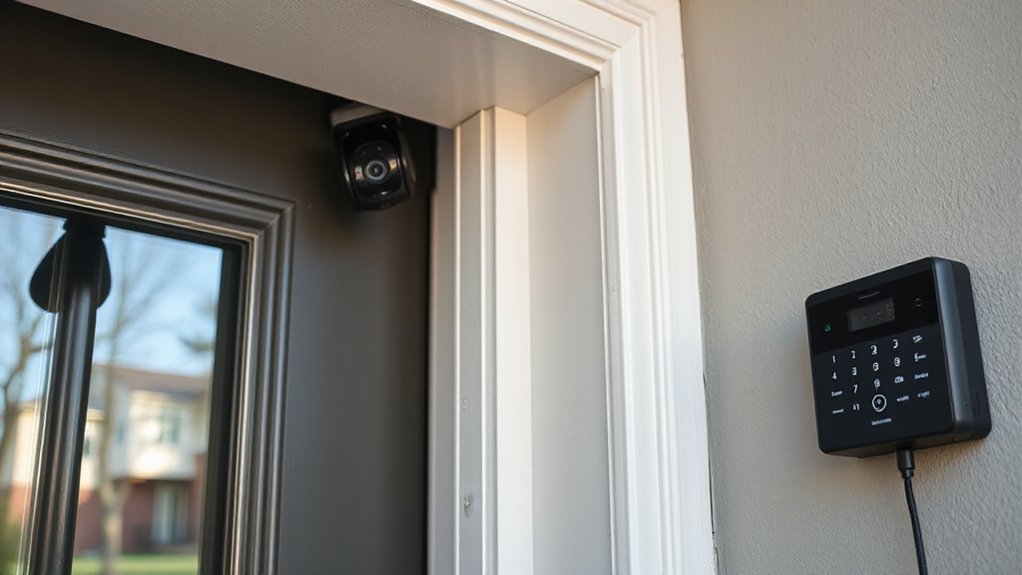
You can get DIY alarm systems up and running quickly with clear, easy setup steps that don’t require tools or expertise. Wireless connectivity basics guarantee you stay connected without messy wiring, and you’ll appreciate battery-powered convenience for reliable alerts even during outages. This approach keeps installation simple while delivering dependable protection you can trust.
Easy Setup Steps
Setting up a DIY alarm system is straightforward: start by choosing a kit with wireless sensors, a hub, and a keypad, then place the hub where it can reach all sensors without dead zones. You’ll install sensors on doors and windows, pair them to the hub, and run a quick test to confirm coverage. Keep the setup tight and documented for future maintenance.
- Confirm sensor placement and test each contact before final mounting.
- Create user codes and grant access levels for trusted residents.
- Enable push alerts and SMS backup in the hub settings.
- Review privacy concerns and legal considerations for data storage and monitoring.
Wireless Connectivity Basics
Wireless connectivity is the backbone of a DIY alarm system, so start by choosing wireless sensors, hubs, and keypads that communicate on a single protocol (like Z-Wave or Zigbee) to guarantee interference and setup complexity. You’ll benefit from a cohesive network where devices share a common mesh, reducing blind spots and drops in signal. Prioritize devices with strong signal strength indicators and reliable pairing processes, then map their placement to maximize coverage. Be mindful of wireless interference from routers, microwaves, or dense walls, and plan to relocate devices if performance degrades. Regularly verify firmware updates for security and stability. Test the full system after installation, focusing on response times and mock alerts to ensure dependable operation.
Battery-Powered Convenience
Battery-powered components save time and boost flexibility, letting you place sensors and hubs where wired power isn’t practical without sacrificing reliability. You’ll notice instant setup benefits, but you should plan for cadence and durability to minimize trips to replace batteries. This approach keeps DIY alarms approachable while maintaining performance.
1) Choose high-quality lithium batteries or rechargeable packs with clear low-battery alerts to prevent gaps in coverage.
2) Map each device’s placement to minimize signal interference from walls, appliances, or other wireless gear.
3) Pair devices close enough to the hub during initial setup, then test range and battery longevity under typical daily use.
4) Schedule regular checks of battery levels and firmware—updates extend reliability and security.
Setup Hacks That Cut Costs Without Sacrificing Safety
To cut costs without compromising safety, prioritize a layered approach: secure the network first, then harden devices, and only then expand coverage. You’ll gain resilience by isolating cameras on separate VLANs, enabling strong passwords, and disabling unused services. Use firmware updates as a routine, not an afterthought, and verify vendor credentials before installing apps or integrations. Cybersecurity tips emphasize limiting exposure: enable two-factor authentication where possible, and monitor for unusual access events. For data encryption, enable at-rest and in-transit protections on cameras and hubs, and review default configurations to avoid weak defaults. Share only essential access with trusted apps, and document changes to maintain a clear security trail. With disciplined practices, you sustain safety while trimming unnecessary costs.
Power, Connectivity, and Storage on a Budget
You can power budget cams and stay connected without breaking the bank by choosing efficient hardware and lean storage. Focus on energy use, reliable low-cost connectivity options, and scalable storage that matches your security needs. We’ll break down practical, cost-smart picks that keep footage accessible and secure without overspending.
Powering Budget Cams
How can you keep budget cameras running reliably without breaking the bank? You’ll optimize power, connectivity, and storage with focus and discipline. Use low-power cams and suspend nonessential features to extend battery life, and pair this with a predictable charging routine. For wired setups, locate a dedicated 12V supply or PoE injector to stabilize voltage and minimize dropouts. For wireless, prioritize energy-saving modes and router QoS to protect streaming stability. Store footage on inexpensive, scalable options, then archive offsite weekly to manage space. Enable remote access and configure user permissions to limit who can view feeds.
- Choose high-efficiency cameras with adjustable sleep modes
- Implement centralized power management with backups
- Use microSD plus cloud tiering for tiered storage
- Test reloads and reboots weekly
Connectivity On A Shoestring
Budget connectivity ties directly to power and storage choices you’ve already started optimizing. You’ll simplify setups by using low-power devices, like cameras with efficient h.265 encoding and local storage options that balance duration and budget. Prioritize wired power where feasible to reduce outages and battery costs, and leverage PoE switches to minimize cabling clutter while keeping reliability high. If wireless is unavoidable, choose models with robust mesh support and extended battery life, then rotate batteries seasonally to maintain uptime. Opt for local storage with encryption and periodic offsite backups to protect footage. Align your network with home automation workflows, triggering recordings on events and optimizing bandwidth. This approach boosts energy efficiency, cuts recurring costs, and preserves quick access to critical security data.
Privacy and Security Hygiene for Frugal Installations
Even on a tight budget, you should treat security as a first-order requirement: implement baseline protections and maintain disciplined habits to prevent easy breaches. You protect yourself by blending privacy hygiene with practical limits on data exposure. Prioritize local storage, minimize cloud sync, and choose devices that support encryption defaults. Regularly review app permissions and update firmware to close gaps that expose user privacy.
- Enable data encryption by default and verify end-to-end protections where available.
- Limit data collection, store only what you need, and purge logs periodically.
- Use separate networks or guest VLANs for cameras and doorbells to contain breaches.
- Audit access: enforce strong passwords, two-factor authentication, and monitor for unusual activity.
Matching Your Home Layout to the Right Kit
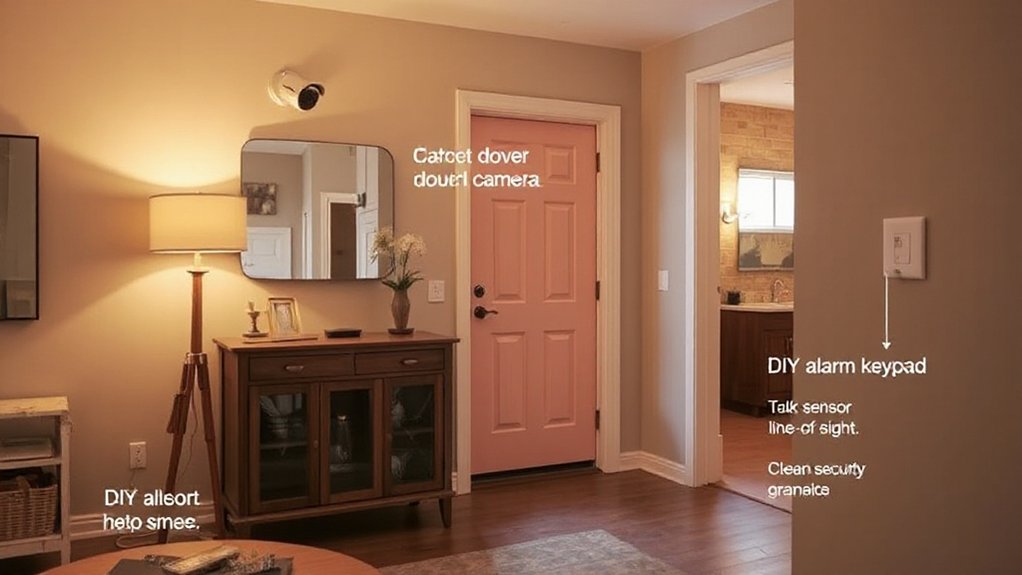
Choosing the right kit starts with your floor plan and entry points. You map access routes, doors, windows, and blind spots, then choose devices that cover critical angles without overkill. For a single-story layout, place a doorbell cam at the primary entrance and a motion camera toward the rear to deter opportunists. Multi-story homes benefit from cameras on stairwells and landings to minimize blind spots while keeping wiring simple. Consider traffic patterns in rooms with high activity—living spaces and hallways may need motion sensors tied to a central hub. Think about home décor so cameras blend with décor rather than clash with it. If you work with security personnel or a monitored system, ensure mounting heights and field of view align with their coverage standards for maximum reliability.
Common Pitfalls to Avoid When Going Budget
When you’re prioritizing savings, it’s easy to cut corners on critical security needs, but doing so can create gaps that cost more later. You’ll boost effectiveness by avoiding common budget blunders and focusing on solid, scalable choices. Prioritize reliable core gear, not just the cheapest option, and plan for long-term costs like maintenance and firmware updates. Consider how cost effective lighting pairs with coverage to deter intruders, and factor in DIY maintenance so you don’t abandon the system after a hiccup. Below are pitfalls to sidestep:
- Skipping professional assessments, assuming DIY is enough
- Overlooking power, network, or weather reliability
- Ignoring future-proofing and expansion needs
- Underestimating ongoing maintenance and firmware updates
Quick-Install Checklists for 24-Hour Monitoring
A practical 24-hour monitoring plan starts with a quick install checklist that keeps you moving smoothly after you’ve avoided common budget mistakes. Start with secure mounting for each device, verify power supplies, and test alerts before you finish the setup. Confirm your network bandwidth meets the stream demands, then isolate devices to prevent single-point failures. Label each sensor, camera, and hub with location and purpose, and document serials, firmware versions, and warranty dates for clear maintenance. Establish a simple monitoring routine: check status once per shift, review events daily, and run a weekly self-test of battery backups. Be mindful of Security myths and avoid overcomplication. This approach supports steady operation, helps you qualify insurance discounts, and minimizes false alarms that waste resources.
How to Scale Your System as Budget Allows
As your budget grows, scale your security setup in deliberate, incremental steps that preserve value and reliability. You’ll tighten coverage, upgrade components, and maintain proven workflows without overcommitting. Begin with clear scaling strategies: prioritize critical gaps, document change costs, and test after each addition. Use budget planning to forecast firmware updates, maintenance, and potential substitutions if a product is discontinued. Maintain interoperability and minimize redundancies as you expand. Stay disciplined about evaluating ROI and user experience, not just feature count.
- Prioritize core coverage upgrades first
- Reinvest savings from bundle deals into higher-grade subsystems
- Schedule quarterly reviews to adjust scope and costs
- Track performance metrics to justify next steps
Frequently Asked Questions
Can I Legally Use Camera Footage for Evidence in Court?
You can’t guarantee it’s admissible; legality varies. You must consider legal considerations and privacy concerns, plus chain of custody and consent. Assess local laws, disclosure rules, and evidentiary standards before presenting footage in court. Seek counsel for confirmation.
Do Budget Cameras Support Local Storage Without Cloud?
Yes, budget cameras can store locally without cloud, but verify microSD or NAS support. Check Cloud storage options and Video resolution limits; guarantee reliable power and encryption, and confirm loop recording works for continual evidence retention.
How Long Is the Warranty on Affordable Alarm Components?
Back in 1999 era, you typically get 1–2 years warranty on affordable alarm components. Warranty coverage varies; check each product. You’ll want solid component durability guarantees for sensors, hubs, and keypads to protect your investment.
Will DIY Systems Cause False Alarms More Often?
DIY systems can yield higher false alarm frequency if you skip careful setup; expect more DIY troubleshooting, calibration, and sensor tests to minimize issues and keep false alarms under control.
Are There Hidden Fees After Purchase or Activation?
Hidden fees: usually none after activation, but watch for optional services. You’ll face installation challenges and compatibility issues, so verify upfront. You navigate costs like a measured captain, avoiding stormy surprises while keeping your security ship seaworthy.
Conclusion
Budget security serves you best when you balance basics with smart cost cuts. Build confidence by choosing reliable cameras, doorbells, and a DIY alarm that fit your layout and routine. Cut waste, not safety—calibrate, test, and maintain. Practical prep pays off: plan, position, and protect. Prioritize privacy and updates, not pretend perfection. Smart, steady setup saves sorrow and strengthens security—steadfast, scalable, secure. Plan, place, protect: practical, prudent, proactive.
About the Author