
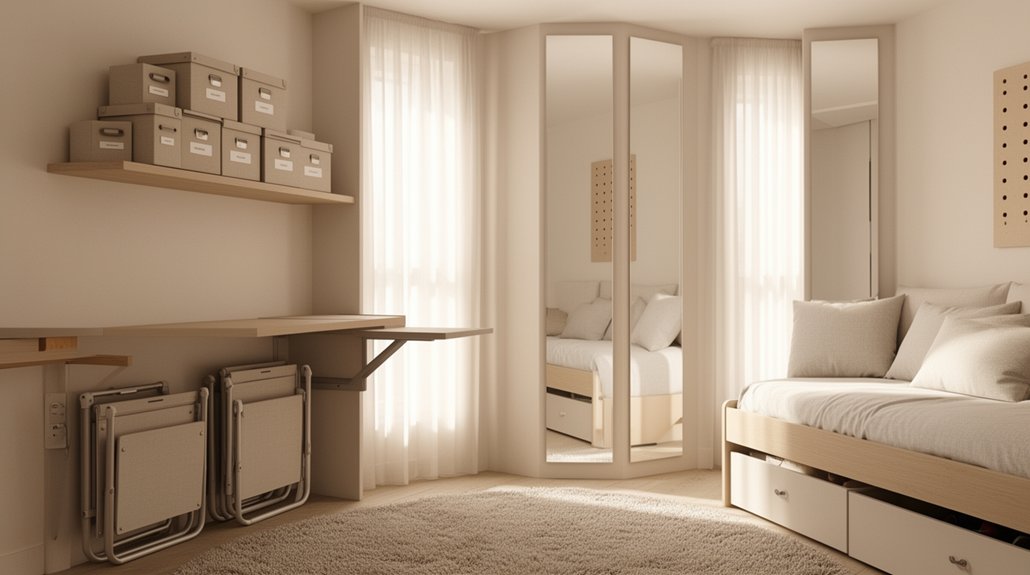
We have put together some practical Small Room Decorating Ideas That Maximise Space, in a smaller room. Maximize space by planning a clear layout that zones seating, work, and storage for easy flow. Use light colors and reflective surfaces like mirrors to bounce light and widen sightlines. Add built-in or hidden storage, vertical shelves, and multi-functional furniture to keep clutter out of sight. Keep pathways open, align edges, and avoid bulky pieces. Use sheer window treatments to maximize daylight and layer lighting for warmth. Want more precise tactics and quick-refresh ideas? Let’s expand on each tip.
Key Takeaways
- Define clear zones (sitting, working, storage) and test flow to keep traffic open and intuitive.
- Use light colors, reflective surfaces, and strategic mirrors to maximize brightness and perceived space.
- Prioritize multi-functional and hidden storage with vertical solutions to reduce clutter.
- Arrange furniture to face natural light and maintain open sightlines for a spacious feel.
- Refresh with simple upgrades: light window coverings, uncluttered surfaces, and cohesive finishes.
What Makes Small Rooms Feel Bigger: Core Principles
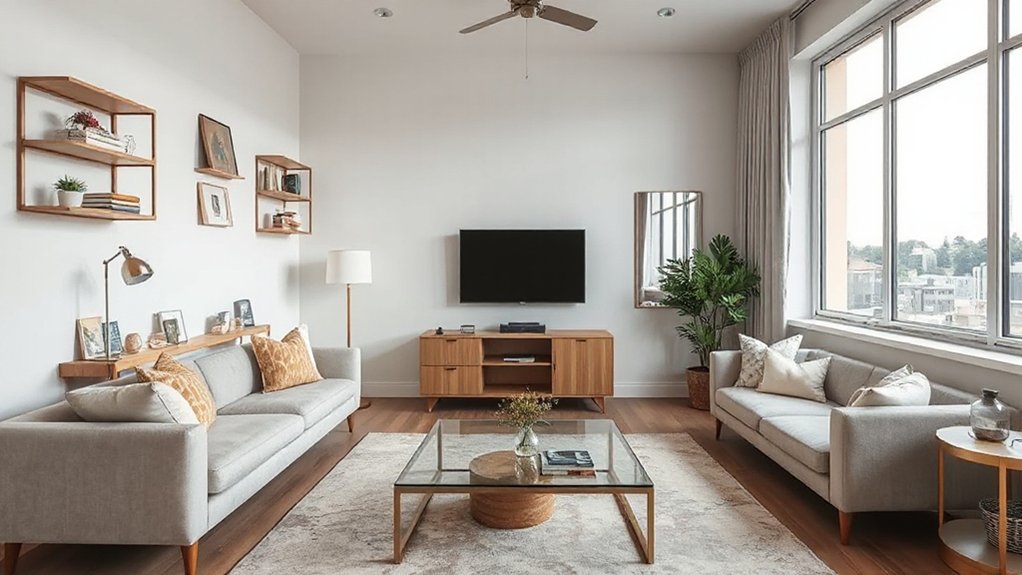
To make small rooms feel bigger, start with a clear, simple layout that prioritizes function and flow. You’ll gain instant clarity by defining zones: sitting, working, storage. Position major furniture so traffic moves naturally, avoiding bottlenecks and visual clutter. Favor low, streamlined pieces to maintain sightlines and make ceilings feel higher. Furniture placement matters: place sofas and chairs to create a cohesive rhythm, not random clusters. Use multipart furniture with scales that match the room, and keep edges tidy to reduce visual noise. Window treatments matter too; choose minimal treatments or light fabrics that let in natural light, broadening the space. Keep surfaces uncluttered, and store rarely used items out of sight to preserve an airy feel.
Color and Light Tricks to Expand a Tiny Space
Light bounces around the room, so choose reflective surfaces and light colors to make the space feel larger. Use bright, airy tones and strategically place mirrors or glass to maximize natural light. Create subtle zones with color blocks that guide the eye without breaking the flow.
Light Reflects Space
Ever wondered how to make a small room feel bigger? You can cue space perception by how light behaves. Use natural sunlight to energize the room; keep unobstructed windows and sheer curtains that let daylight flow through. Position mirrors and reflective surfaces opposite light sources to bounce brightness around, creating the illusion of depth. Choose glass or glossy finishes for furniture to maximize specular reflections without clutter. Keep walls light and neutral, since pale tones amplify reflected light better than dark shades. Avoid heavy, opaque elements that absorb rather than reflect. Guarantee lighting is layered: daylight, task lighting, and ambient lamps, all coordinated to minimize shadows. With mindful placement, you’ll perceive a larger, more open space without adding square footage.
Brighten With Color
Brighten a tiny room with color that reflects and enlarges. You’ll choose colors that bounce light and visually push walls outward. Start with a light base on walls in soft neutrals or desaturated hues; glossy or satin paint finishes reflect more light than flat, boosting brightness, so pick paint finishes that suit your activity zones. Use a brighter trim to create clean edges and emphasize architectural lines without shrinking space. Introduce color through accents—soft blues, greens, or warm creams—applied sparingly on accessories, textiles, and artwork to avoid crowded surfaces. Consider color psychology: calming tones expand perception, while cooler shades feel airy. Keep ceiling and floor tones cohesive to sustain flow. Finally, test swatches at multiple times of day to confirm the light you’ll actually experience.
Strategic Color Zoning
Strategic color zoning uses color and light to carve out zones without walls, making a tiny space feel larger and more purposeful. You’ll use color blocking to delineate areas—entry, seating, workspace—without sacrificing flow. Choose two to three cohesive hues plus neutrals, repeating accents to reinforce zones. Light value shifts create perceived depth: lighter walls expand, darker accents advance. Apply color on focal walls or partitions, even if temporary, to cue function without closing the room. Consider zone partitioning with paint, wallpaper, or fabric screens that don’t overpower the ceiling height. Smart contrasts guide eye movement and reduce clutter, so storage and furniture placement stay purposeful. Test swatches in daylight and artificial light, then commit to a plan that enhances scale while preserving openness.
Mirrors and Reflective Surfaces for Added Openness
Mirrors and reflective surfaces instantly expand a small room by bouncing light around and creating the illusion of depth. You’ll gain openness without adding clutter. Place a large mirror opposite a window to maximize daylight and visually double the perceived space. Opt for frameless or slim-framed designs to keep reflections clean and unobtrusive. Mount mirrors at eye level to reflect activity and brighten corners; avoid ceiling-mounted panels that feel busy. Use reflective surfaces on tabletops, backsplashes, and inside cabinets to amplify light during morning routines. Pair with vintage accents to add warmth without crowding sightlines, and choose statement lighting to create focal points that still read as airy. Keep fewer, higher-contrast pieces to preserve clarity and avoid visual noise.
Built-In Storage Ideas That Hide Clutter
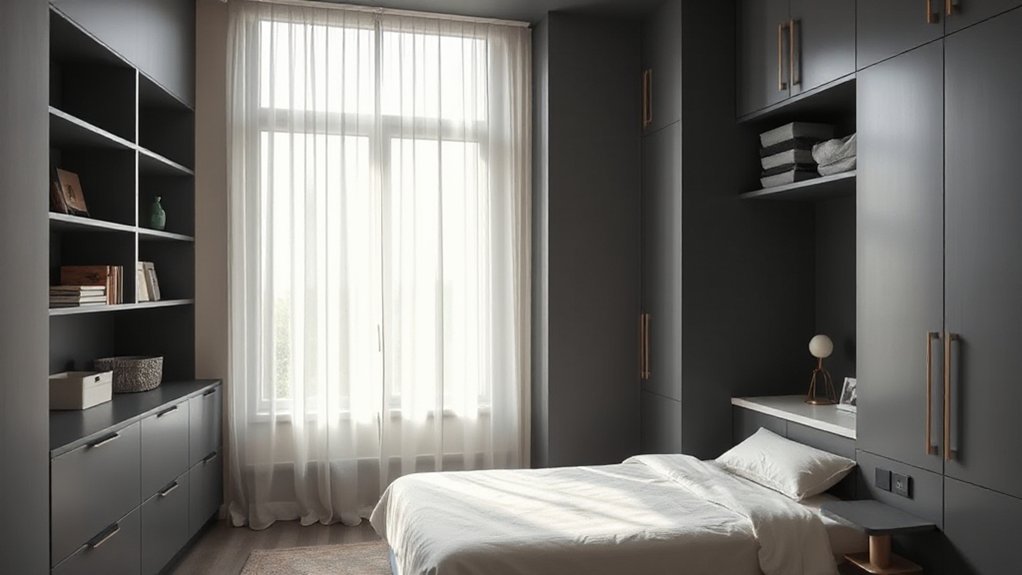
Built-in storage is a natural extension of the openness you’ve started with mirrors and light: it hides clutter without stacking furniture or sacrificing style. You’ll gain surfaces that stay clean because items disappear behind doors and within drawers. Start with hidden compartments in unexpected places—under stairs, between walls, or inside seating—to reclaim floor space without visible bulk. Concealed cabinetry isn’t just for kitchens; it works in bedrooms, living areas, and entryways, keeping everyday essentials organized and accessible. Choose shallow pull-outs and deep drawers that align with how you actually use items. Labeling isn’t necessary when clever indexing is incorporated. Maintain a cohesive look by matching finishes to surrounding décor, and ensure hinges or slides run smoothly for long-term practicality.
Layout Strategies for Efficient, Flowing Rooms
Good room flow starts with a clear sightline and intentional traffic paths; you should place furniture so you can move naturally from one area to another without crowding. Start near the doorway to define a welcoming entry, then anchor primary living zones with low-profile furnishings. Prioritize furnishing essentials that fit your space, keeping scale proportional to walls and doors. Use furniture placement to create distinct, connected zones rather than isolated islands; sightlines remain uninterrupted, and circulation stays smooth. Opt for a minimalist approach to decorative accents—select a few cohesive pieces that echo your color story without clutter. Consider rugs to anchor areas, choosing sizes that keep furniture feet resting on the rug for cohesion. Finally, test flow by walking the routes and adjusting as needed.
Multi-Use Zones: Work, Relax, and Store in One Area
A single area can handle work, relaxation, and storage by defining clear zones that don’t crowd each other. Start with a compact design that uses vertical space and built‑ins to separate functions without consuming floor area. Choose multi functional furniture that morphs from a desk to a dining surface or a console to a compact wardrobe, so you can swap roles as needed. Create a lightweight, visible boundary—like a rug under the workspace or a low bookshelf as a divider—to cue distinct zones. Prioritize outlets, lighting, and cable management near the work zone, so distractions stay out of sight. Keep storage within arm’s reach using drawers and hooks. This approach minimizes clutter while maximizing usable area.
Vertical Solutions: Shelving, Nooks, and Wall Plans

Vertical solutions free up floor space by turning walls into storage and display zones. You’ll maximize every inch by pairing vertical shelving with recessed nooks and thoughtfully planned wall layouts. Start with floating shelves that rise above work areas, keeping desktops clear and tasks focused. Integrate nooks for reading, charging, or hidden storage behind cabinet doors to reduce clutter. Wall plans should prioritize symmetry and accessibility, making frequently used items easy to reach without crowding the room. Use vertical dividers to separate zones while preserving an open feel. Choose durable hooks, wire baskets, and slim profiles to keep traffic smooth. Creative wall art adds personality without crowding, while clever storage keeps essentials organized and within sight. Keep lines simple, materials cohesive, and scale balanced for a tidy, efficient space.
Budget-Prefriendly Upgrades That Boost Perceived Space
Even small, affordable upgrades can make a room feel noticeably larger without a full remodel. You’ll gain access to space perception with practical tweaks that don’t break the bank. Begin with budget hacks like swapping heavy drapes for light, sheer window coverings to diffuse natural light and soften boundaries. Choose wall paints in airy tones—cool neutrals reflect light and visually expand walls. Install simple, unobtrusive storage solutions: floating shelves, under-bed organizers, and slim cabinets that keep surfaces clear. Update hardware on existing furniture for a refreshed look without replacing pieces. Incorporate aesthetic upgrades such as mirrors or chrome accents to bounce light and create depth. Keep layouts open, align furniture edges, and minimize clutter to sustain a spacious feel over time.
Quick Room Refresh: A 15-Minute Maintainer’s Checklist
Need a quick, no-fuss reset for any room? This 15-minute maintainer’s checklist keeps spaces tidy and visually clear. Start with furniture placement: shift a sofa or table just enough to open traffic flow, then trim clutter on surfaces to reveal flooring or a rug edge. Next, evaluate lighting: swap harsh bulbs for warm temps, dim any overpowering lamps, and aim for even coverage. Color psychology matters—keep a calm base and inject tiny accents to lift mood without overwhelming the eye. Wipe down mirrors and windows, dust corners, and wipe fingerprints from glass. Refresh textiles selectively: toss a clean throw, fluff cushions, and rotate a few cushions for a fresh look. End with a quick run-through to ensure each zone feels purposeful and breathable.
Common Mistakes to Avoid in Small-Space Decorating

To keep a small space functional, start with clutter-free zoning that clearly defines zones for living, working, and relaxing. Choose scale-appropriate furnishings so every piece fits without crowding, and arrange them for a light-optimized layout that brightens every corner. Avoid overlapping functions, excessive decor, or bulky pieces that steal floor space.
Clutter-Free Zoning
In small rooms, clutter-free zoning hinges on clearly defining each area and resisting the urge to overflow adjacent zones with belongings. You should assign distinct functions to every corner—work, rest, storage—then lay out clear boundaries with rugs, lighting, and visual cues. Keep pathways open and avoid crowding by limiting decor to essentials. Use vertical storage to reduce surface clutter and designate a single, dedicated spot for everyday items, so nothing leaks into other zones. Practice minimalist organization: group related items, rotate seasonal pieces, and purge regularly. Label containers and maintain consistency in color or texture to reinforce boundaries. When zones stay clean and purposeful, you gain flow, focus, and a calmer, more usable space.
Scale-Appropriate Furnishings
Choosing the wrong scale robs a small room of its balance, so avoid oversized furniture that overwhelms walls or creates wobbly sightlines; instead, think in terms of Furniture proportions and how each piece relates to the space. Start with a measuring audit: confirm that seating depth, table heights, and storage footprint don’t crowd aisles or block natural light. Favor streamlined profiles, leggy legs, and compact consoles to preserve wall space and maintain flow. Test Scale harmony by pairing a dominant piece with lighter accents and smaller companions, ensuring visual weight distributes evenly. Avoid corner-to-corner bulk and bulky improvisations that trap movement. Remember, proportion isn’t just size—it’s rhythm and balance. Choose furniture that supports function without dominating, so your room feels calm, open, and purposeful.
Light-Optimized Layouts
Lighting can make or break a small room, so fine-tuning layout to maximize brightness is nonnegotiable. You’ll avoid cluttered focal walls and dead zones by keeping pathways clear and furniture arranged for open sightlines. Position main seating to face natural light, then layer artificial lighting to fill gaps without glare. Use scale-appropriate lamps, wall sconces, and ceiling fixtures that don’t overwhelm the space. Choose window treatments that maximize daylight when desired—sheer panels or light blinds preserve brightness while offering privacy. Reflective surfaces, like mirrors or glossy finishes, amplify light without adding bulk. Prioritize zones: reading corners, work nooks, and circulation routes, ensuring each area benefits from multiple light sources. Test layouts with movable pieces; small shifts yield big brightness gains.
Frequently Asked Questions
How to Choose Furniture Scale for Very Short Ceilings?
Yes—prioritize low, slim-profile furniture, and keep ceiling height in mind. Choose pieces with exposed legs, avoid bulky sofas, and use wall colors to visually expand height. Consider vertical storage, light tones, and layered lighting for balance.
What Fabrics Reduce Visual Clutter in Small Rooms?
You’ll reduce visual clutter by choosing solid, light textiles and simple fabrics. Use textile layering with cohesive fabric patterns, keeping hues harmonious. Opt for textures that add depth without busy prints, and avoid oversized patterns in tight spaces.
How to Soundproof a Tiny Living Area Cost-Effectively?
Soundproofing your tiny living area cost-effectively works like fencing in noise with calm, quiet walls. You’ll install wall mounted storage, choose multifunctional furniture, seal gaps, add rugs, and treat doors for practical, authoritative acoustic control.
Can Plants Actually Worsen a Small Space’s Feel?
Yes, plants can clutter a small space if misused, but you’ll optimize it by choosing compact varieties and keeping up indoor air quality and plant maintenance. Guarantee good airflow, avoid overwatering, and select low‑mess species.
What Small-Room Lighting Fixes Create Daytime Brightness?
Yes, you can boost daytime brightness with wall mounted lighting and natural light enhancement. You’ll place slim sconces, maximize window exposure, use light colors, and mirror reflections to evenly distribute light throughout the room.
Conclusion
You’ve got the map, now walk the plan. Think of your space as a breeze—easy to steer, hard to resist. Light and color pull the room in, while mirrors catch the glow and multiply it. Built-in storage keeps the drama quiet, and smart layout makes every inch feel intentional. Stay vertical, prune clutter, snag budget-friendly upgrades, and refresh with 15 minutes when needed. Small rooms aren’t cramped dreams—they’re clever, compact canvases you control.
About the Author



