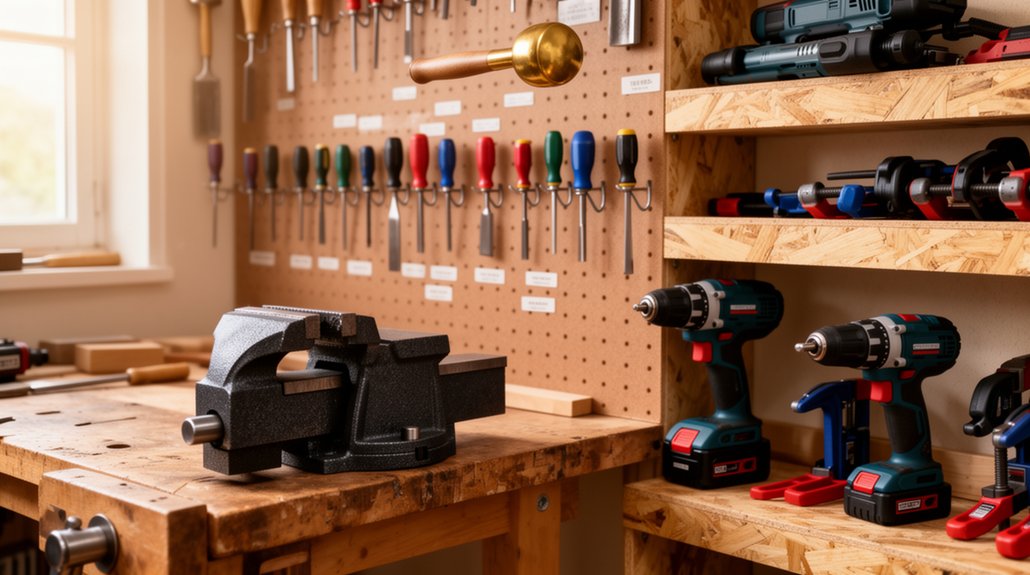
Set up a smart, scalable space by planning zones for cutting, assembling, finishing, and storage to keep flow smooth and safe. Start with a core starter toolkit: quality measuring tools, sharp blades, basic hand tools, and smart storage. Choose versatile power options—like a cordless drill—paired with precise hand tools and ergonomic jigs. Grow with modular storage, upgrade thoughtfully, and track costs and impact. Prioritize PPE, tool maintenance, and clean habits. You’ll gain access to more efficiency as you continue organizing and equipping.
Key Takeaways
- Map a safe, efficient layout with distinct zones for cutting, assembling, finishing, and storage to minimize interference.
- Start with essential tools: reliable measuring tools, sharp cutting blades, basic hand tools, and organized storage.
- Use a cordless drill as a versatile core tool, complemented by sharp hand tools and educational jigs for consistency.
- Invest in modular, stackable storage and multipurpose tools to scale with future projects and reconfiguration needs.
- Prioritize safety: PPE, sharp tools, organized cords and clamps, proper ventilation, and practice good workspace habits.
Design Your Workshop Layout: Space, Safety, and Flow
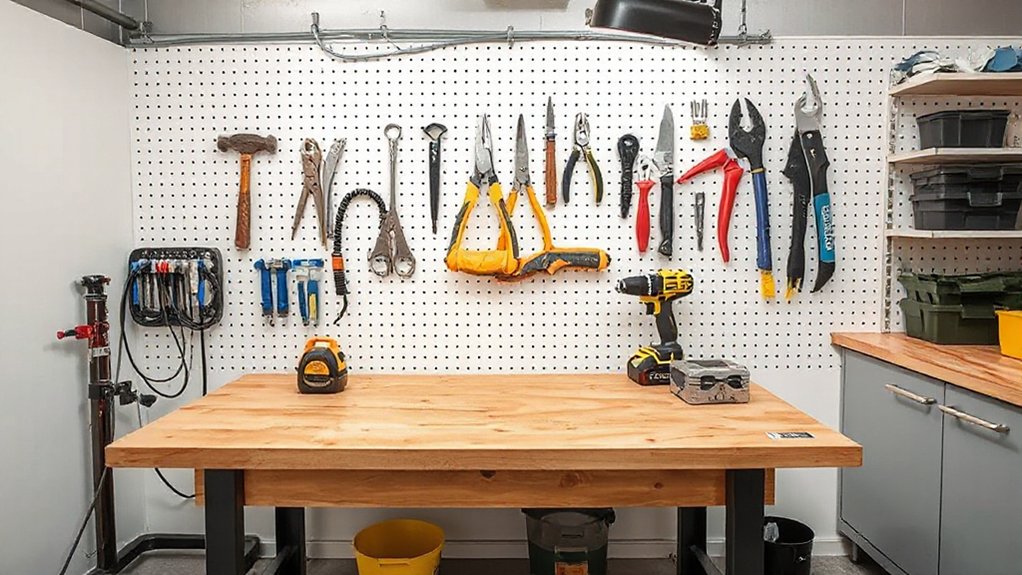
Designing your workshop layout starts with a clear plan for space, safety, and flow. You map zones for cutting, assembling, finishing, and storage, ensuring they won’t interfere with each other. Prioritize safe traffic patterns: wide aisles, reachable work surfaces, and clear sightlines to exits. Command center placement matters—place power, dust collection, and clamps within arm’s reach of primary work areas. Use vertical space to maximize storage solutions without crowding floors. Integrate proper lighting design so every workstation is well lit, reducing eye strain and mistakes. Label zones and routes, and leave room for expansion or reconfiguration as projects evolve. Choose durable, easy-to-clean surfaces and organize tools logically. Regularly reassess workflow to keep the layout efficient and safe.
Start Here: The Essential Starter Toolkit for Projects
To get moving on any project, start with a compact, essentials-only toolkit you can trust. This starter set keeps you efficient without clutter, and it scales as you grow your projects. Focus on reliable basics, smart storage, and clear lighting so you stay accurate and safe.
- Quality measuring tool kit
- Sharp cutting tool and blades
- Basic hand tools (hammer, screwdrivers, pliers)
- Storage containers and organizers for materials
As you assemble, think about Material storage and lighting solutions that support quick access and visibility. Keep tools clean, labeled, and within reach, so setup and cleanup stay fast. With these essentials, you’ll hit tasks with confidence, reduce mistakes, and preserve space for future projects. When ready, you’ll refine choices, not overwhelm your workspace.
Power vs. Hand Tools: What to Buy First
Getting started often means choosing between power and hand tools, and the smart move is to balance both—start with the basics you’ll actually use first. You’ll want versatile basics you can rely on daily. Prioritize a solid cordless drill, because it handles driving screws, drilling holes, and quick builds without cords tethering you to outlets. Pair it with a sharp set of hand tools for precise work, trimming, and fitment. As you expand, consider woodworking jigs to improve consistency and accuracy in repetitive tasks, reducing mistakes and saving time. Invest in quality, ergonomic options that feel balanced in your hands. Don’t overbuy; buy what you’ll use on multiple projects. With a practical core, you’ll grow confidence to tackle bigger builds and smarter upgrades later.
Build a Growth Plan: Budget-Smart Upgrades and Expansions
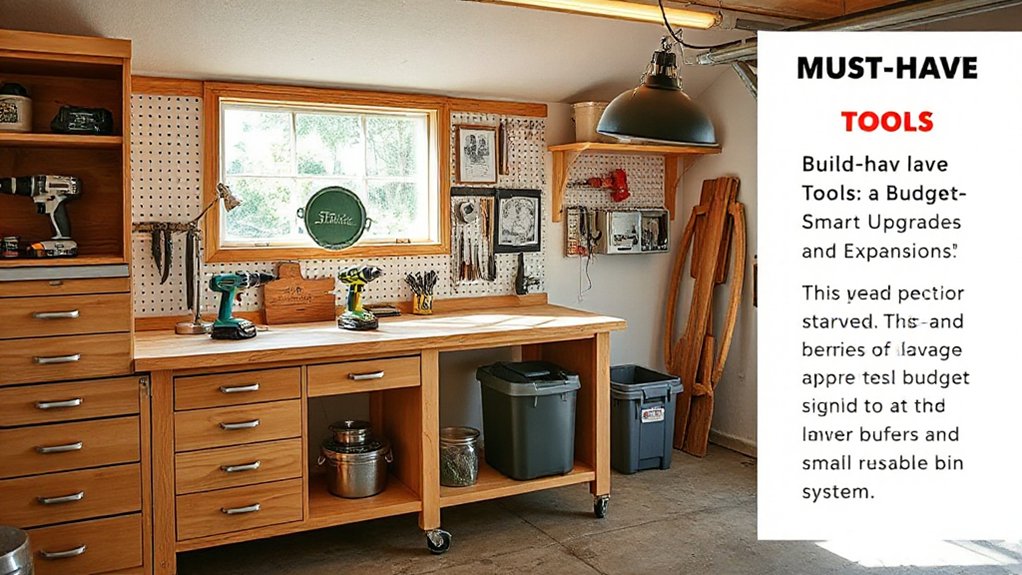
Now that you’ve got the core tools in place, it’s time to map out a growth plan with budget-smart upgrades and expansions. You’ll prioritize practical gains over flashy upgrades, focusing on ROI and workflow. Choose material selection and storage solutions that scale with your projects, not just current needs. Start small, then layer in efficiency upgrades as funds allow. Track costs, timelines, and impact to stay on target.
1) Assess bottlenecks: identify repeated tasks that slow you down.
2) Prioritize multipurpose upgrades: tools or jigs that serve multiple jobs.
3) Invest in modular storage: stackable, labeled systems that expand.
4) Budget for reconfiguration: plan for future space changes and accessory additions.
Practical Safety and Workspace Habits for Tinkering
Good safety habits aren’t optional on a workbench; they’re the foundation that keeps projects moving. You’ll protect yourself by using Personal protective equipment consistently—gloves, eye protection, hearing protection, and a dust mask when needed. Keep your tools sharp and in proper condition; dull blades force you to apply more force and invite slips. Practice clear workspace organization: store cords, clamps, and blades out of walkways, label drawers, and wipe spills immediately to prevent slips. Plan ahead with a dedicated workspace, so you know where to place each tool and material. When you tinker, maintain a tidy area, minimize distractions, and suspend high-risk activities if fatigue hits. Respect the environment, ventilate, and double-check guards before starting any cut or drill.
Frequently Asked Questions
How Do I Choose a Workshop Location With Rent Constraints?
Start by evaluating rent‑per‑square‑foot and flex space options, then optimize layout. Choose Workshop lighting and Ventilation solutions to fit your budget, guarantee safety, and maximize airflow while keeping utilities affordable. Consider portable lighting and adjustable ventilation setups.
What Are Hidden Costs of Setting up a Home Workshop?
Sure—hidden costs include tool maintenance and ongoing budget planning you’ll handle, like electricity, insulation, and safety gear. You’ll discover a budget overruns trap, so monitor fees monthly, and track downtime as you upgrade. Yes, budget planning helps.
How Should I Store Seasonal or Rarely Used Tools?
Store seasonal or rarely used tools with clear Tool organization and Storage solutions. You’ll label bins, hang frequently used items, and create a labeled inventory so you can access what you need quickly and keep everything protected.
Which Safety Gear Is Essential for Beginners?
You should wear safety glasses and ear protection. For beginners, keep safety glasses snug, ear plugs or muffs ready, and inspect gear before use; prioritize fit, comfort, and quick removal in case of emergencies.
How Can I Repurpose Household Items as Workbenches?
Yes, you can; you simply repurpose sturdy household items into a workbench. Use a solid table or door on sawhorses, reinforce with brackets, and top with plywood. This DIY furniture setup becomes a functional, durable workspace.
Conclusion
A well-run home workshop isn’t a luxury—it’s a plan you actually follow. Start with a sensible layout, stock a starter toolkit, and prioritize safety habits that stick. As you grow, upgrade strategically rather than all at once. An eye-opening stat: DIYers who map a workspace layout report 40% faster project completion than those who wing it. Track progress, budget smarter, and stay adaptable. With deliberate choices, your space becomes reliable, efficient, and ready for whatever you build next.
About the Author