
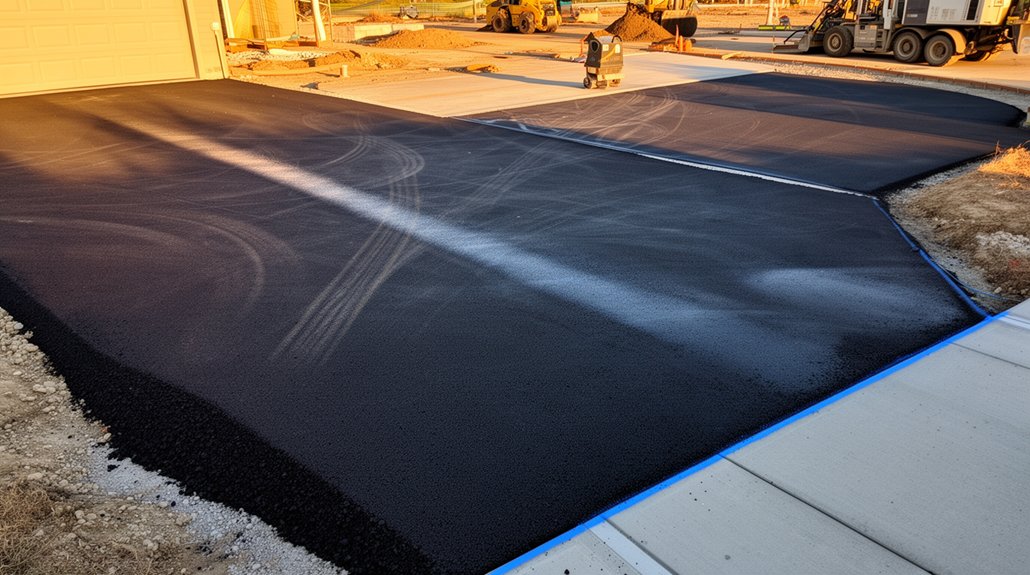
Driveway resurfacing gives you a smoother, more durable surface that handles weather and traffic while boosting curb appeal. Start by evaluating cracks, potholes, drainage, and slope, plus the subgrade’s stability. Choose options by budget, climate, and use—premium coatings for harsh climates, durable overlays for heavy traffic, or quick-curing mixes for faster results. Consider Tarmac or chip seal for cost savings, and factor material, labor, and maintenance into the total. Ready to explore specifics and best-fit choices? Let’s go deeper.
Key Takeaways
- Assess driveway condition and goals to choose appropriate resurfacing options that address cracks, drainage, and long-term durability.
- Compare materials (asphalt, concrete overlays, tarmac, chip seal) for climate, traffic, curing time, and maintenance needs.
- Consider budget-friendly vs. premium coatings, balancing initial cost with long-term performance and environmental impact.
- Plan proper substrate preparation, joints, and drainage to prevent premature failure and ensure longevity.
- Decide between resurfacing vs. full replacement based on structural integrity, not just cosmetic wear.
What Driveway Resurfacing Fixes for You
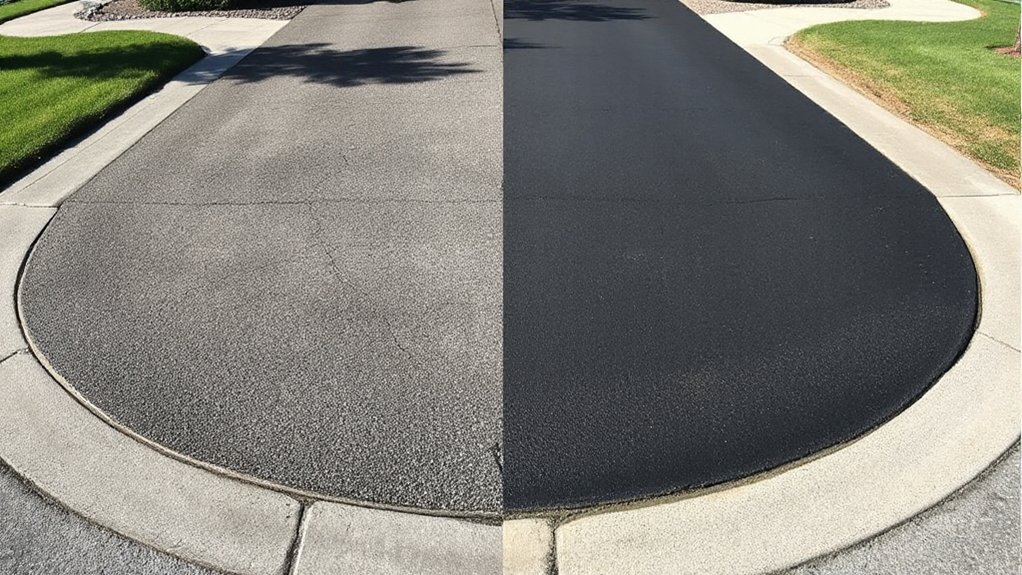
Resurfacing your driveway can fix more than appearance—it restores a smooth, durable surface that handles weather and traffic without cracking. You’ll gain a uniform base that improves safety, drainage, and overall longevity. This process corrects minor heaving, fills shallow potholes, and gates off future deterioration caused by freeze-thaw cycles. You’ll notice enhanced first impressions with garden aesthetics in mind, as a refreshed edge blends with landscaping and curb appeal. A resurfaced driveway also reduces voids that trap water, lowering slip risks and maintenance costs. Additionally, you can plan better lighting integration; driveway lighting becomes more effective on a clean, consistent surface. In short, resurfacing aligns performance, aesthetics, and practical upgrades for long-term value.
How to Assess Your Driveway’s Condition and Goals
To accurately plan your driveway project, start by evaluating its current condition and your goals. Inspect surface cracking, potholes, drainage, and slope, noting signs of wear that could influence resurfacing choices. Assess subgrade stability—soft spots or unsound backing may require remediation before any resurfacing. Consider your long‑term goals: curb appeal, traffic load, and seasonal maintenance burden. Evaluate material durability options in light of climate and usage, prioritizing solutions that resist freeze–thaw cycles and heavy vehicles. Gauge your desired driveway aesthetics: color, texture, and finish that harmonize with your home. Align maintenance expectations with reality, choosing a solution you can uphold without excessive upkeep. Document findings to guide decisions and avoid unnecessary revisions later. A clear baseline helps guarantee a durable, visually cohesive result.
A Decision Framework: Options by Budget, Climate, and Use
When budgeting, climate, and anticipated use drive choices, start with a clear framework that matches each factor to practical resurfacing options. You map budget to durability and maintenance, then align climate with material resilience and weathering. For light traffic in temperate zones, consider cost-effective options that still resist cracking and fading. In harsher climates, prioritize premium coatings with enhanced UV and freeze–thaw resistance, even if upfront costs rise. If your use involves frequent parking or heavy equipment, select durable, high-adhesion surfaces that tolerate load stress without rapidly deteriorating. Innovative coatings offer quick cures and aesthetic variety, while eco friendly materials reduce environmental impact without sacrificing performance. Balance these elements to choose an option that delivers lasting value, minimal downtime, and reliable year‑round protection.
Crack Repair and Prep Before Resurfacing
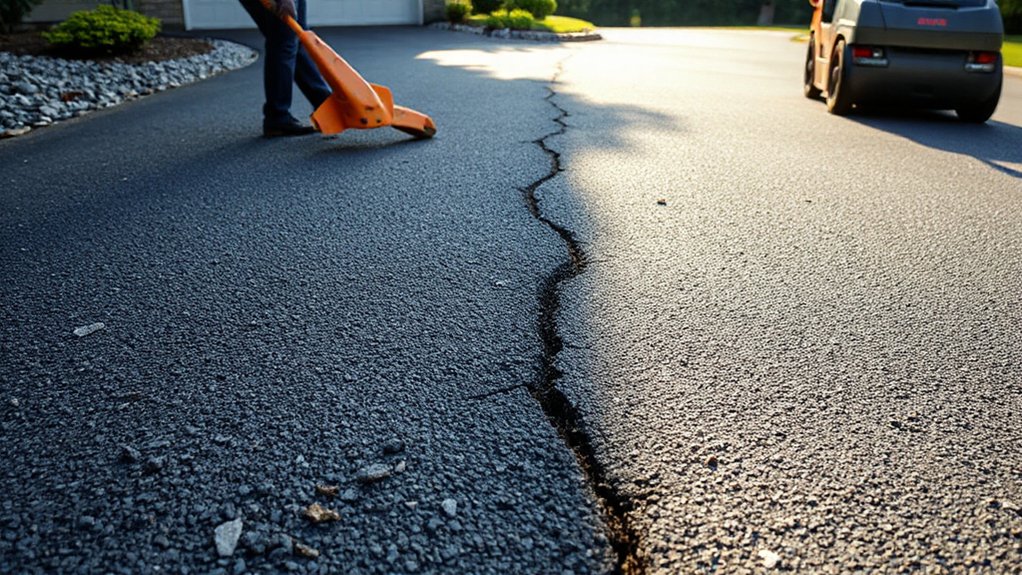
Crack repair and prep are the foundation of a durable resurfacing project, and they should happen before any material is applied. You assess delamination, existing cracks, and poor edge support, then choose appropriate repair methods. Start with thorough cleaning to reveal underlying issues, then address spalling, potholes, and wide cracks with patching or cold-melt materials as needed. Guarantee proper compaction and subgrade stabilization before resurfacing layers go down. You must correct drainage issues that contribute to deterioration, including inconsistent slope and poor runoff, to prevent future damage. Focus on long-term performance by coordinating crack-sealing timing with weather windows. Plan for adequate joint and edge treatments to resist freeze-thaw cycles. Consider pothole prevention and drainage solutions that support uniform, durable results.
Sealcoating vs. Resurfacing: When to Choose Each
Sealcoating and resurfacing serve different goals, so choosing between them hinges on your pavement’s condition, traffic demands, and budget. You’ll use sealcoating when the surface is sound but aged, providing a protective layer that blocks moisture and oils while maintaining flexibility. It’s a maintenance step, not a repair, and it preserves most of the existing texture unless you opt for a thicker coat. Resurfacing, by contrast, applies a new asphalt layer over your current pavement to restore structure, skid resistance, and load-bearing capacity. Decide based on crack patterns, drainage, and expected life. Consider color selection for curb appeal and reflectivity, and note surface texture changes accompany each option. Choose sealcoating for preservation; choose resurfacing for a refreshed, longer-lasting surface.
Rubberized Asphalt and Cold-Mix Repairs: When They’Re Right
Rubberized asphalt and cold-mix repairs offer targeted solutions for maintaining pavement integrity when traditional methods aren’t enough. You’ll use rubberized asphalt to seal cracks, fill voids, and improve flexibility, reducing future damage from temperature swings and traffic loads. Cold mix repairs provide a fast, temporary or interim fix without hot asphalt equipment, ideal for emergency pothole trips or early-season repairs. You’ll appreciate how each approach minimizes downtime and preserves ride quality, especially in areas with variable temperatures or limited access to hot-mix plants. However, these methods aren’t universal cures: rubberized asphalt works best for ongoing crack management and minor surface distress, while cold mix repairs suit quick patches and temporary backfills. Choose based on crack severity, traffic, and climate
Traditional Asphalt Resurfacing: Step-By-Step Guide
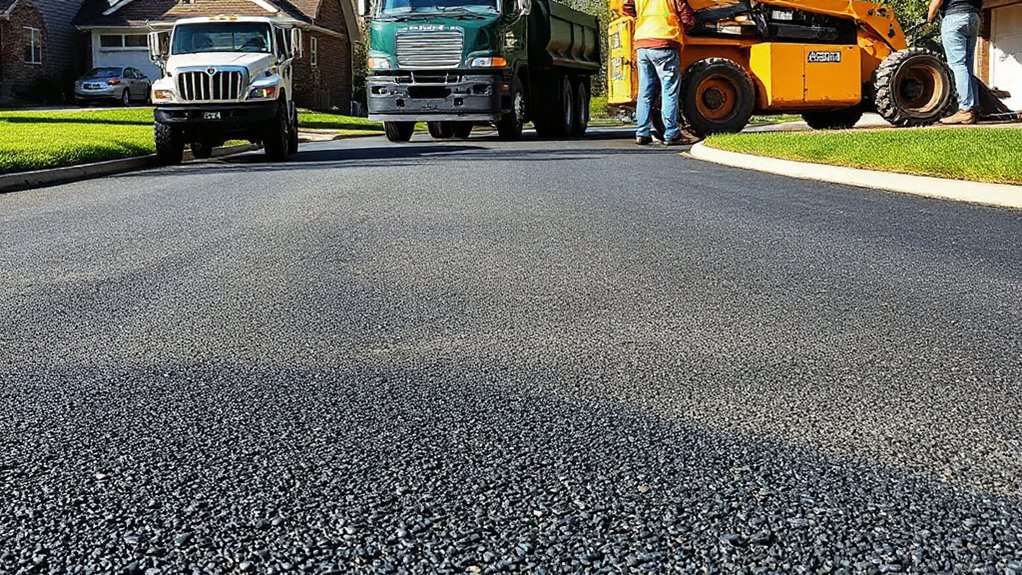
Traditional asphalt resurfacing follows a clear sequence to restore a smooth, durable surface. You’ll follow a methodical process that prioritizes safety, drainage, and long-term performance. The steps begin with a site assessment, then surface cleaning, crack sealing, and pothole repair as needed. Next comes surface milling or planing to create a uniform base, followed by tack coat application and asphalt layer placement. Compaction finishes the job, sealing the surface against water intrusion. During planning, consider vehicle alignment and traffic patterns to minimize wear, and plan landscaping integration so edging and grading support proper runoff. Regular inspection after curing helps catch edge lift or settling early.
- Assess site and traffic flow for durability
- Schedule milling, tack coat, and compaction with precise timing
- Align driveway features with landscaping integration and access
Concrete Resurfacing Options and Their Limits
Concrete resurfacing options and their limits can extend the life of a damaged or aging slab when you choose the right method. You’ll assess surface integrity first: cracks, spalling, and delamination guide whether resurfacing is appropriate. Micro-tine overlays offer thin, durable refinishes for minor defects, while polymer-modified toppings provide added strength and faster curing. Consider stamped patterns to mimic stone or brick, which enhances visual appeal without full replacement. Color options allow customization, but must be compatible with sealers and the underlying substrate. For larger cracks or differential settlement, resurfacing isn’t a fix; crack isolation and substrate stabilization are prerequisites. Wear resistance, UV exposure, and maintenance expectations determine longevity. Choose a method aligned with your budget, climate, and traffic to maximize performance.
Paver Overlays: Pros, Cons, and Maintenance Demands
Paver overlays can offer a quick, cost-effective way to refresh aged or uneven surfaces, but they come with distinct trade-offs. You’ll gain a faster turnaround and lower up-front costs, yet you must weigh long-term performance against your goals. Paver durability depends on substrate prep, installation quality, and traffic patterns, so expectations should be realistic. Maintenance frequency often increases, since overlays can trap moisture and reveal movement if the base isn’t solid. Adhering to proper joints, edge restraints, and weep openings is essential to prevent failure. Consider seasonal expansion and potential slope issues that impact drainage. Weighing pros and cons helps you decide if overlays suit your site, budget, and desired lifespan.
- Quick refresh vs. longer-term resilience
- Importance of substrate prep and installation quality
- Ongoing maintenance commitments and monitoring
Budget-Friendly Options: Tarmac and Chip Seal Explained
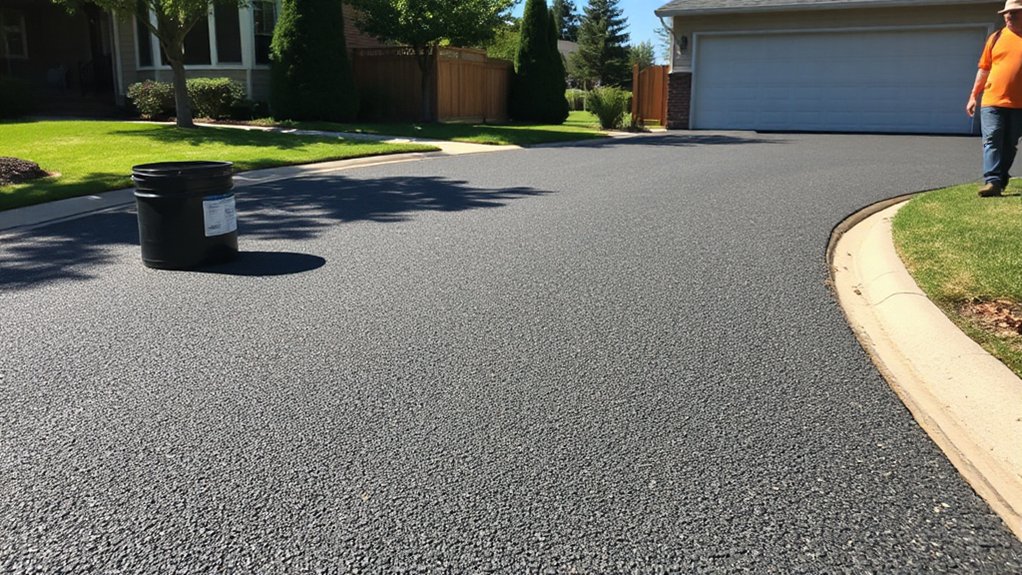
Budget-friendly options like tarmac and chip seal give you affordable alternatives that still provide durable, smooth surfaces when installed correctly. Tarmac, a flexible asphalt mix, delivers rapid curing and low initial costs, making it suitable for driveways with moderate traffic. Chip seal combines asphalt with embedded aggregates, creating a textured finish that improves skid resistance without high expense. Both options shorten project timelines and minimize disruption, but require proper preparation, compaction, and drainage planning to avoid premature cracking or potholes. Eco friendly options exist, including recycled asphalt content and sealed edges to reduce material waste. Decorative finishes can be added subtly through color-tinted sealants or contrasting chip sizes while preserving budget benefits. Choose these methods if you prioritize cost efficiency and straightforward maintenance without sacrificing durability.
What Affects Surface Longevity and Warranties
Although affordable options like tarmac and chip seal can save you money upfront, surface longevity hinges on installation quality, drainage, material choice, and ongoing maintenance. Your surface durability depends on proper preparation, correct aggregate mix, and consistent compaction, which directly affect wear resistance and crack prevention. Warranty coverage varies with installation standards, material components, and adherence to maintenance schedules, so read the fine print and follow recommended care. Improper drainage can lead to water infiltration, freeze-thaw damage, and accelerated deterioration, shrinking warranty windows. Informed choices now reduce future expenses and shocks when repairs are needed.
- Installation standards and contractor qualifications influence surface durability and warranty coverage
- Drainage design, slope, and maintenance timing affect long-term performance
- Material compatibility and ongoing upkeep determine warranty terms and life expectancy
What You Should Expect to Spend by Option
You’ll get a clear snapshot of costs by option, from material price to installation charges. We’ll break down what you pay for materials, labor and time, and how maintenance affects long‑term value. This sets the stage for comparing options with transparency and precision.
Material Cost Breakdown
Material costs vary by option, so understanding the price drivers helps you compare fairly: the base material, square footage, and any additives or protective coatings all influence the bottom line.
Material durability influences longer-term value, so you should weigh upfront costs against expected life and performance. When you perform a cost comparison, consider each option’s warranty, weather resistance, and maintenance needs. Concrete overlays, asphalt resurfacing, rubberized mixes, and sealants each carry distinct pricing for materials and treatment cycles. Keep in mind that application thickness and surface prep impact totals as much as the material itself.
- Base material price vs. longevity implications
- Additives and sealants that extend life
- Total cost of ownership over time
Labor and Timeframe
Labor costs and project duration vary by option, and understanding typical crew sizes, preparation needs, and cure times helps you set realistic budgets. For asphalt resurfacing, you’ll usually see quicker labor, minimal surface prep, and a short cure, which keeps downtime modest and costs moderate. Concrete overlay demands more setup, forms, and curing, so expect longer timelines and higher labor, though long-term durability pays off with fewer future repairs. Chip seal offers a balanced approach: moderate crew size, selective preparation, and intermediate cure periods, with costs reflecting traffic tolerance and application thickness. Paver replacement increases labor due to precise installation and joint work, but delivers driven-in aesthetics and solid material durability. In all cases, factor driveway aesthetics and long-term maintenance implications into your cost framework.
Maintenance Long-Term Value
What you’ll spend over the life of each option hinges on how well it resists wear, how often maintenance is needed, and the cost of future repairs. You’ll weigh upfront costs against long-term durability and the environmental impact of each choice, including materials and disposal. Over time, some options save money with lower maintenance, while others demand periodic sealing, patches, or resurfacing. Consider landscape integration as you plan, since incongruent installs can raise upkeep costs. A resilient surface reduces aggregate failures, limiting professional rework and waste. Anticipate periodic cleaning, crack fixes, and potential resealing. Lower annual maintenance translates to steadier budgets and better resale value.
- Long-term cost vs. upfront price and required maintenance
- Environmental impact and landscape integration considerations
- Frequency of repairs and implications for resale value
Visuals You’Ll Love: Colors, Textures, and Patterns
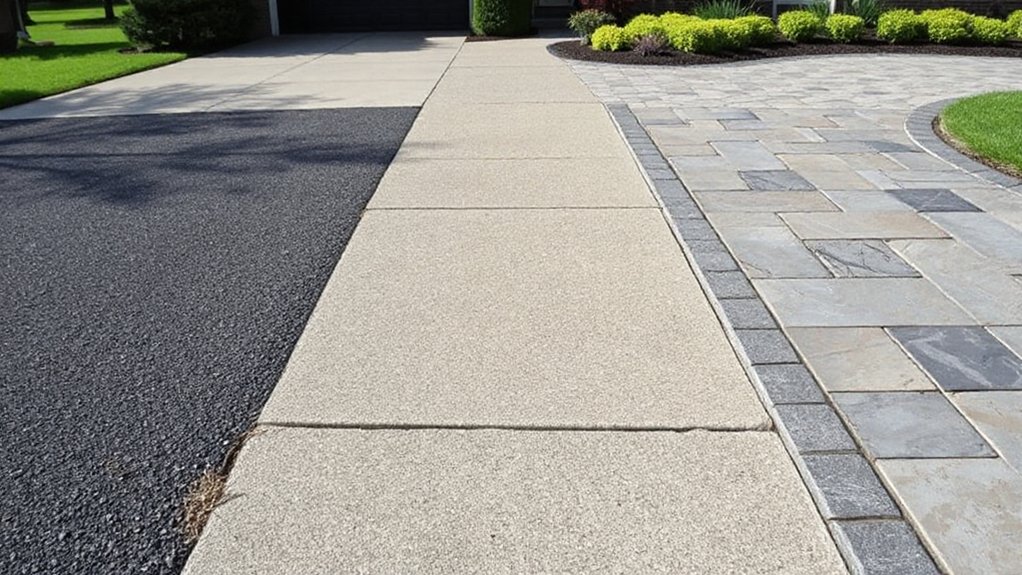
Color and texture choices transform a driveway from functional to curb-appealing, so start by pairing durable, high-contrast colors with subtle textures that hide wear. You’ll guide eyes along clean, deliberate palettes, ensuring color coordination across borders, seals, and edging for a cohesive look. Choose two to three tones with precise, low-gloss finishes to minimize glare and maintenance needs. Textures should balance traction with repair-friendly surfaces, masking minor imperfections while keeping cleaning simple. Explore pattern variations that add interest without overwhelming the space; staggered bands or a simple central accent can create depth without clutter. Maintain proportional contrast between main surfaces and borders, so the drive remains legible from street level. Finalize with samples, verifying consistency under daylight and dusk to secure durable, refined curb appeal.
DIY vs. Hiring Pros: Risks, Rewards, and When to Call in Help
When deciding between DIY and hiring pros for driveway resurfacing, weigh the risks, rewards, and timing to avoid costly mistakes. You’ll save time and learn skills, but DIY pitfalls include uneven surfaces, improper curing, and short-lived results. Hiring pros costs more up front, yet delivers consistent quality, proper surface preparation, and longer lifespan, reducing callbacks and headaches. Assess project scope, your experience, and weather windows to decide when to call in help. Consider licensing, warranties, and code compliance to protect value. If you opt for DIY, know your limits and use high-quality材料. For complex jobs or materials beyond your comfort zone, expert costs are justified by reliability and speed.
- Assess risks vs. rewards before picking a method
- Factor timing, warranties, and potential returns
- Weigh long-term costs of mistakes against upfront investments
Maintenance After Resurfacing to Maximize Lifespan
Regular sealant reapplication and timely crack repairs are key to extending your driveway’s life after resurfacing. Keep an eye on surface cracks and schedule sealant refreshes as recommended, not when the damage worsens. Address small cracks promptly to prevent larger, costlier repairs later.
Regular Sealant Reapplication
Regular sealant reapplication is essential to preserve a newly resurfaced driveway. You’ll extend protection by maintaining a fresh, uniform layer that guards against moisture and UV damage, while supporting sealant durability over time. Plan reapplication on a practical cycle based on climate, traffic, and product recommendations to sustain resurfacing aesthetics and prevent early wear. Use proper surface preparation and technique to maximize adhesion, avoiding premature peeling. Schedule reminders after heavy seasons or pothole repairs to keep the finish even and durable.
- Choose a high-quality sealant designed for your driveway material to boost sealant durability and shine.
- Monitor wear patterns and plan reapplication before visible aging, preserving aesthetics and protection.
- Follow manufacturer guidelines for temperature, curing, and compatible products to ensure lasting results.
Timely Crack Repairs
Cracks don’t vanish on their own, so address them promptly after resurfacing to prevent water intrusion and spreading damage. Timely crack repairs protect the new surface and keep your investment solid. Start by evaluating the crack width and depth, then choose a repair method that matches traffic demands. For hairline fissures, use a flexible crack filler; for larger gaps, injection epoxy or polyurethane blends provide durable seals. Reimage the surface texture after repairs if needed, ensuring the repaired area blends with the surrounding pavement. Maintain a consistent color selection by applying compatible sealants to avoid shade mismatches. Schedule repairs during mild weather to improve cure times and adhesion. Regular monitoring lets you catch emerging cracks early, extending lifespan and preserving driveability.
When to Re-Resurface Versus Full Replacement
When deciding between re-resurfacing and full replacement, start with the condition of the existing driveway: if the surface is sound, with cosmetic wear or minor potholes, resurfacing can restore a smooth, durable finish at a lower cost and shorter timeline.
- Consider driveway aesthetics: if overall look matters, resurfacing preserves the existing layout while updating texture and color.
- Assess material durability: if the base is stable and cracking is limited, resurfacing strengthens the surface without new sublayers.
- Evaluate long-term needs: if structural issues under the surface exist, replacement prevents repeated repairs and guarantees lasting performance.
Climate and Environment: How to Maximize Longevity
You can maximize driveway longevity by tailoring maintenance to your climate and environment, because temperature swings, moisture, and UV exposure drive wear. In practice, choose materials and coatings that resist cracking, fading, and spall under local conditions. For climates with freeze-thaw cycles, prioritize crack sealing and proper drainage to prevent water intrusion. In hot, sunny areas, select UV-stable finishes and reflective coatings to reduce surface softening. Regular cleaning removes debris that holds moisture and accelerates deterioration. Use appropriate sealants on schedule, not prematurely, to preserve adhesion and flexibility. When possible, opt for Sustainable materials and Eco friendly options that meet local environmental standards and reduce heat absorption. Document maintenance cycles to track performance and adjust as seasons shift.
Questions to Ask Pros During the Estimate
Before agreeing to work with a contractor, ask specific questions that surface scope, cost, and quality controls on the estimate.
As you review, focus on the methods, materials, and expected lifespan, not just the bottom line. Demand clarity on permits, warranties, and cleanup, and confirm how Driveway aesthetics and Landscaping integration will be handled within the project. Ask for a detailed breakdown of line items, including surface preparation, material delivery, and traffic control during curing. Request proof of licensing, insurance, and recent references. Probe how changes are priced and documented, and what qualifies as a change order. Seek a realistic timeline with milestones and penalties for delays.
- Driveway aesthetics alignment with your home’s exterior
- Landscaping integration: protection and future maintenance
- Clear, written change-order and warranty terms
Real-World Results: Case Studies by Resurfacing Option
Real-world results show how each resurfacing option performs under varying conditions, with concrete case studies to guide your choice. You’ll see how overlays fare on light traffic, while chip seals excel in cost-conscious upgrades for older drives. When you prioritize Driveway aesthetics, you’ll notice stamped concrete patterns and color coatings delivering the most dramatic visual impact, though maintenance labels differ by option. In terms of material durability, asphalt rubberized overlays resist cracking better in freeze–thaw cycles, whereas polyurethane paints endure higher wear from vehicles and solvents. Paver resurfacing demonstrates enduring surface integrity but demands strict drainage and professional installation. Review these cases to match your climate, expected traffic, and budget, then compare warranties and expected lifespans to select the option that balances beauty with long-term performance.
Frequently Asked Questions
How Long Does Each Resurfacing Option Realistically Last?
A typical resurfacing option lasts about 5–10 years, depending on traffic and climate. Sealing benefits protect against wear, while color customization can fade slower with UV exposure, requiring resealing. Keep maintenance regular for best performance and appearance.
Will Resurfacing Fix Drainage Issues on My Driveway?
Yes, resurfacing can help with drainage, but true fix hinges on proper grading and slope. You’ll improve Driveway aesthetics and curb appeal, while ensuring material compatibility, so choose compatible sealant and base layers for lasting results.
Can I Resurface Over Existing Concrete or Asphalt?
Yes, you can resurface over concrete or asphalt, but prep matters. You’ll choose color options and surface textures, guarantee adhesion, and address cracks first; otherwise wear, spalling, or peeling undermines lasting results.
What Maintenance Is Required After Resurfacing?
After resurfacing, you should seal as required and inspect for cracks, repairing them promptly. Maintain your surface by resealing per sealing requirements every 2–5 years and addressing drainage issues to prevent premature wear.
Are There Hidden Costs or Overruns in Resurfacing Projects?
Yes, there can be hidden costs or overruns, but you demand cost transparency and tight budget planning. You’ll avoid surprises by documenting scopes, contingencies, and timelines, and you’ll monitor changes with disciplined, precise controls that keep projects under control.
Conclusion
Resurfacing your driveway isn’t one-size-fits-all. You’ll pick based on condition, budget, climate, and how you use the space. Start with honest crack repair and prep, then choose sealcoat or resurfacing—or a full replacement if needed. Think of it like patching a road before winter: prep saves you later. In a recent project, a modest sealcoat extended life by 3–5 years, delaying a full overhaul. Get practical estimates, ask the right questions, and plan for durability.
About the Author


